


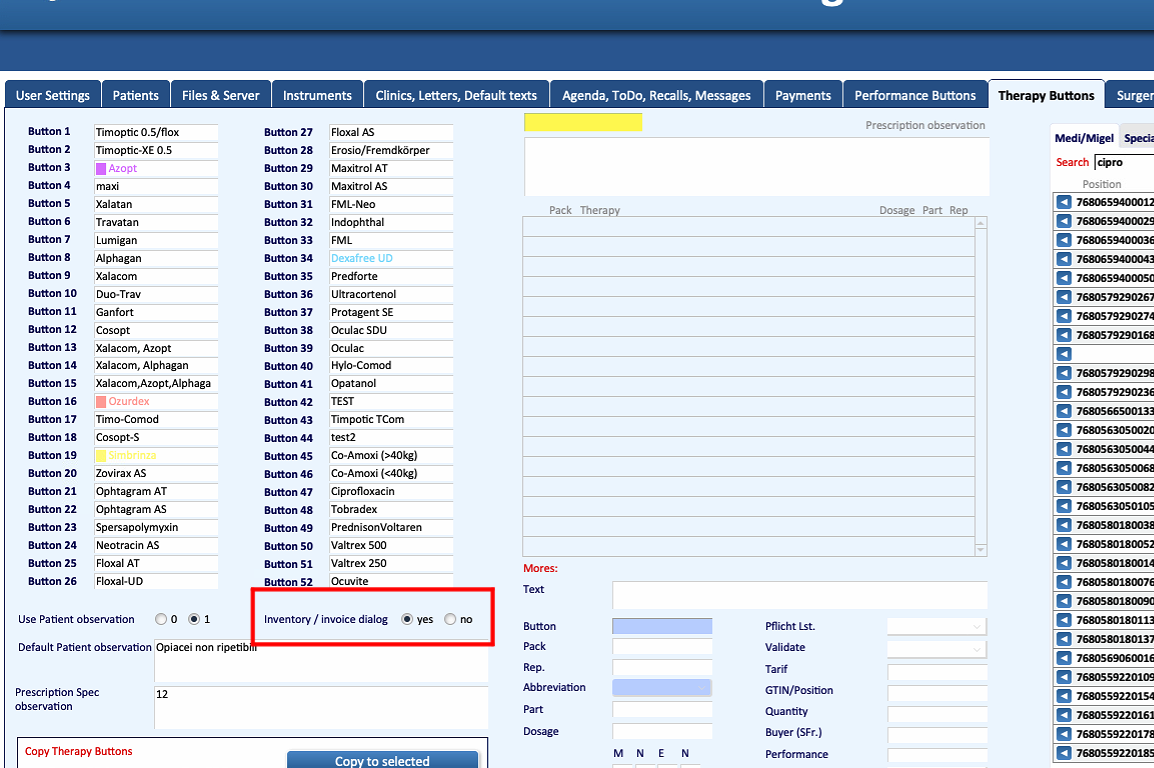
For the function to work correctly, the option inventory/invoice dialog in Settings > Theraphy Buttons should be set on yes
-
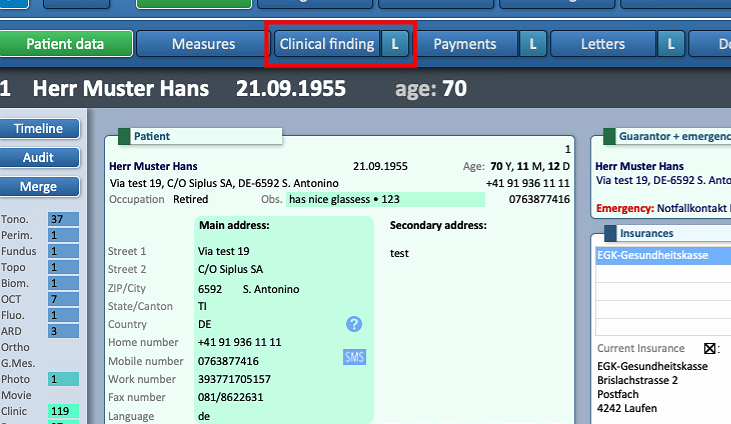
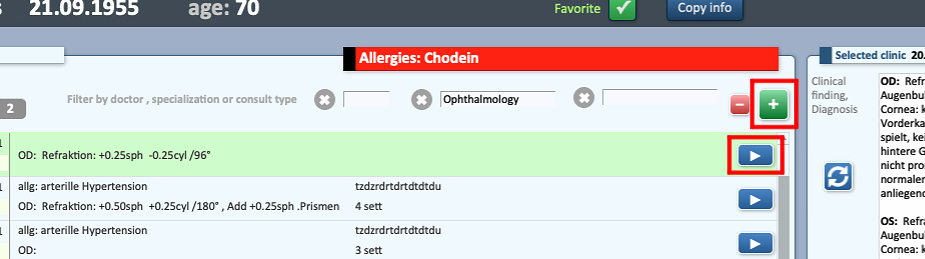
In the Patient Profile, open the “Clinical Finding” menu and select an existing Clinical Finding by selecting the arrow button, or create a new one with the + button.
-
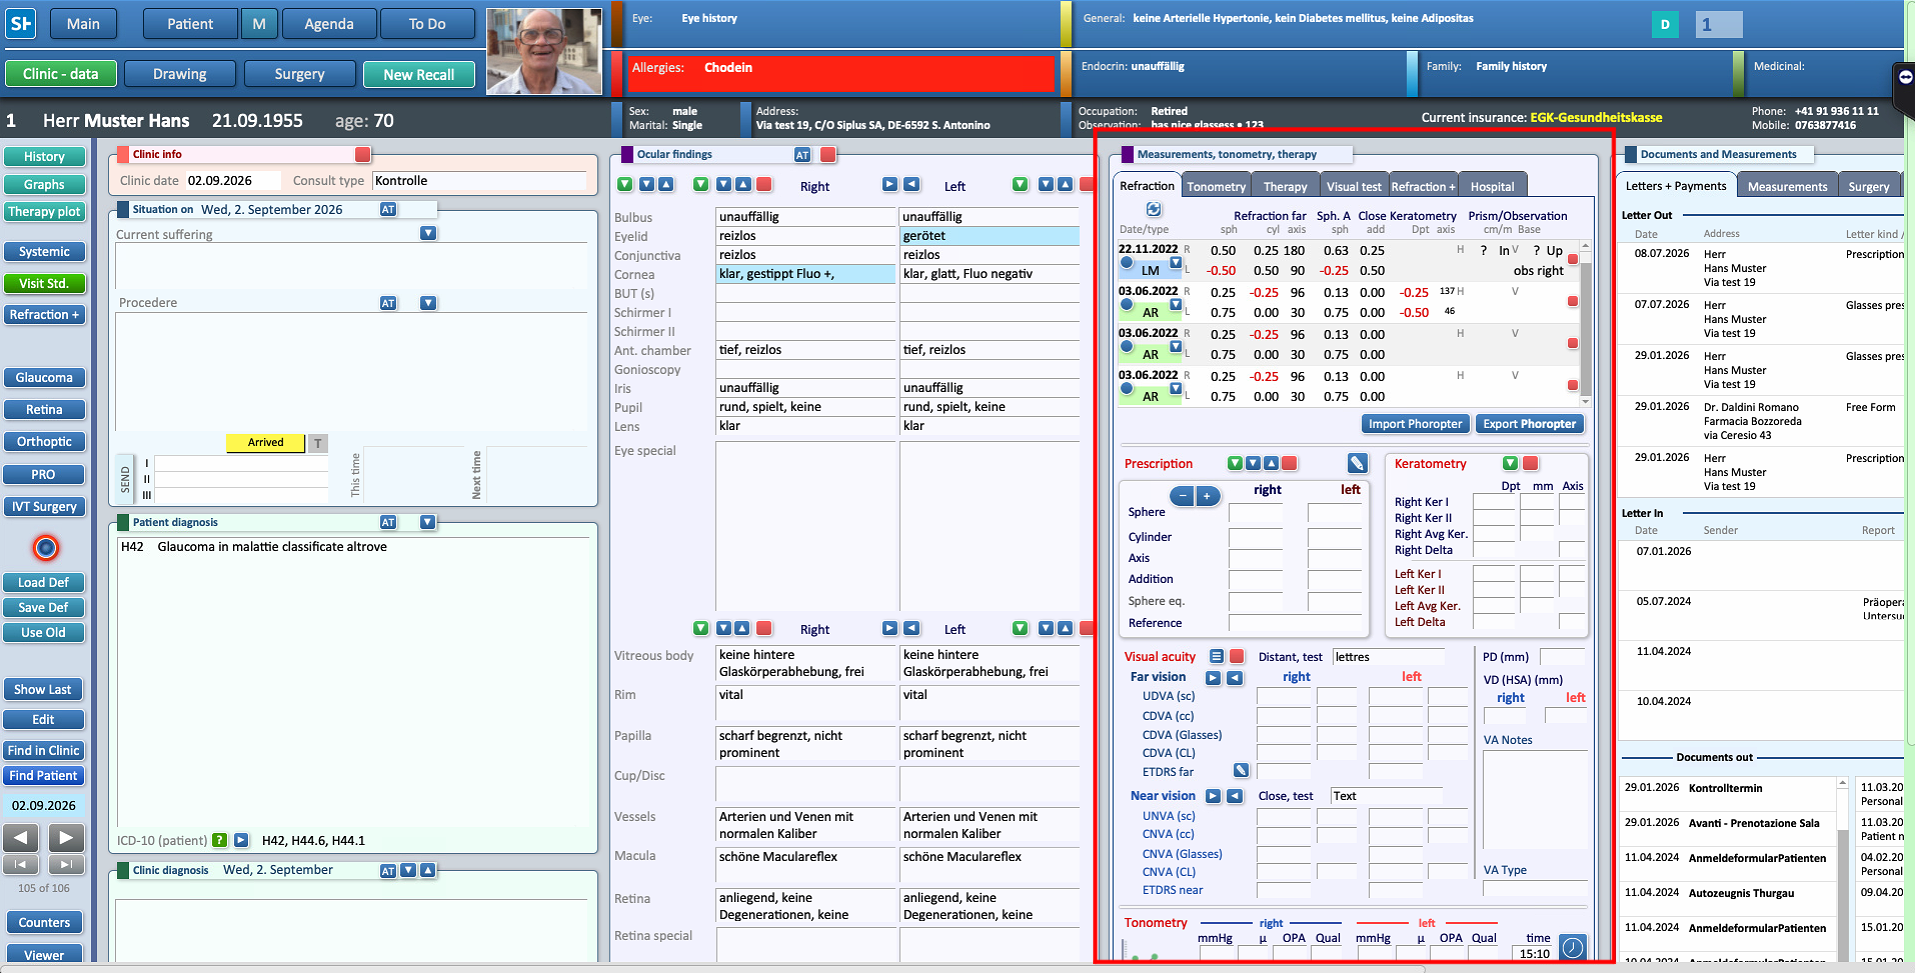
In the third column, under the “Therapy” section, the medications associated with the selected Clinical Finding are displayed and can be managed.
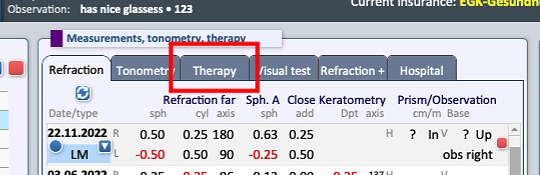
-
To add a new medication, click the “+” button. A new window will open.
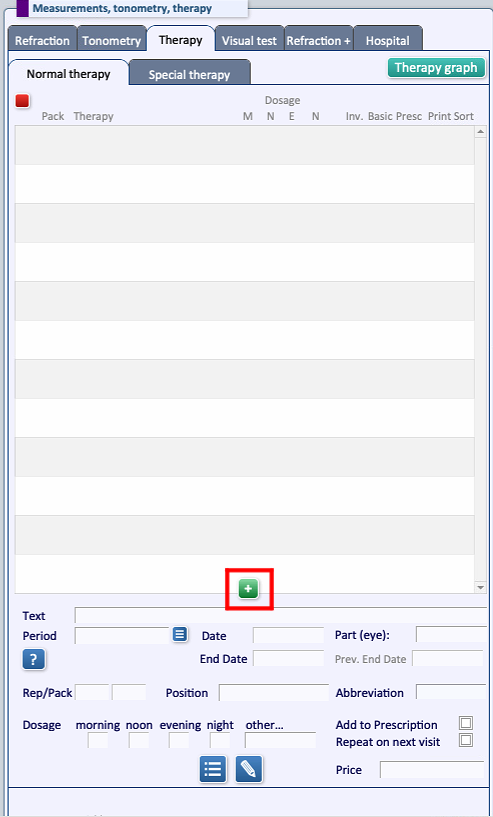
-
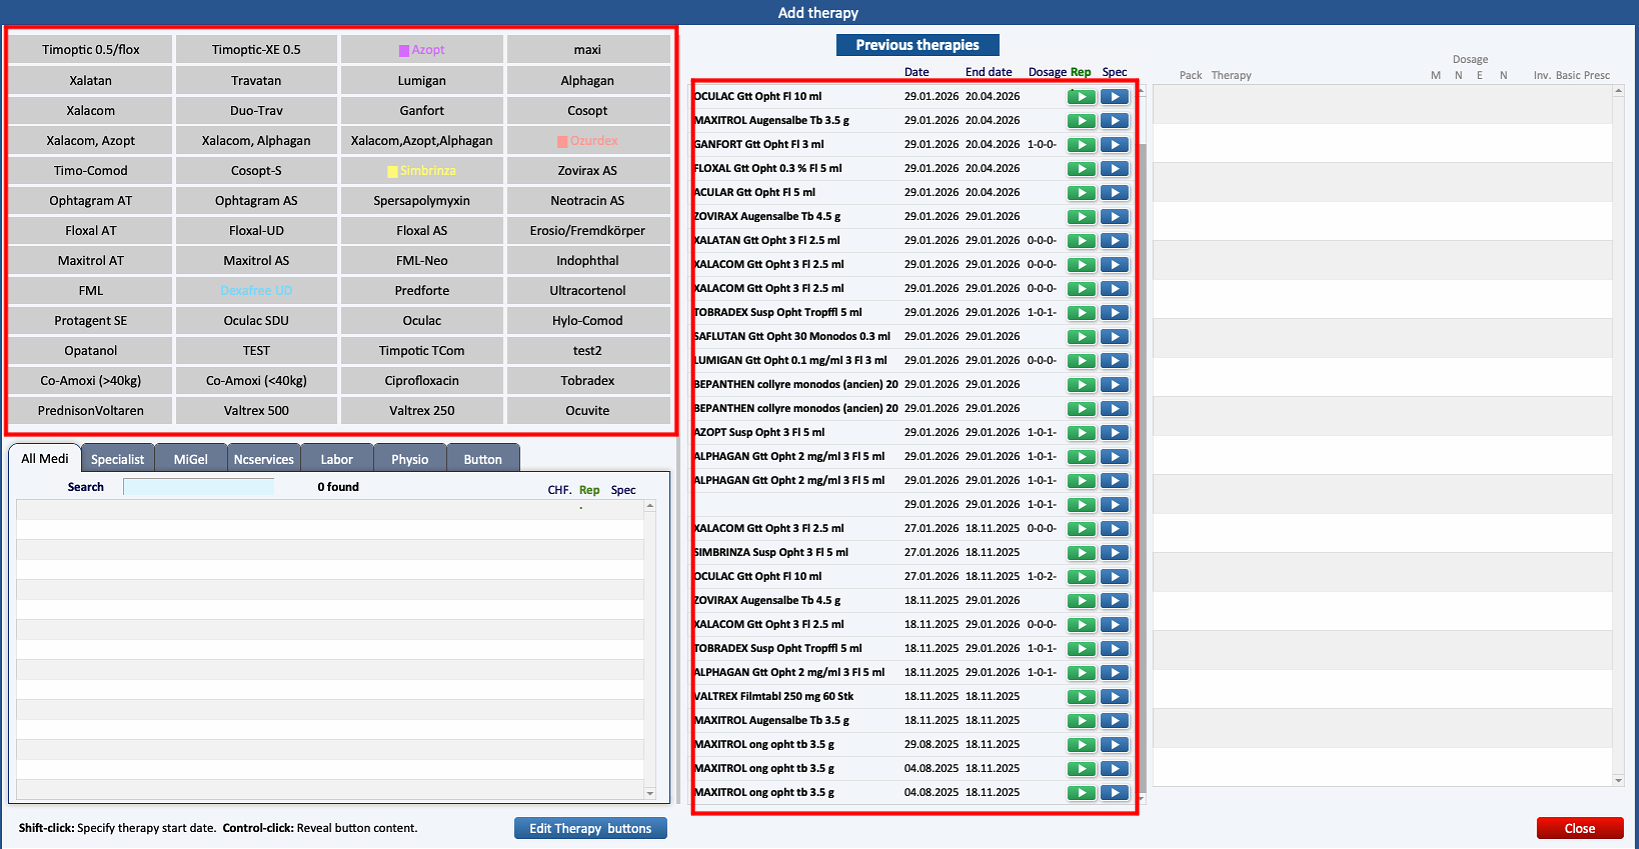
Search for the required medication in the button list on the left, or in the list on the right.
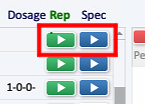
If you select one of the medications of the list, use one of the two arrows displayed on its right:-
Green arrow: imports the medication into the Regular Medications section.
-
Blue arrow: imports the medication into the Special Medications section.
-
-
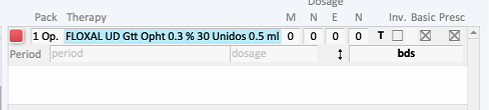
Once the medication has been imported, the relevant treatment details can be entered, including:
-
dosage;
-
administration period and frequency;
-
affected eye (right, left, or both);
-
application side, where applicable;
-
any additional relevant information.
-
To remove a medication, select the red button on the side
-
-
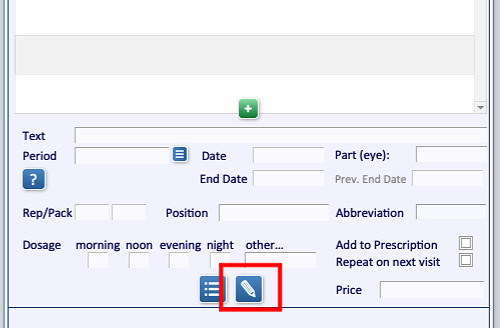
To print a medication label, select the relevant medication and click the pencil icon.
-
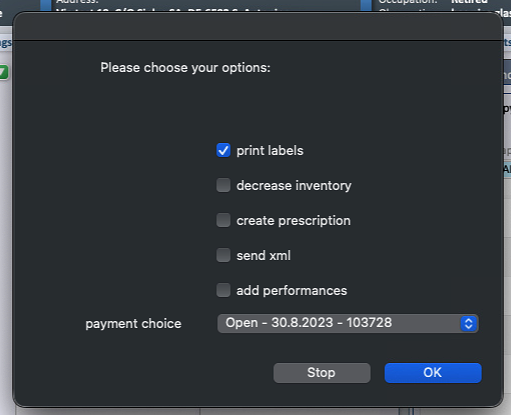
In the window that opens, keep only the “Print Labels” checkbox selected if the medication label alone is to be printed.
If additional documents or information are required, the corresponding options can be selected as needed.
-
Click “OK” to confirm and start the printing process.

