Clinical Findings
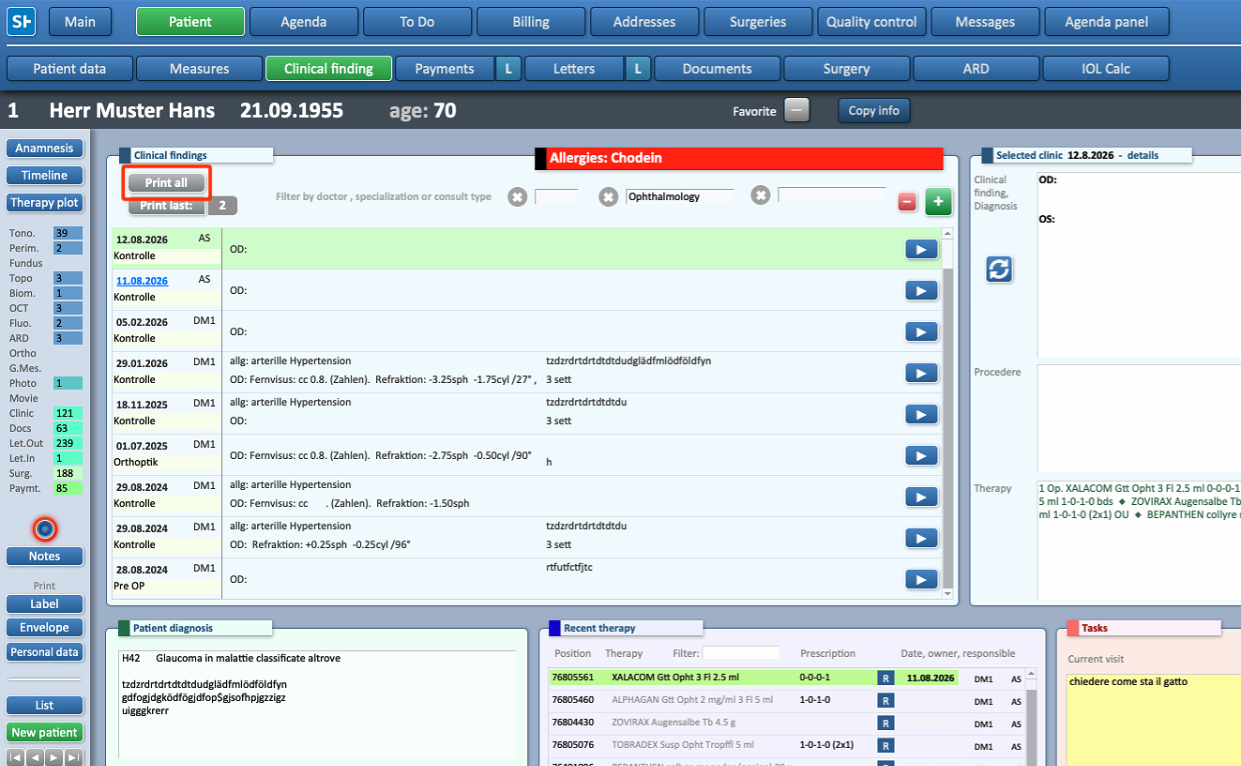
To create a patient dossier, start by opening the Patient Profile and going to Clinical Findings.
-
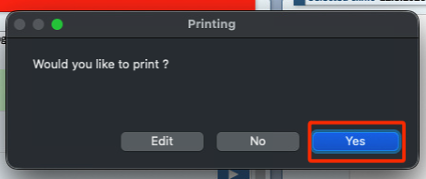
Select Print All.
-
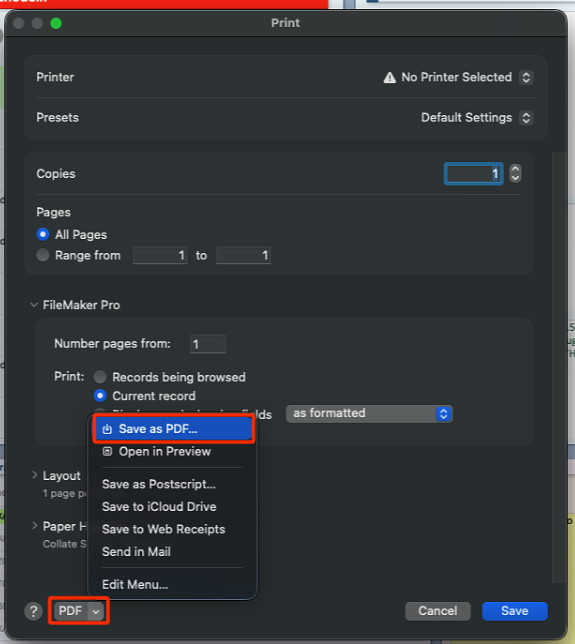
Choose either Print or Save as PDF, depending on the desired format.
-
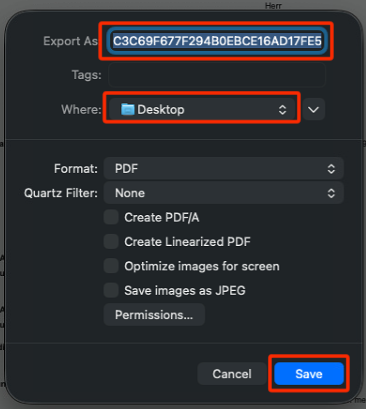
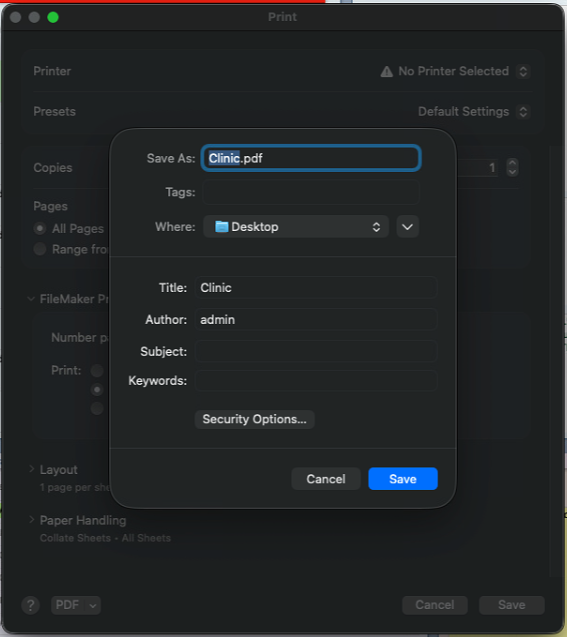
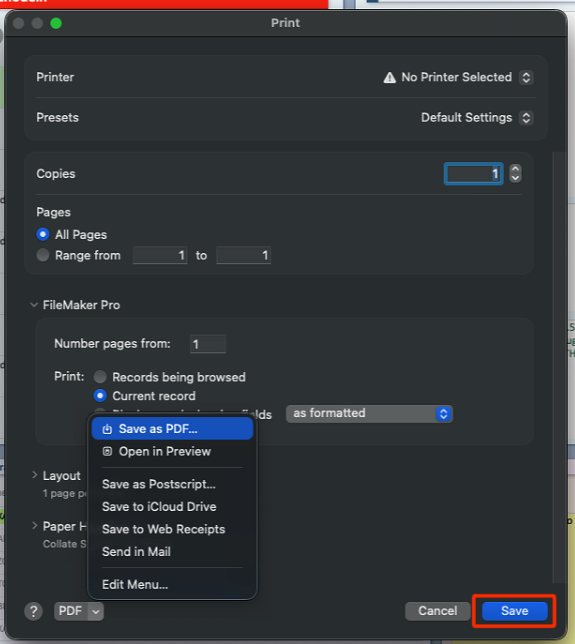
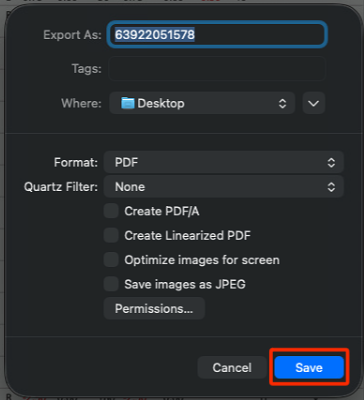
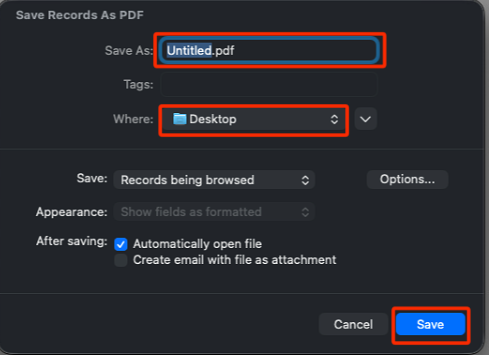
Select the folder of destination and the file name
This will save all the patient's Clinical Findings in the selected format.
Measures
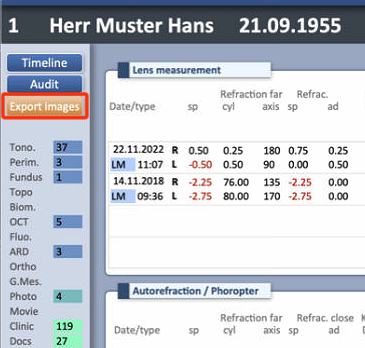
Next, go to Measures and select the Export Images button.
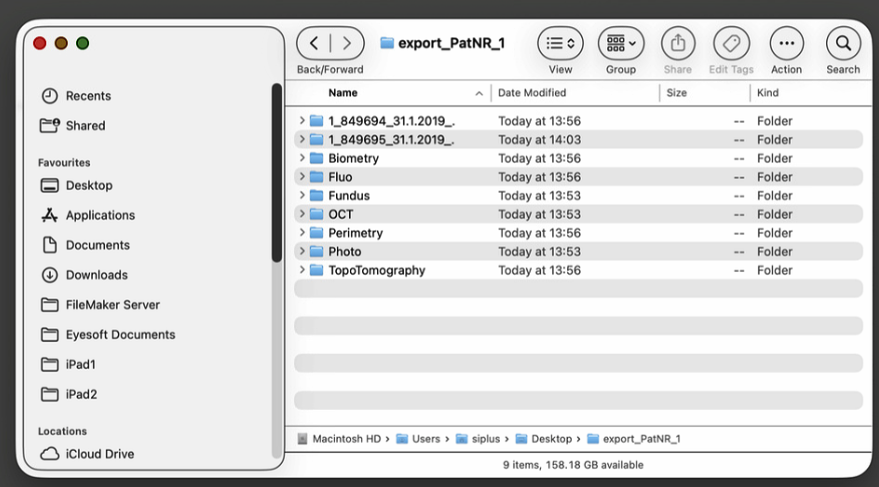
This will automatically create a folder on the desktop named export_PatNR_IDPatientNumber.
The folder will contain all the patient's images, organised into separate subfolders.
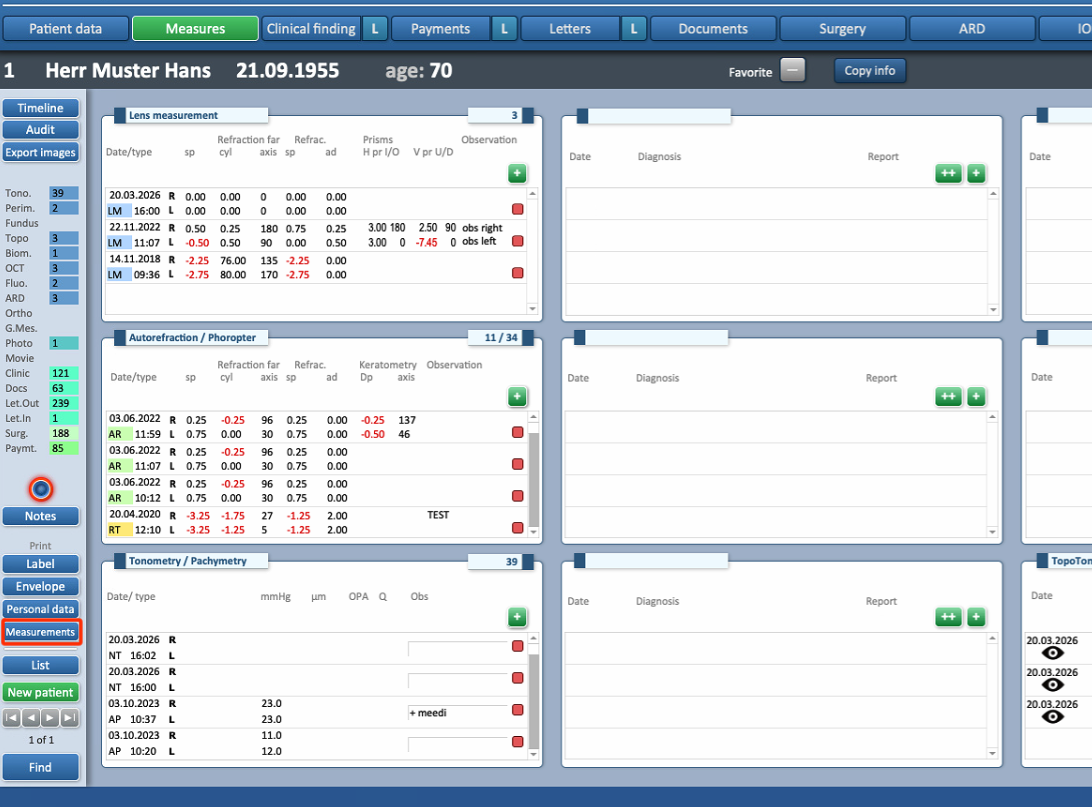
Still in Measures, select the Measurements button.
This will display all the patient's measurement data in an organised format.
-
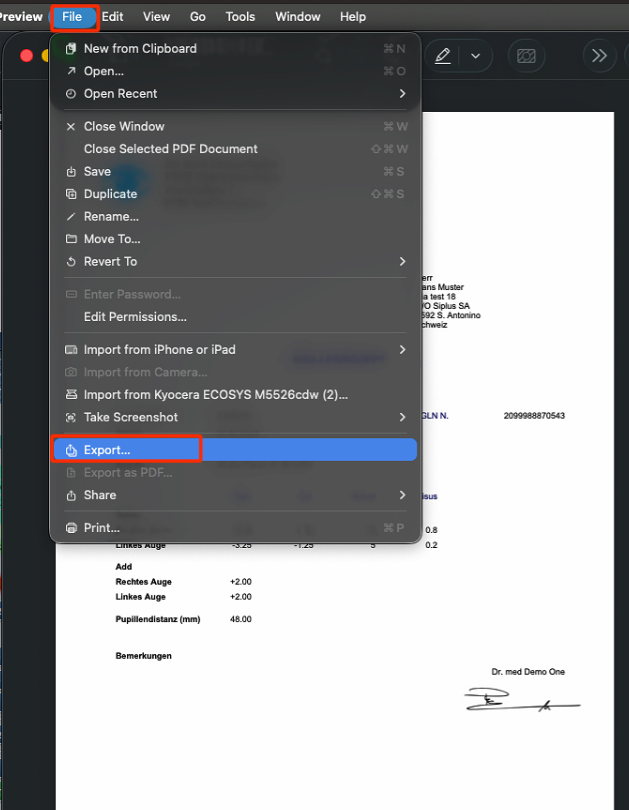
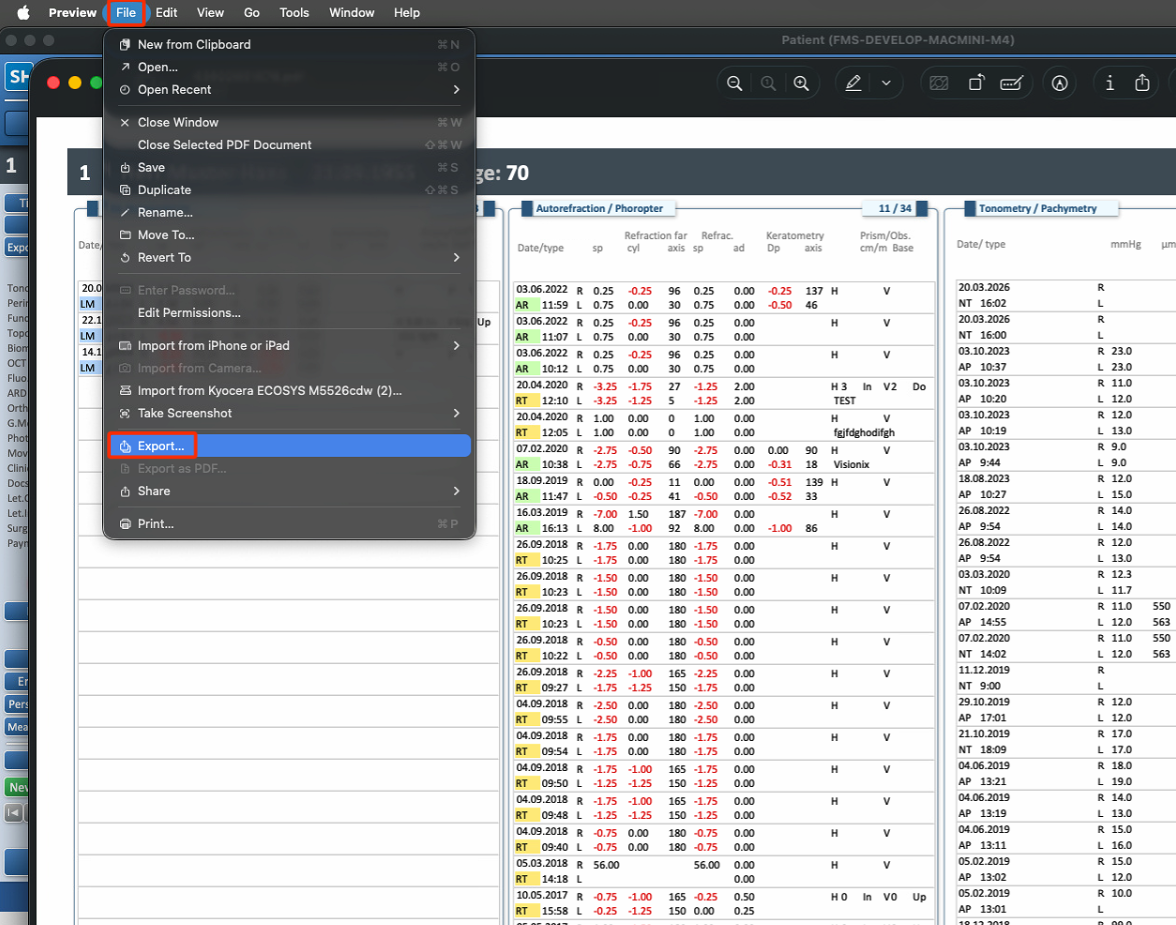
Select File.
-
Select Export.
-
Select the folder of destination and the file name
-
Save the data as a PDF file.
Letters
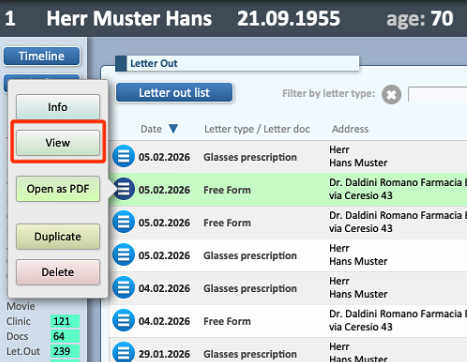
Letters cannot be saved collectively. Each letter must therefore be saved individually, one by one.
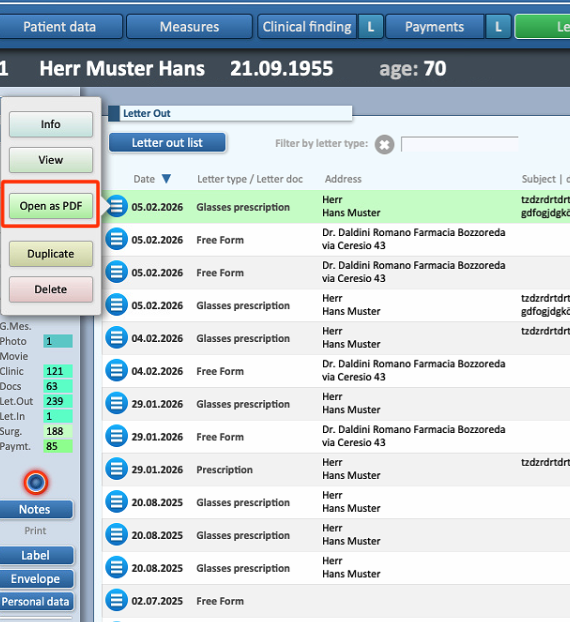
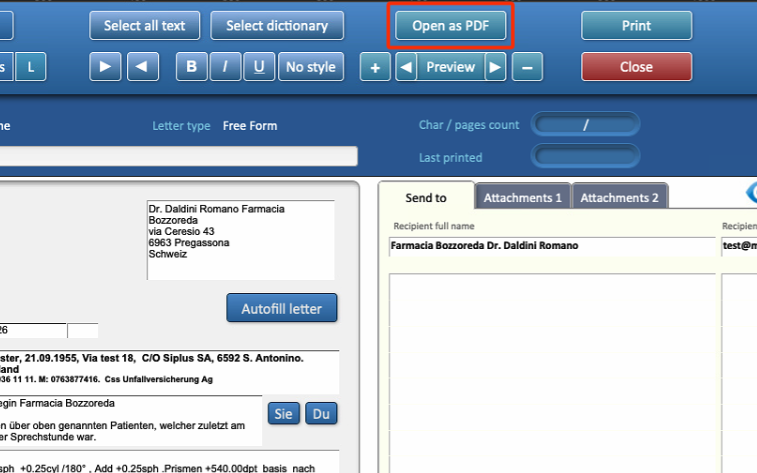
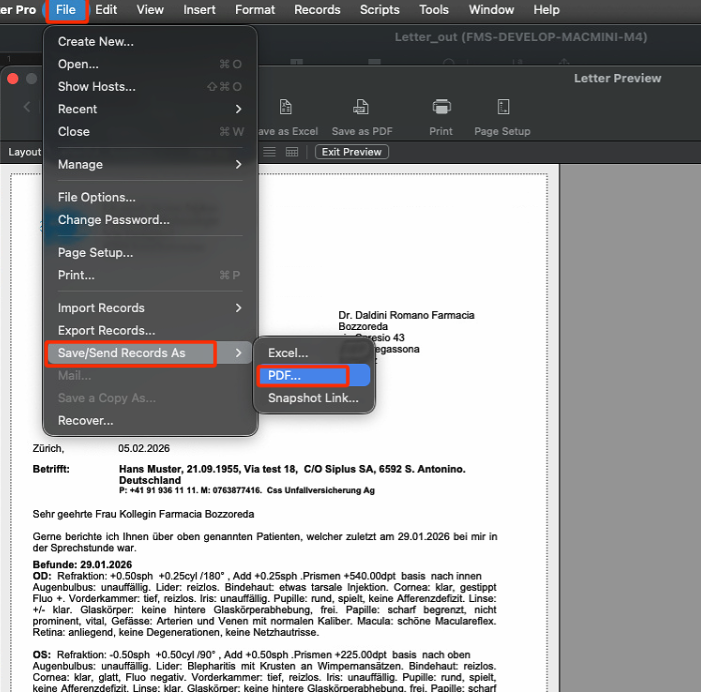
Open the letter by selecting View. Depending on the type of letter, it may be necessary to select Open as PDF after selecting View.
Then:
- Go to File > Save/Send Record as > PDF
- Select the destination folder and enter the desired file name.
- Click Save.
Documents
Documents cannot be saved collectively. Each document must therefore be saved individually, one by one.
The procedure is as follows:
- Select the Document and open it as a PDF.
- Go to File > Export.
- Select the destination folder and enter the desired file name.
- Click Save.