
 10
10
The Merge function allows the user to combine duplicate patient profiles into one single, correct record. Follow the steps below carefully to ensure accurate data handling.
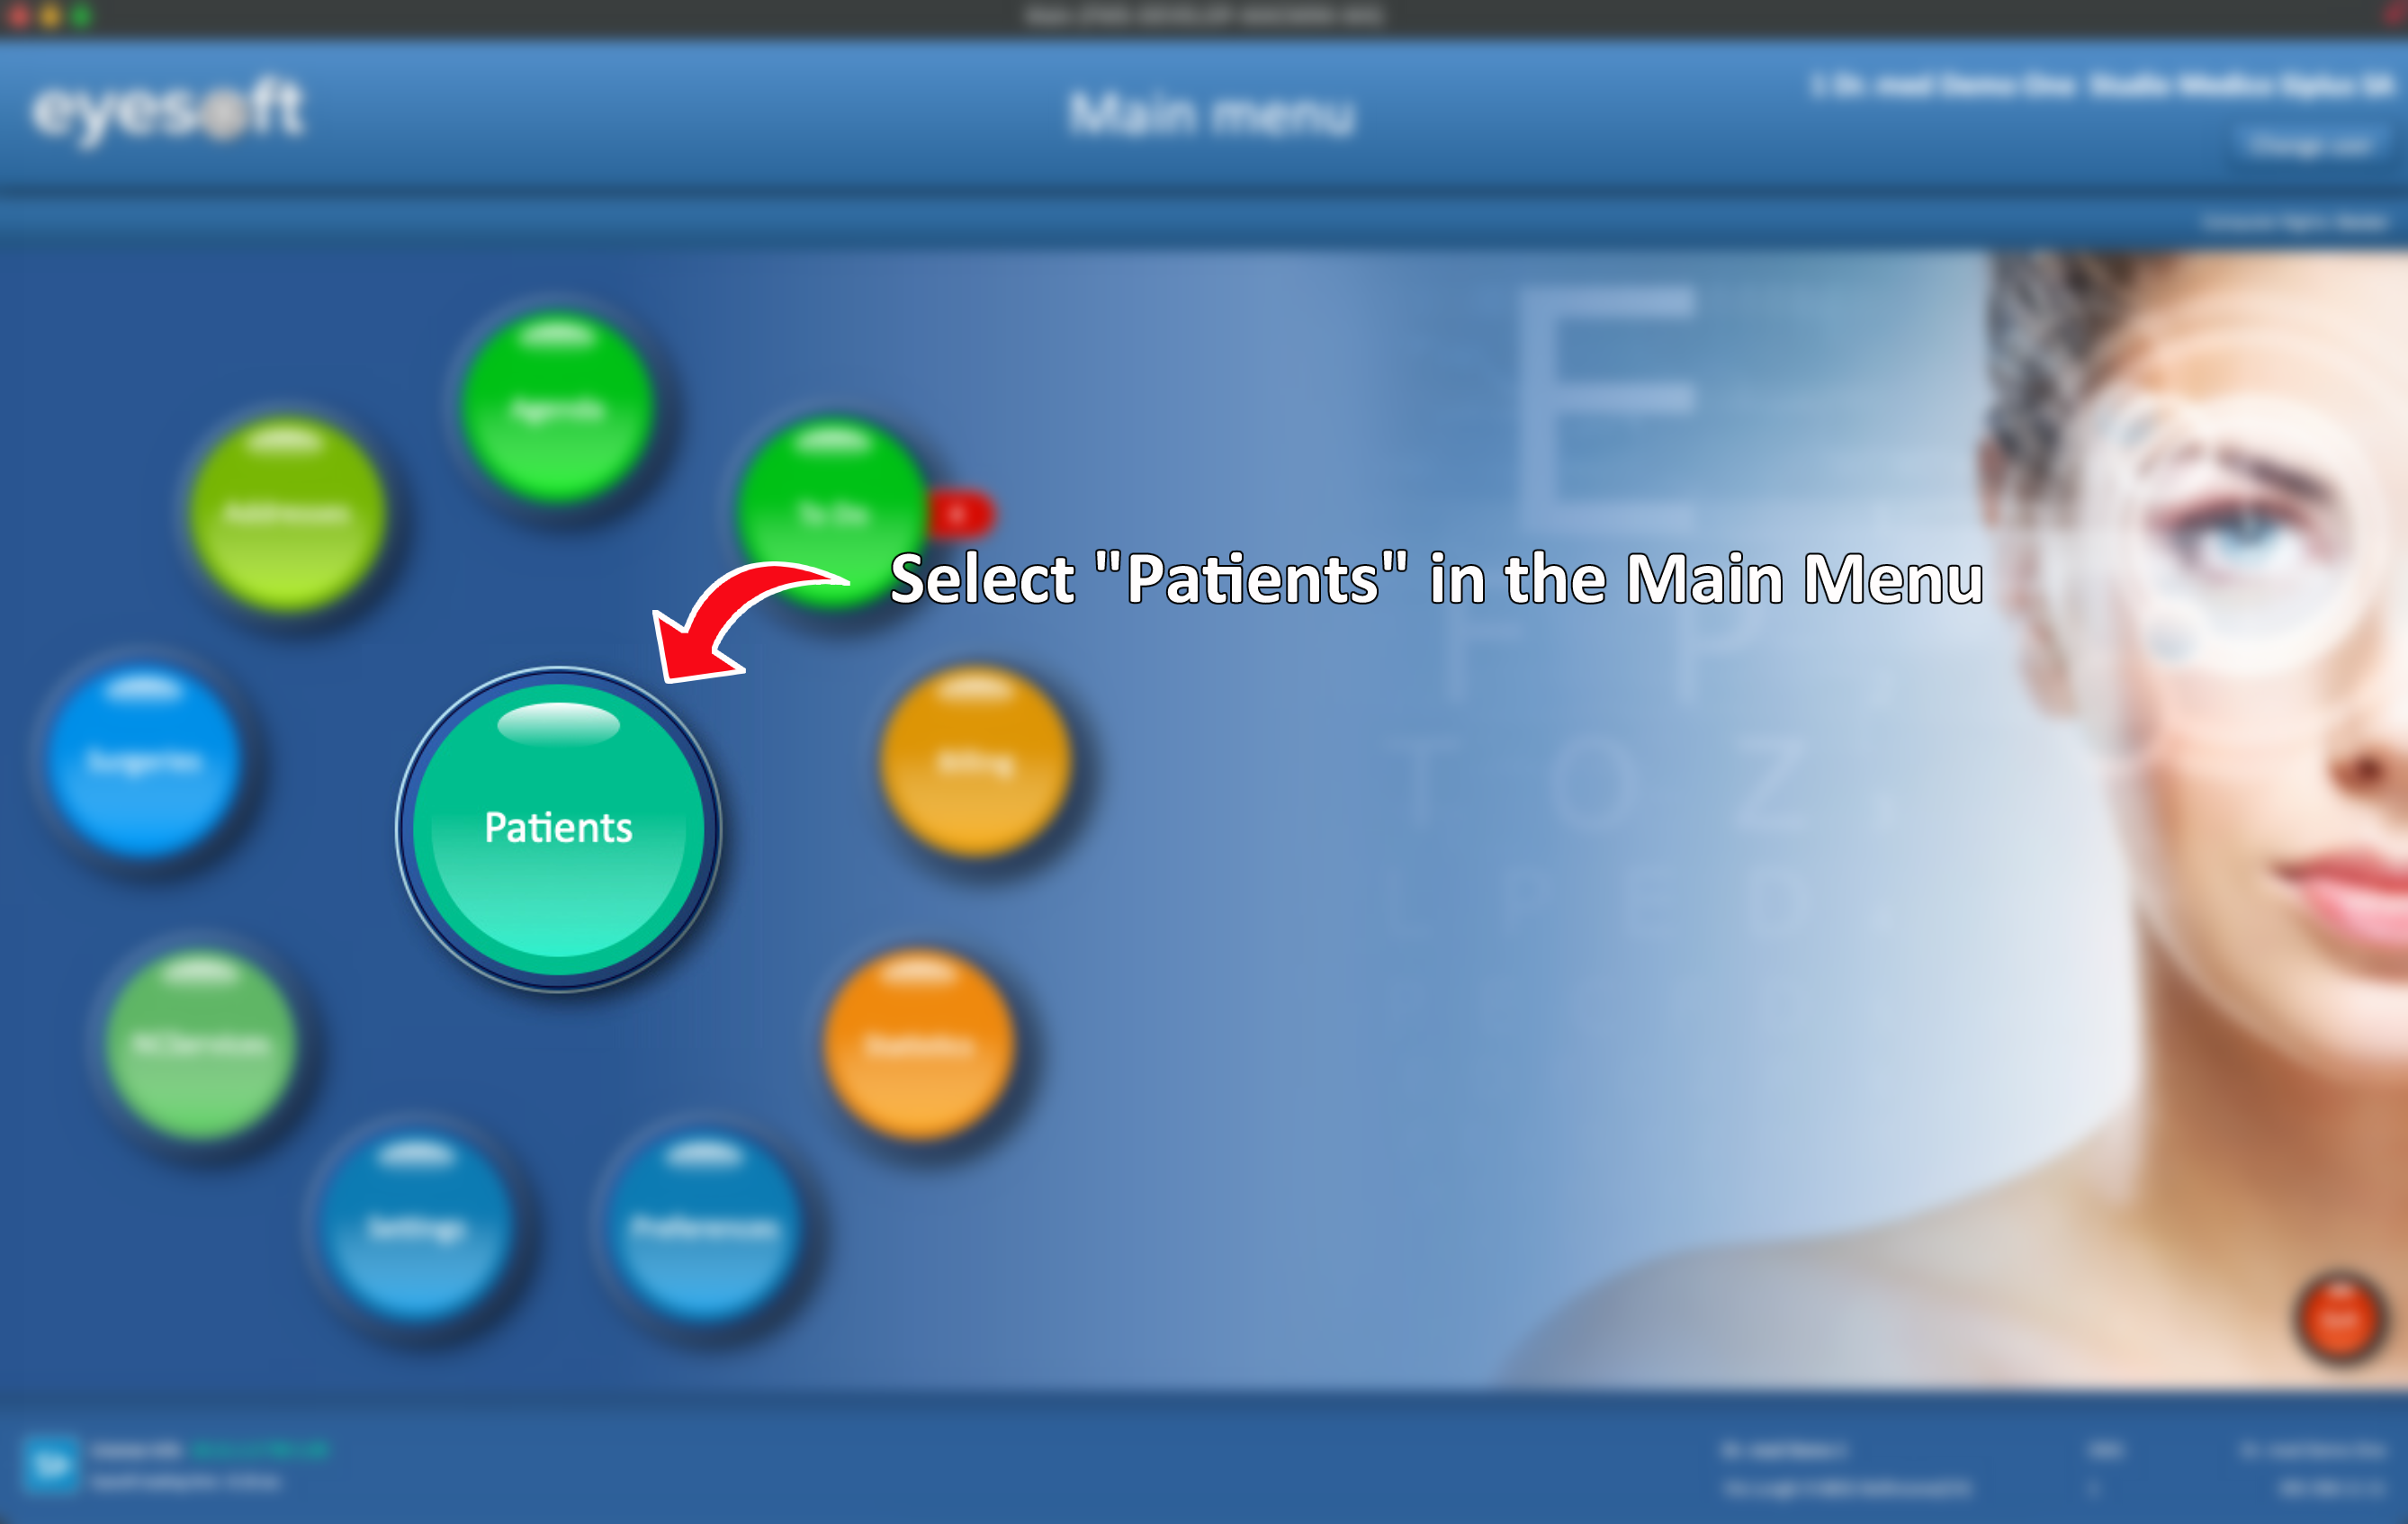
1. How to find the Merge option
- From the Main Menu, click on Patients.
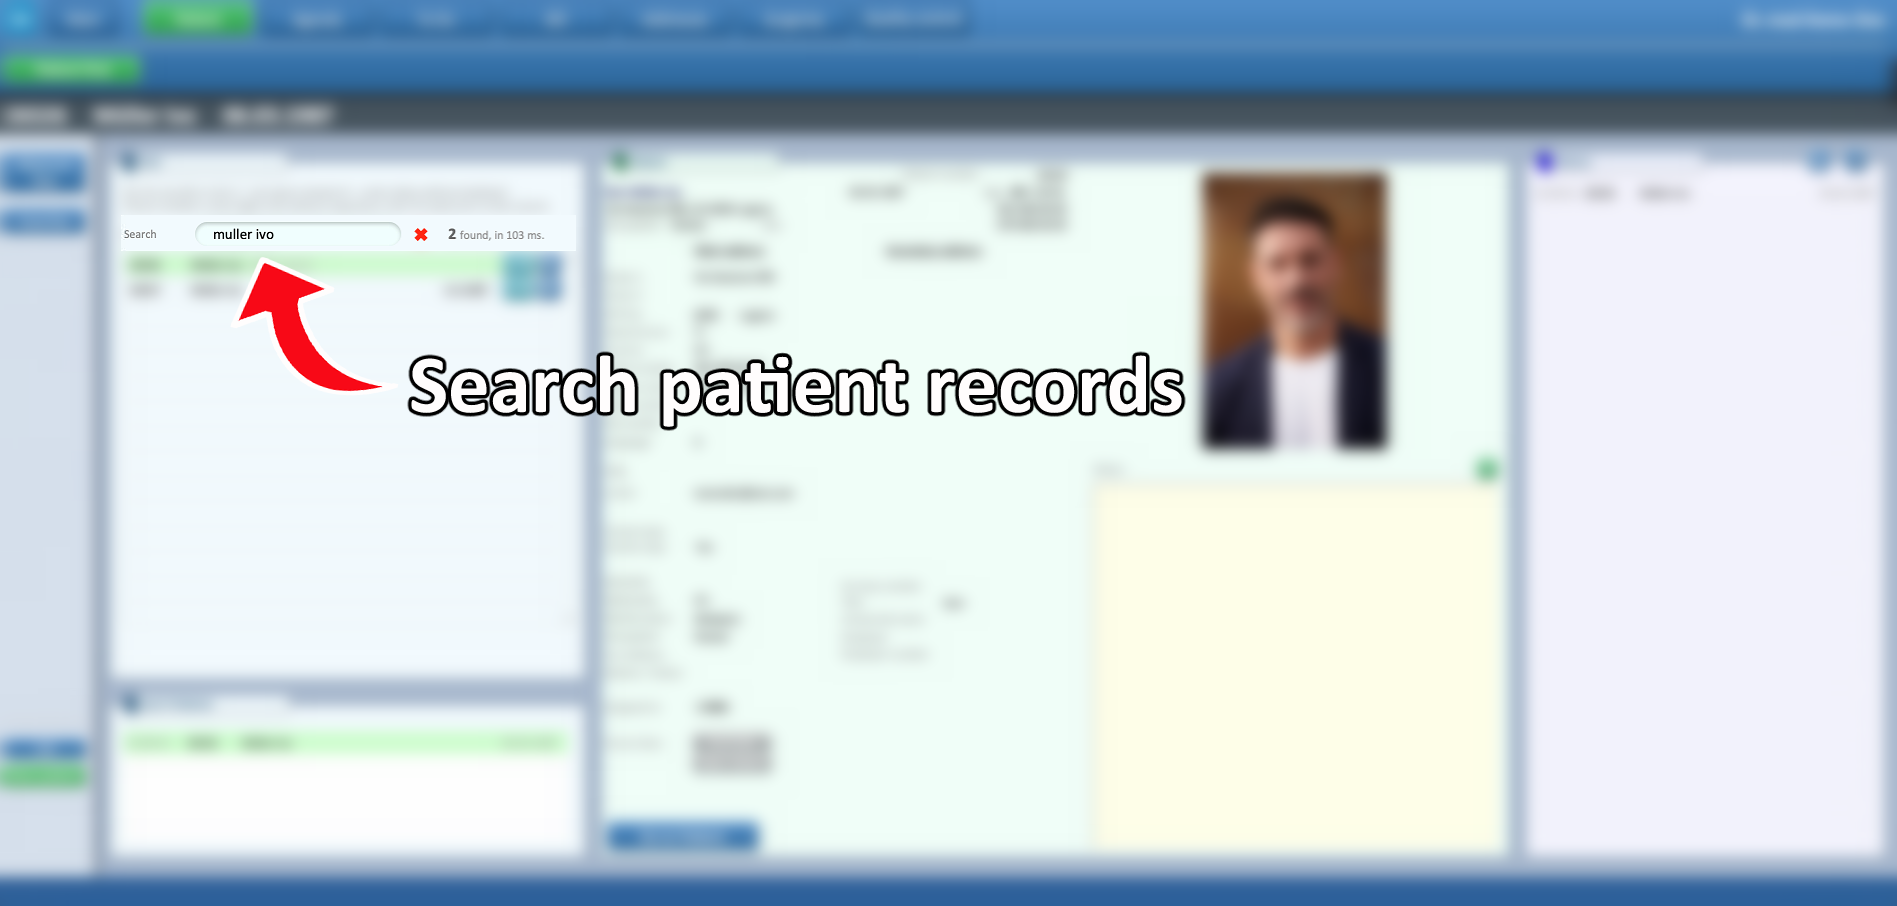
- Use the search bar to locate the patient records.
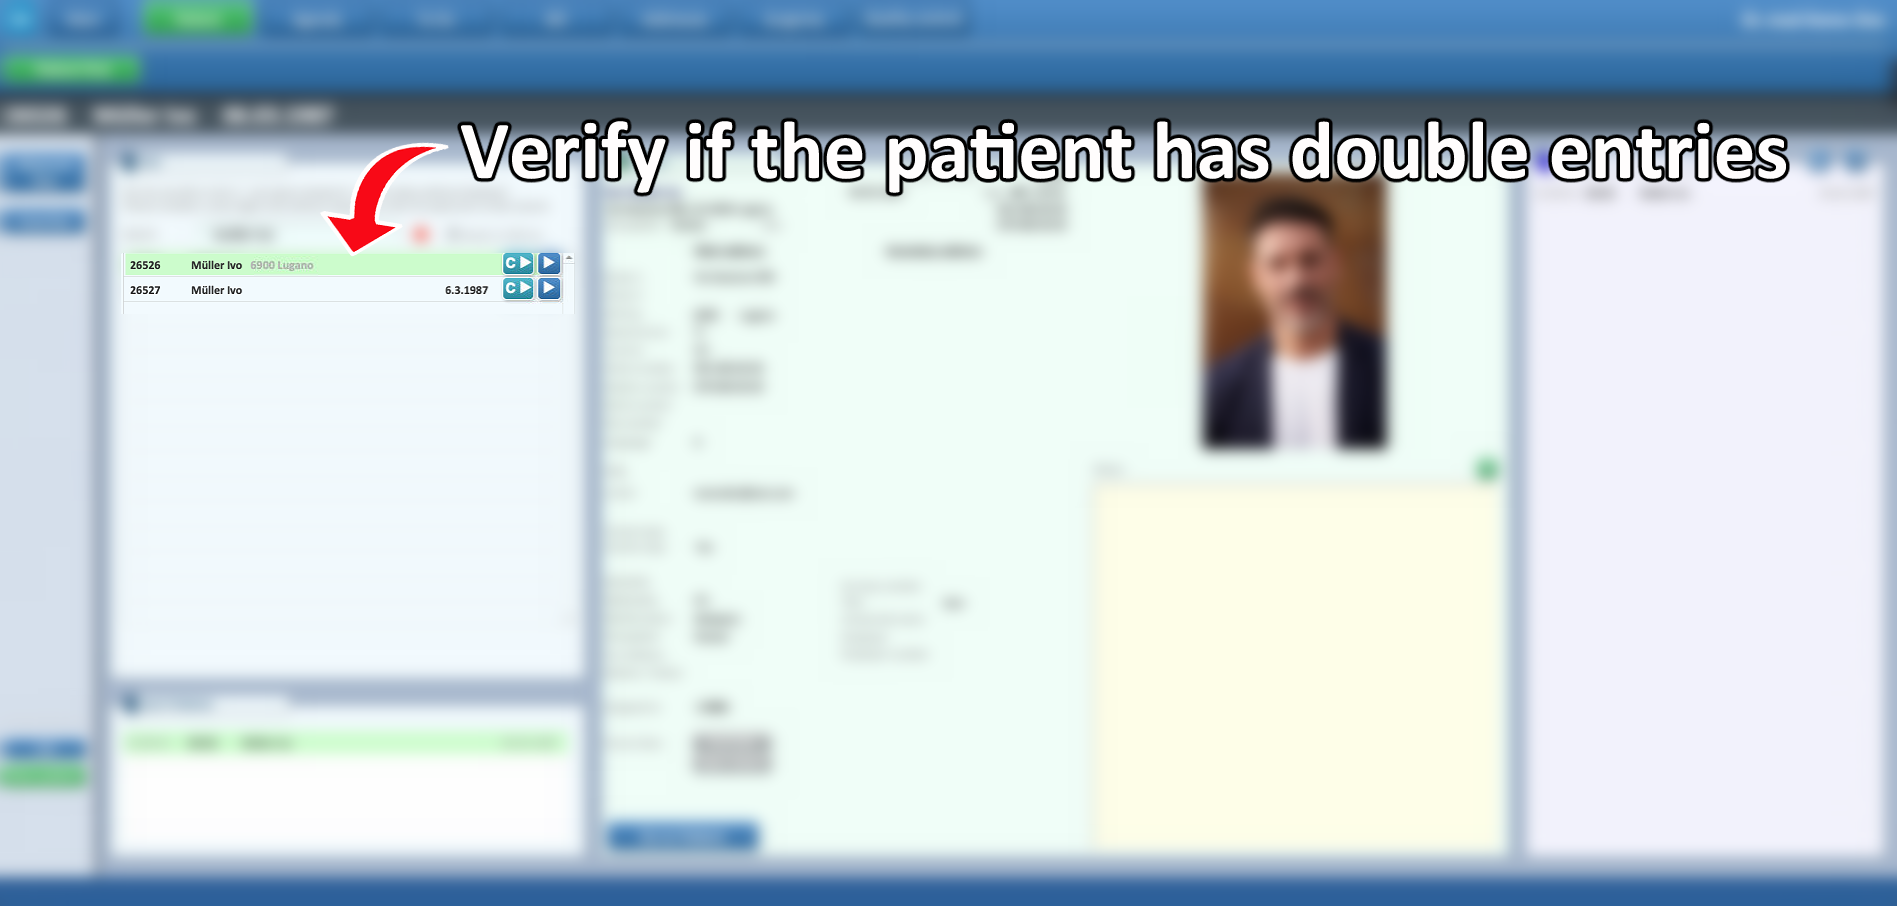
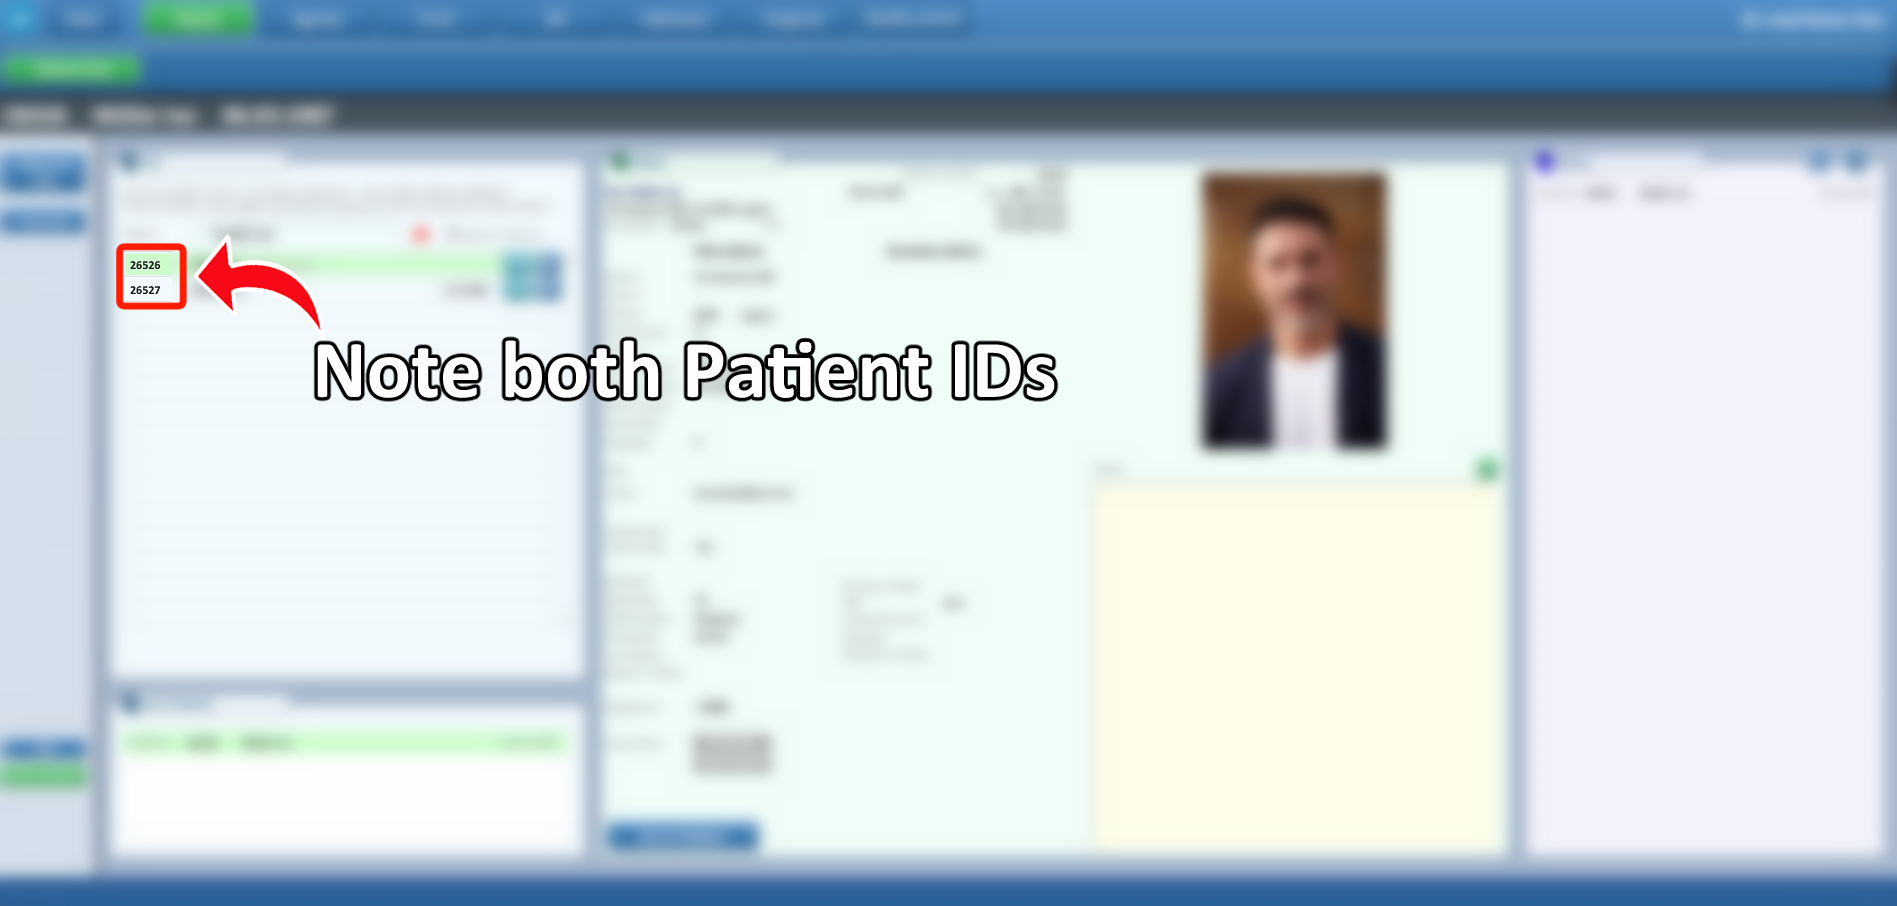
- If multiple records appear for the same patient, carefully verify that they are true duplicates. Take note of both ID numbers, as you will need them during the merge process.
- Before proceeding, be extremely careful in deciding:
-
Which profile you want to continue using (the main record).
-
Which profile you want to transfer data from.
-
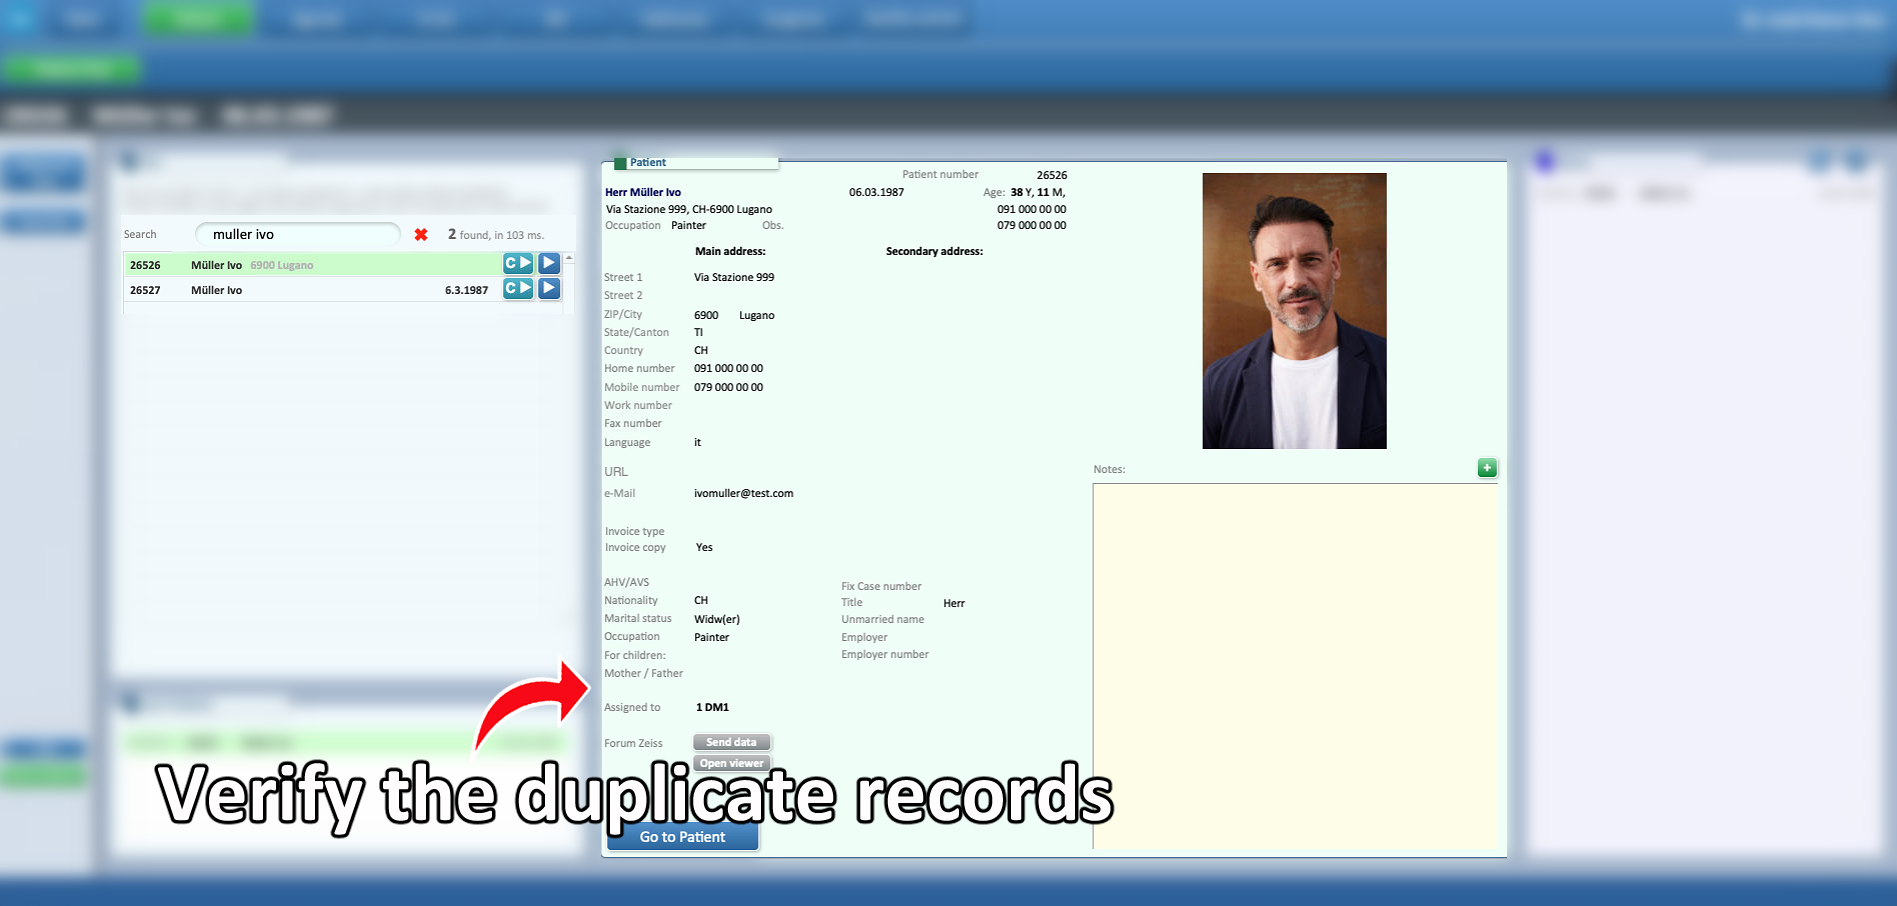
Selecting the wrong record may cause confusion later, so double-check names, dates of birth, and stored information.
- Open the patient profile that you want to continue using as the main record. This will serve as the destination profile during the merge.
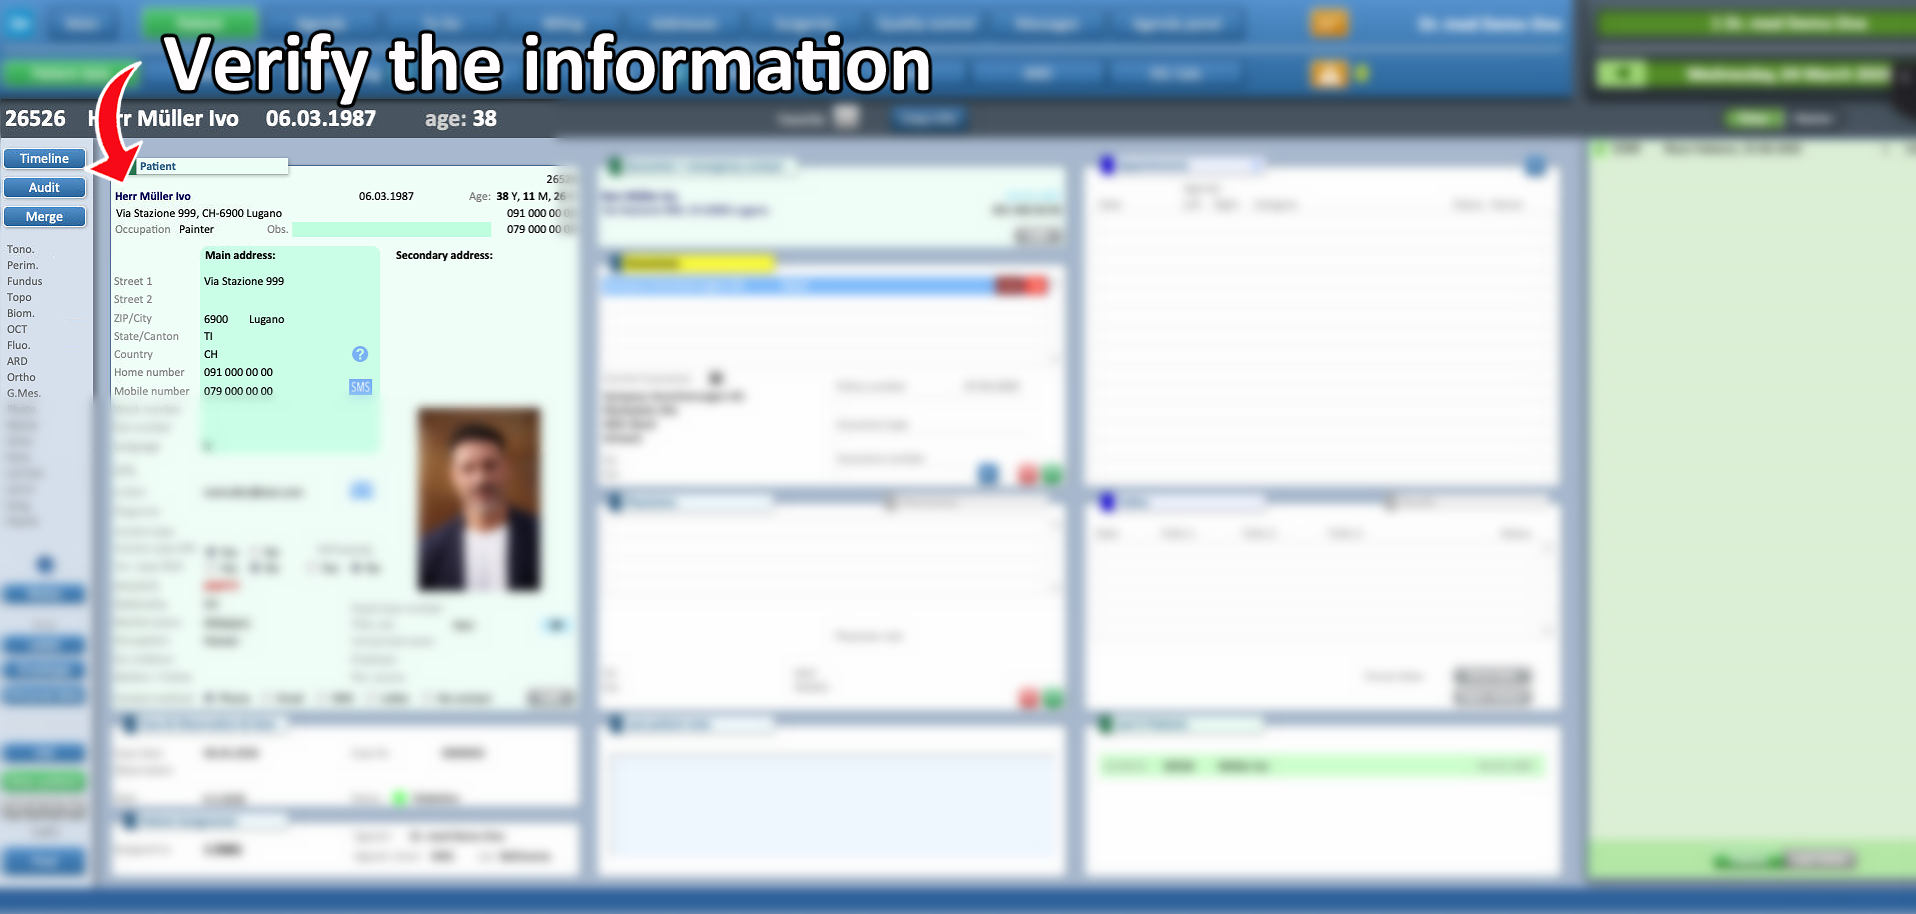
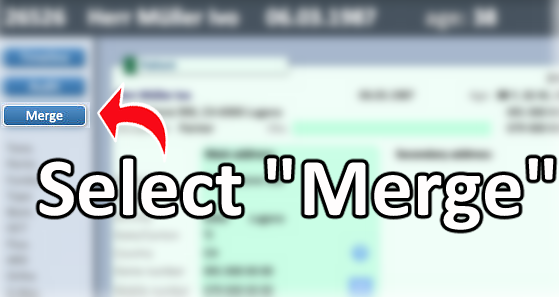
- Inside the selected patient profile, click on the “Merge” button. This will open the merge configuration fields.
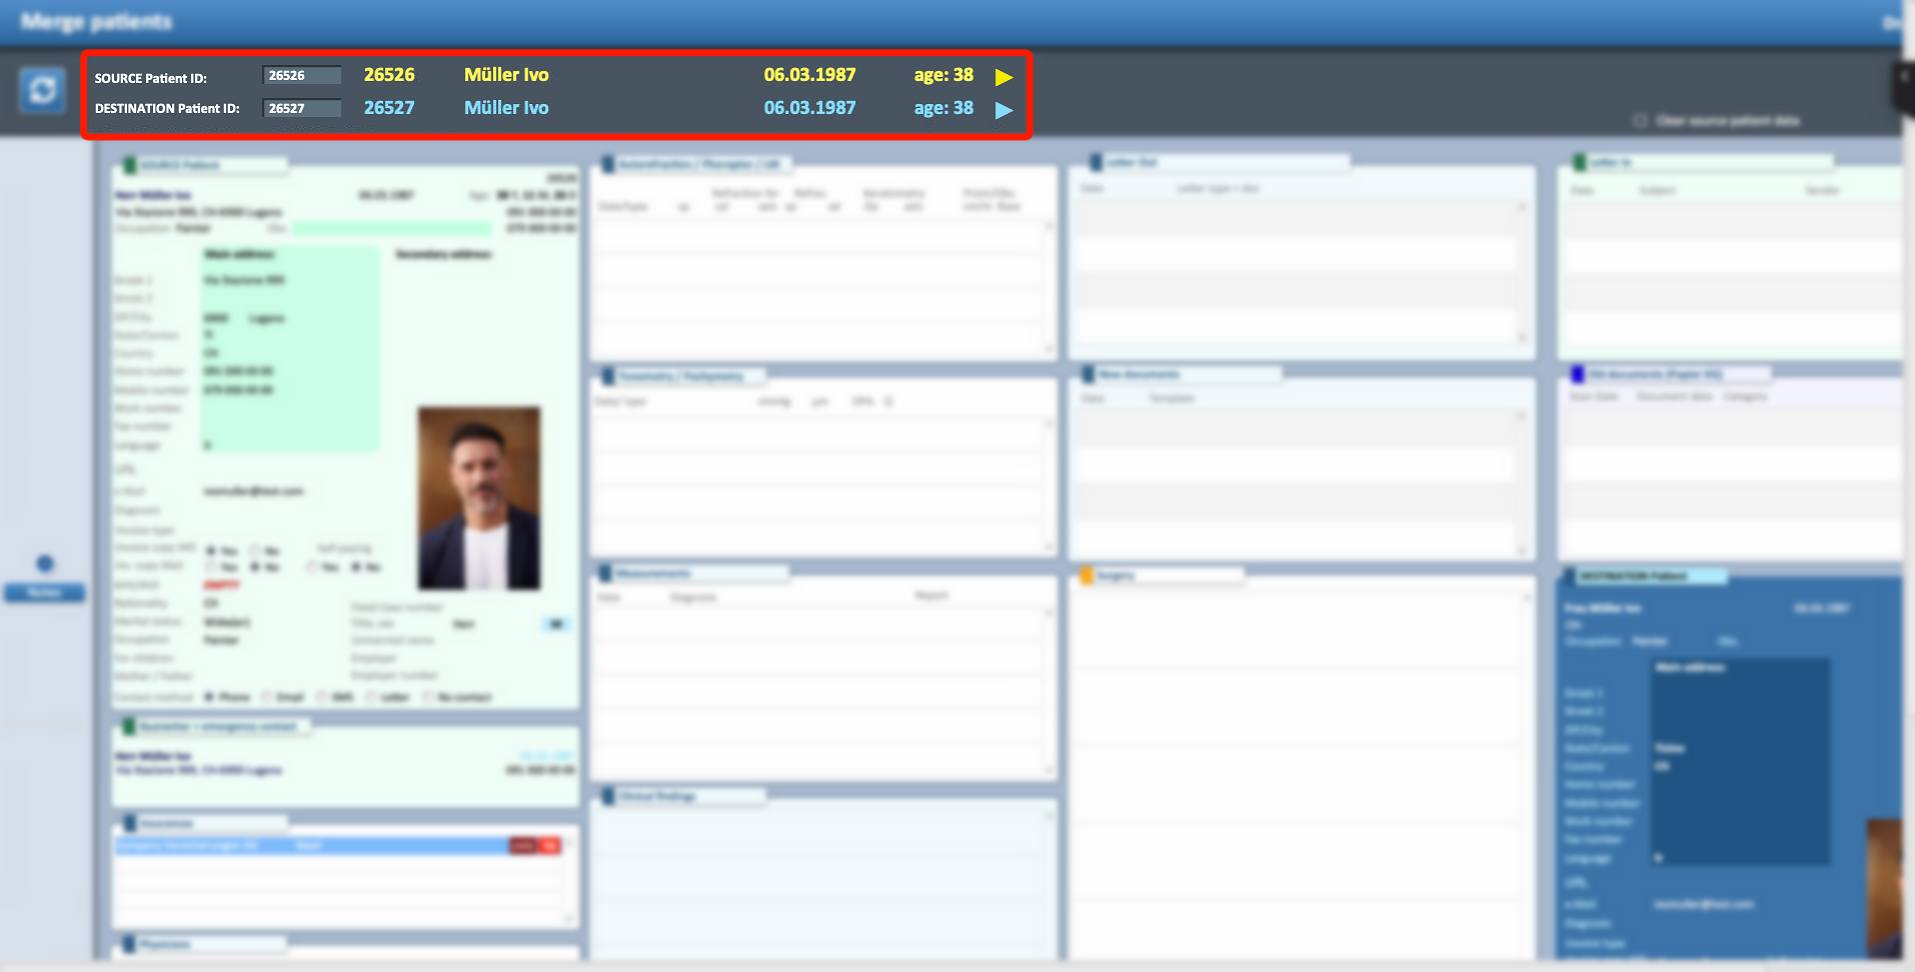
- In the merge window, complete the following fields carefully:
-
Source Patient ID:
Enter the ID number of the profile you want to copy the data FROM (the duplicate record). -
DESTINATION Patient ID:
Enter the ID number of the profile you want to KEEP USING (the main record you opened).
-
⚠ Important: Check Open Invoices Before Merging
Before performing any merge, carefully verify whether one or both patient profiles have open invoices.
This step is extremely important to avoid billing errors, accounting inconsistencies, or data misplacement.
Below are four possible cases you may encounter:
-
Case 1: One Profile Has Open Invoices
-
Profile 1 (older) has only closed invoices
-
Profile 2 (newer) has at least one open invoice
-
What to do:
Be very careful to import the data from the profile where invoices are closed into the profile where invoices are still open.
This ensures that all active billing remains correctly linked to the working profile.
-
Case 2: Both Profiles Have Open Invoices
-
Profile 1 has open invoices
-
Profile 2 has open invoices
-
What to do:
⚠ Do NOT perform the merge yet.
Wait until one of the profiles has all invoices closed before proceeding. This prevents invoice conflicts or incorrect financial records.
-
Case 3: Both Profiles Have Closed Invoices but Different Personal Data
-
Both profiles have only closed invoices
-
Personal data differs (address, phone number, etc.)
-
What to do:
Import the data into the profile that contains the most updated personal information to maintain accurate patient records.
-
Case 4: Both Profiles Have Closed Invoices and Same Personal Data
-
Both profiles have only closed invoices
-
Personal information is identical
-
What to do:
The merge can be done according to your preference, as there is no billing or data conflict.
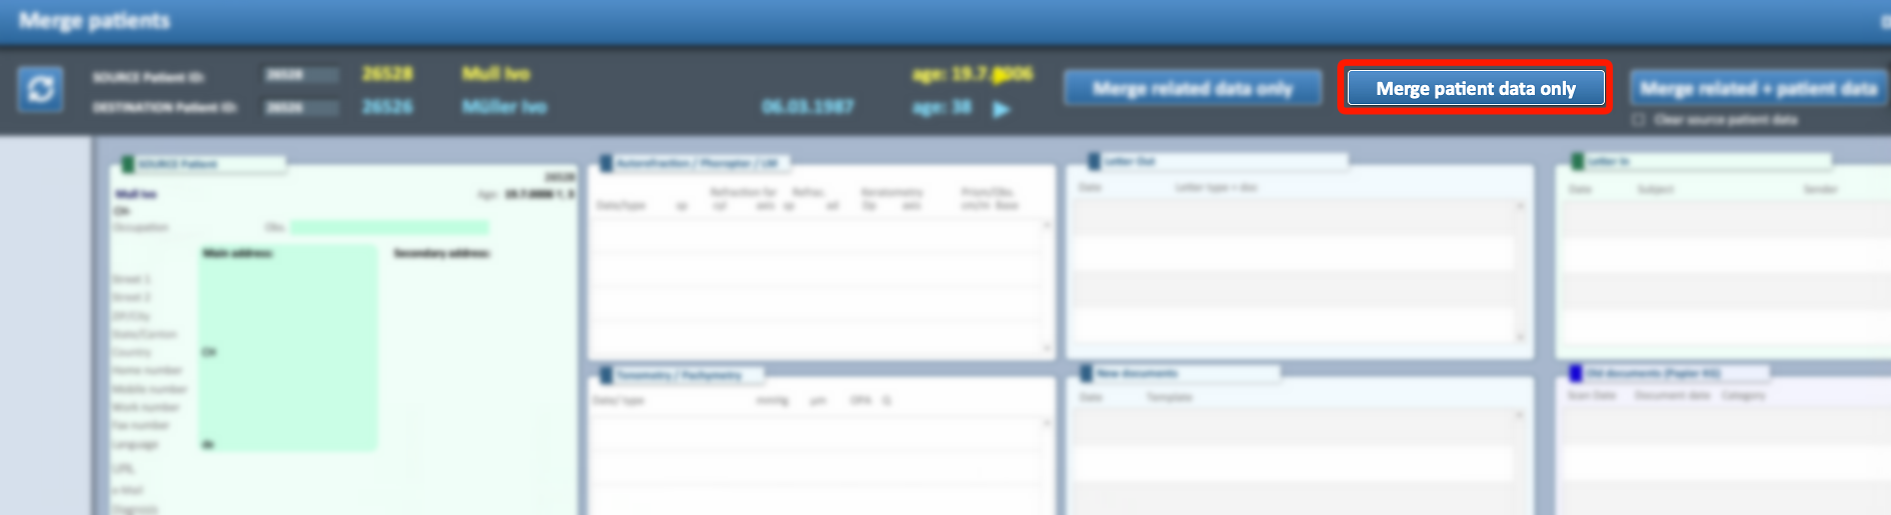
2. Types of Merge
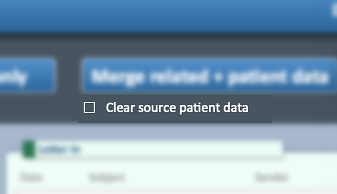
⚠ Important: When doing a merge, if the option clear source patient data is active, any data inside the Source Patient ID will be deleted permanently.
This will in turn make the Source profile disappear from a search, but won't be possible to retrieve without IT help.
A merge can be performed in three different ways, depending on what information needs to be transferred:
-
Merge Related Data Only this option will import all related information except personal data.
Examples of imported data:-
Invoices
-
Biometrics
-
Letters
-
Attachments
-
Clinical records
-
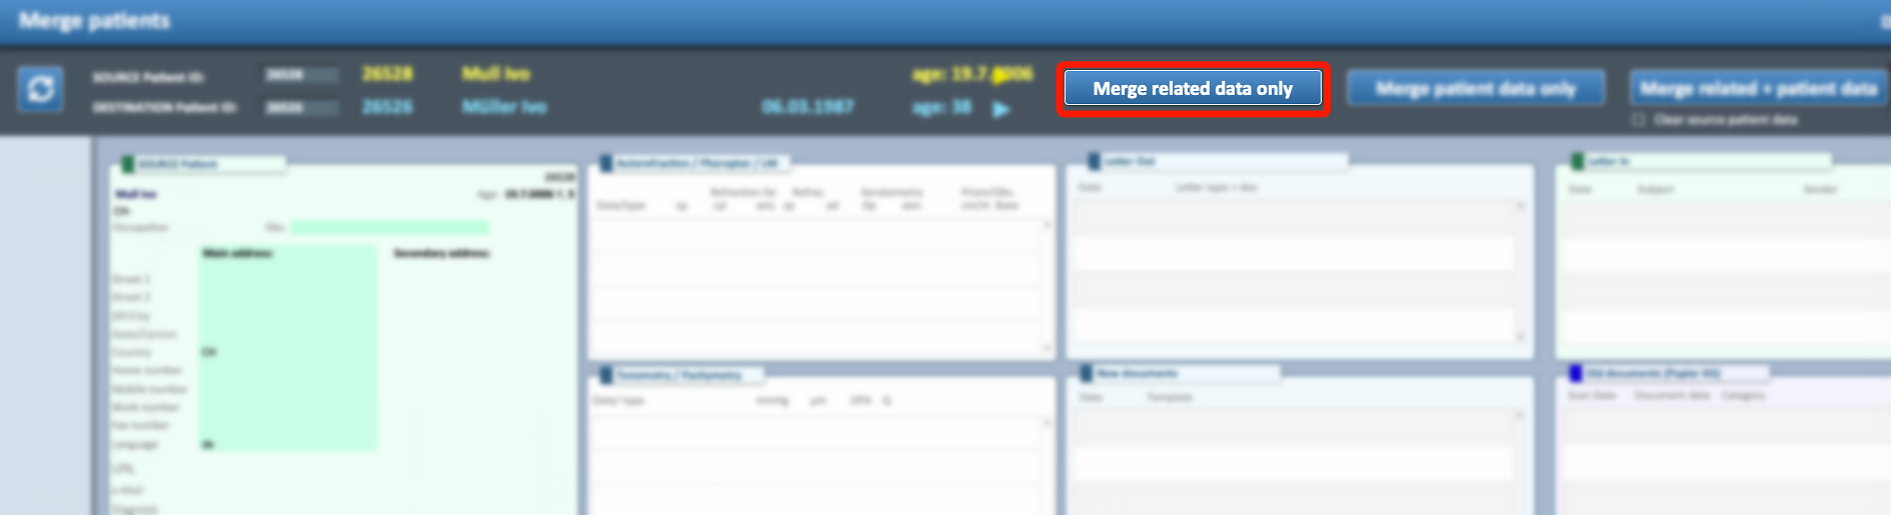
-
Merge Personal Data Only this option will import only the patient’s personal information
Examples of imported data:- Name and surname
- Date of birth
- Address
- Contact details
- Merge Related + Patient Data this option will import all available information.
This is the complete merge option.
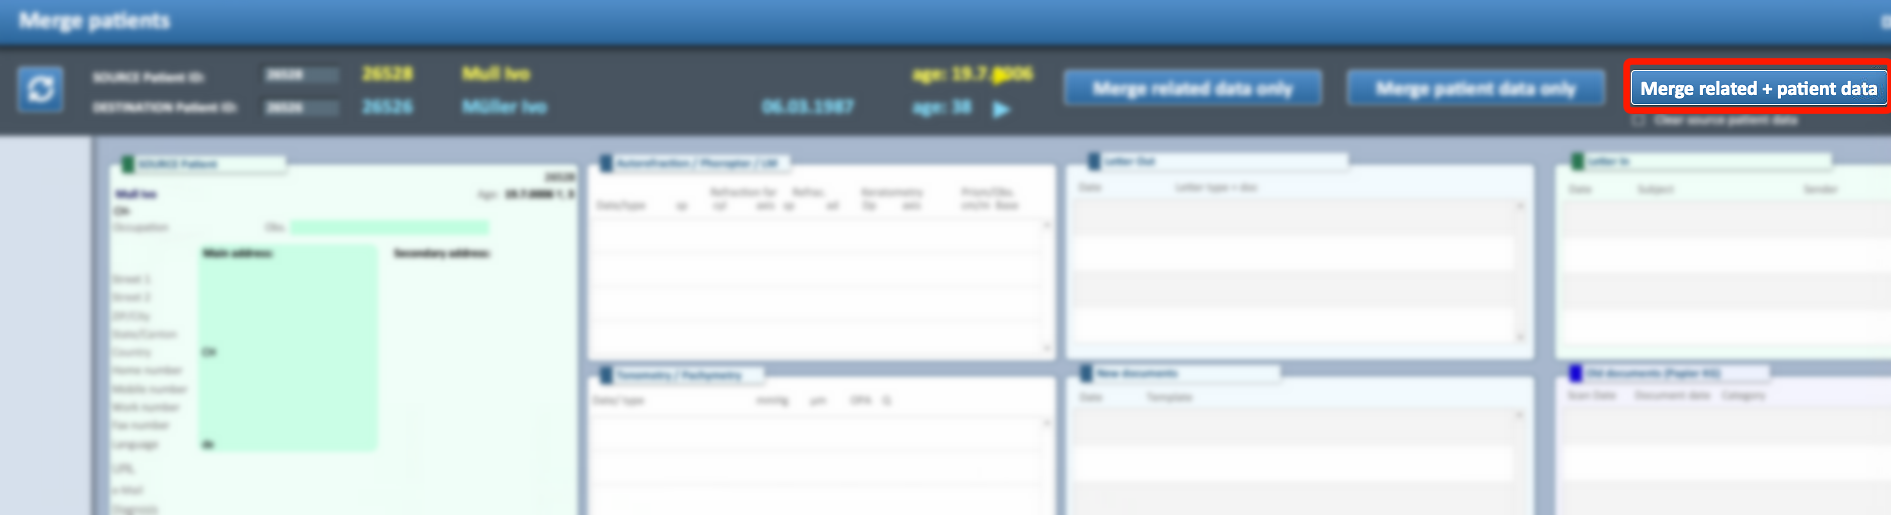
⚠ WARNING
-
The Source Patient ID will NOT be deleted after the merge
-
It will still appear in search results, unless clear source patient data is active
-
When opening it, a pop-up message will appear, indicating that another profile must be used instead

