Settings - How to Edit Header/Signature
Last updated: May 29, 2026
391
views

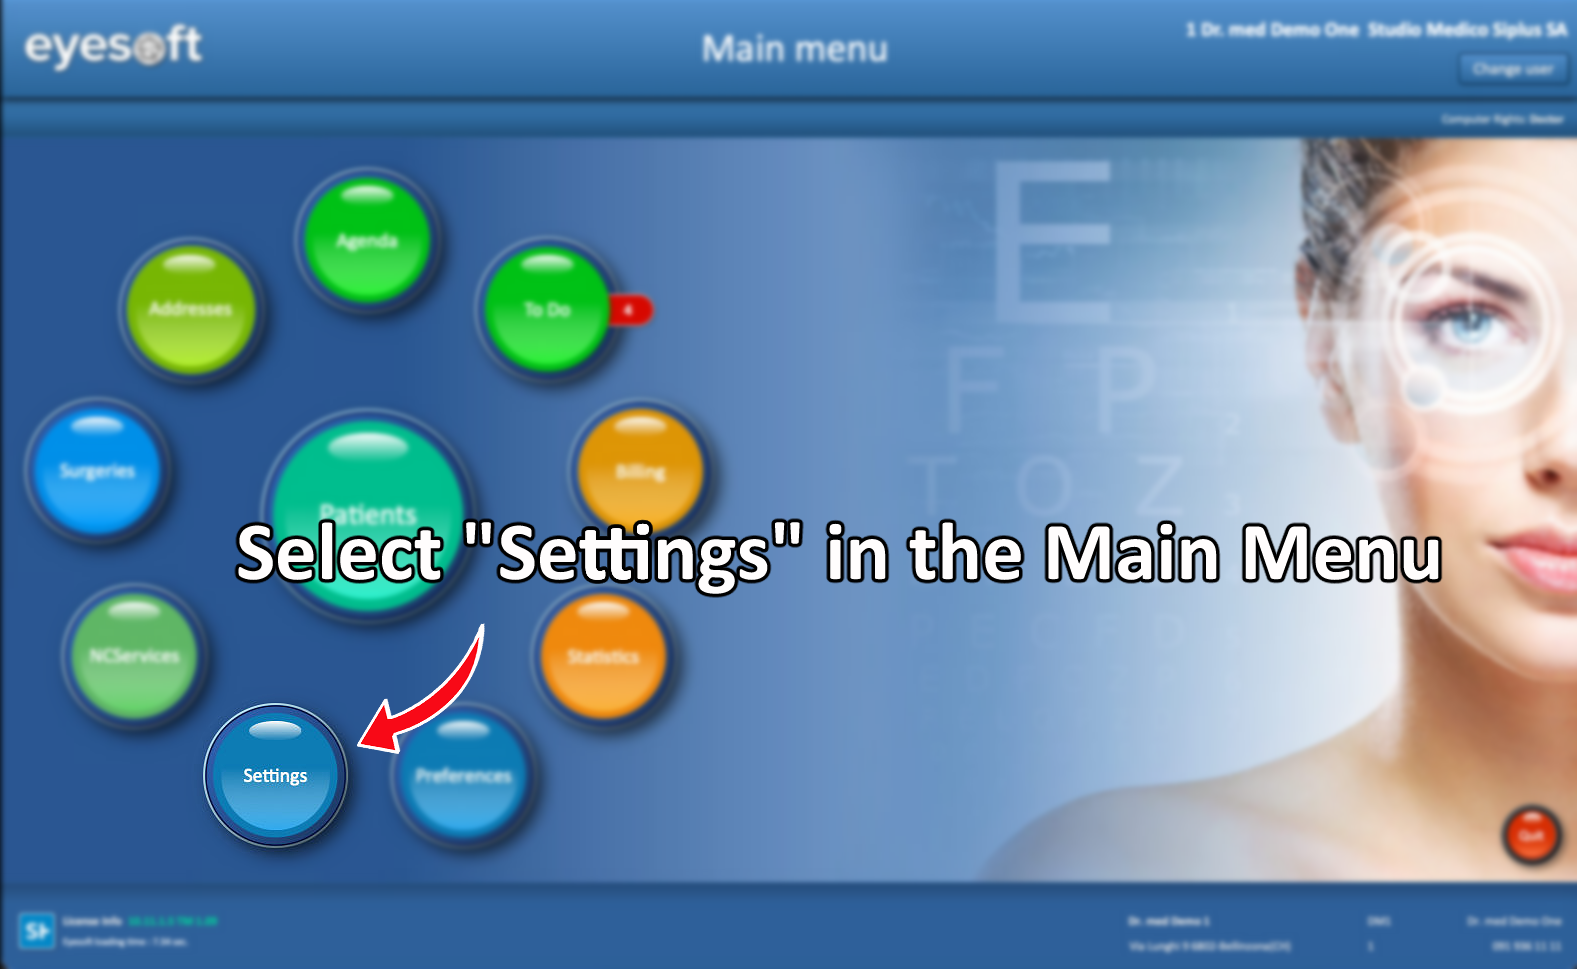
- Select Settings in the Main Menu
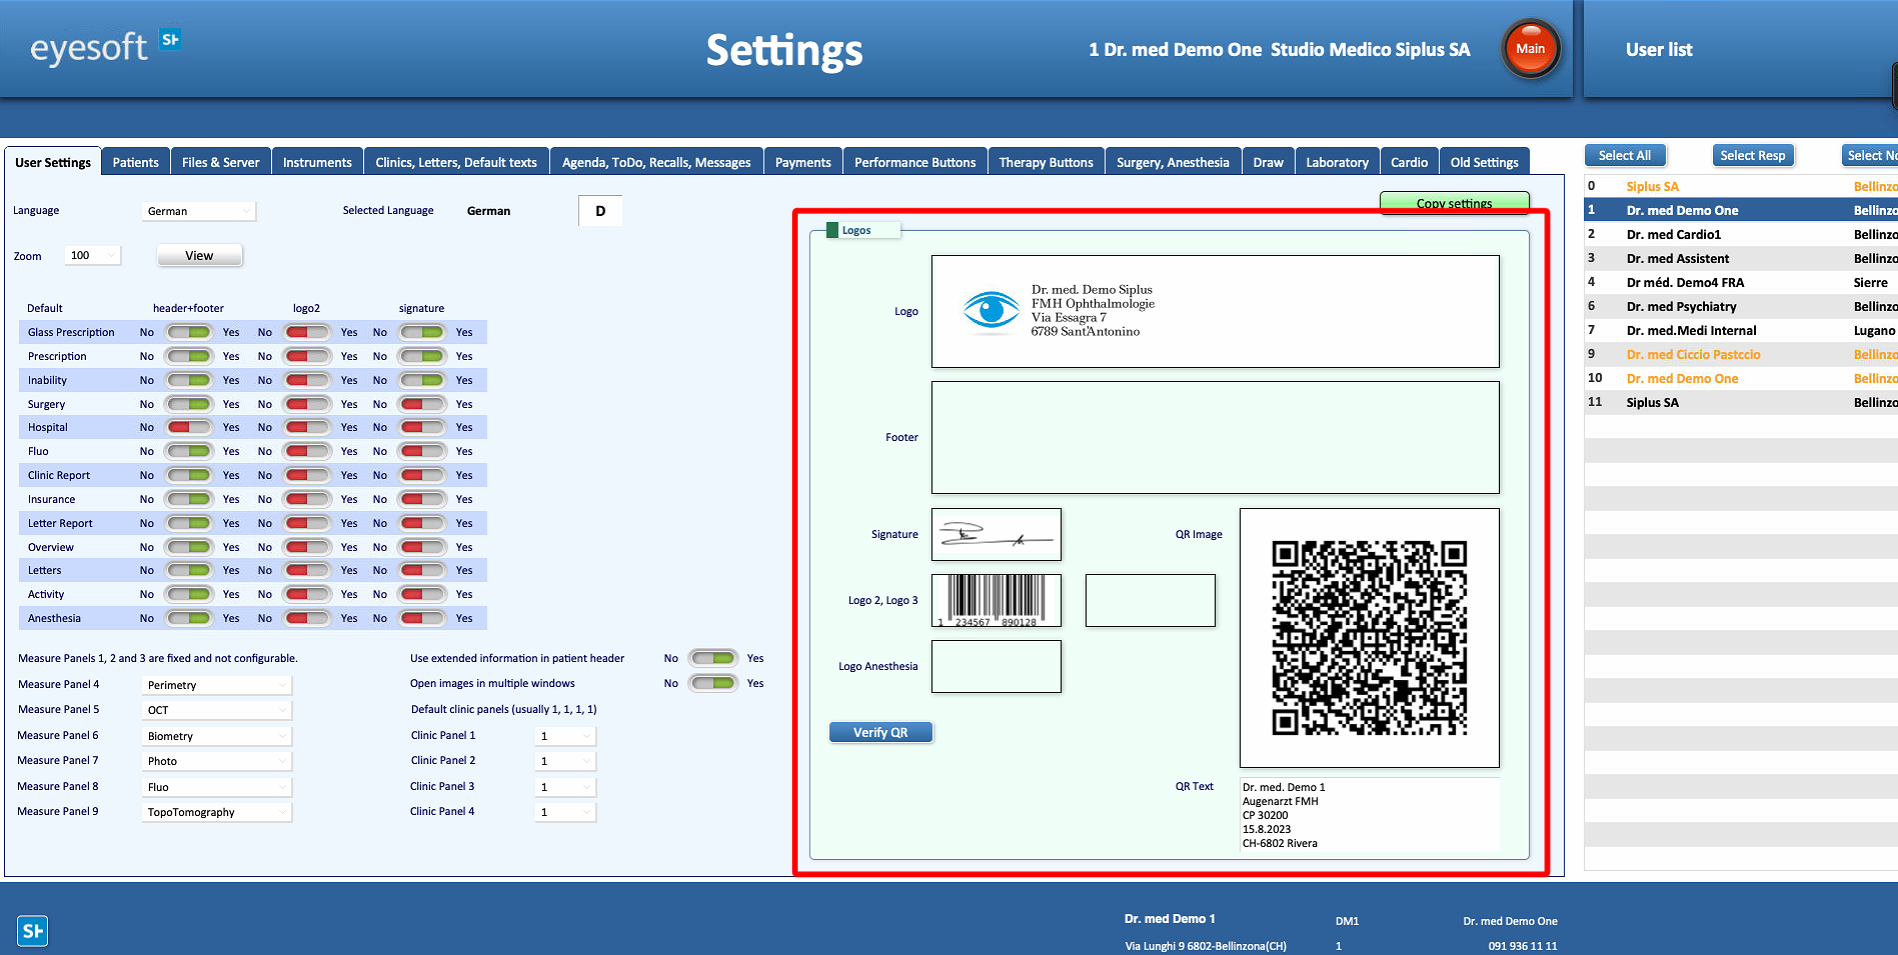
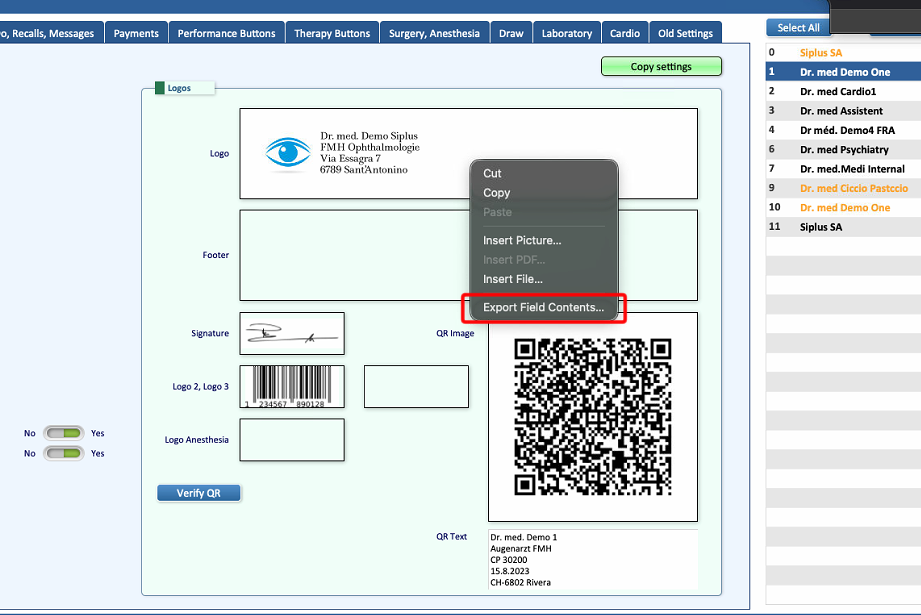
- The page opens directly in the correct section. All letter details can be edited from the right-hand panel, including:
Importing files
-
The existing image can be replaced by uploading a new file, copying and pasting it, or dragging it into the designated field.
- Inserting an image in this field replaces the header (main logo).
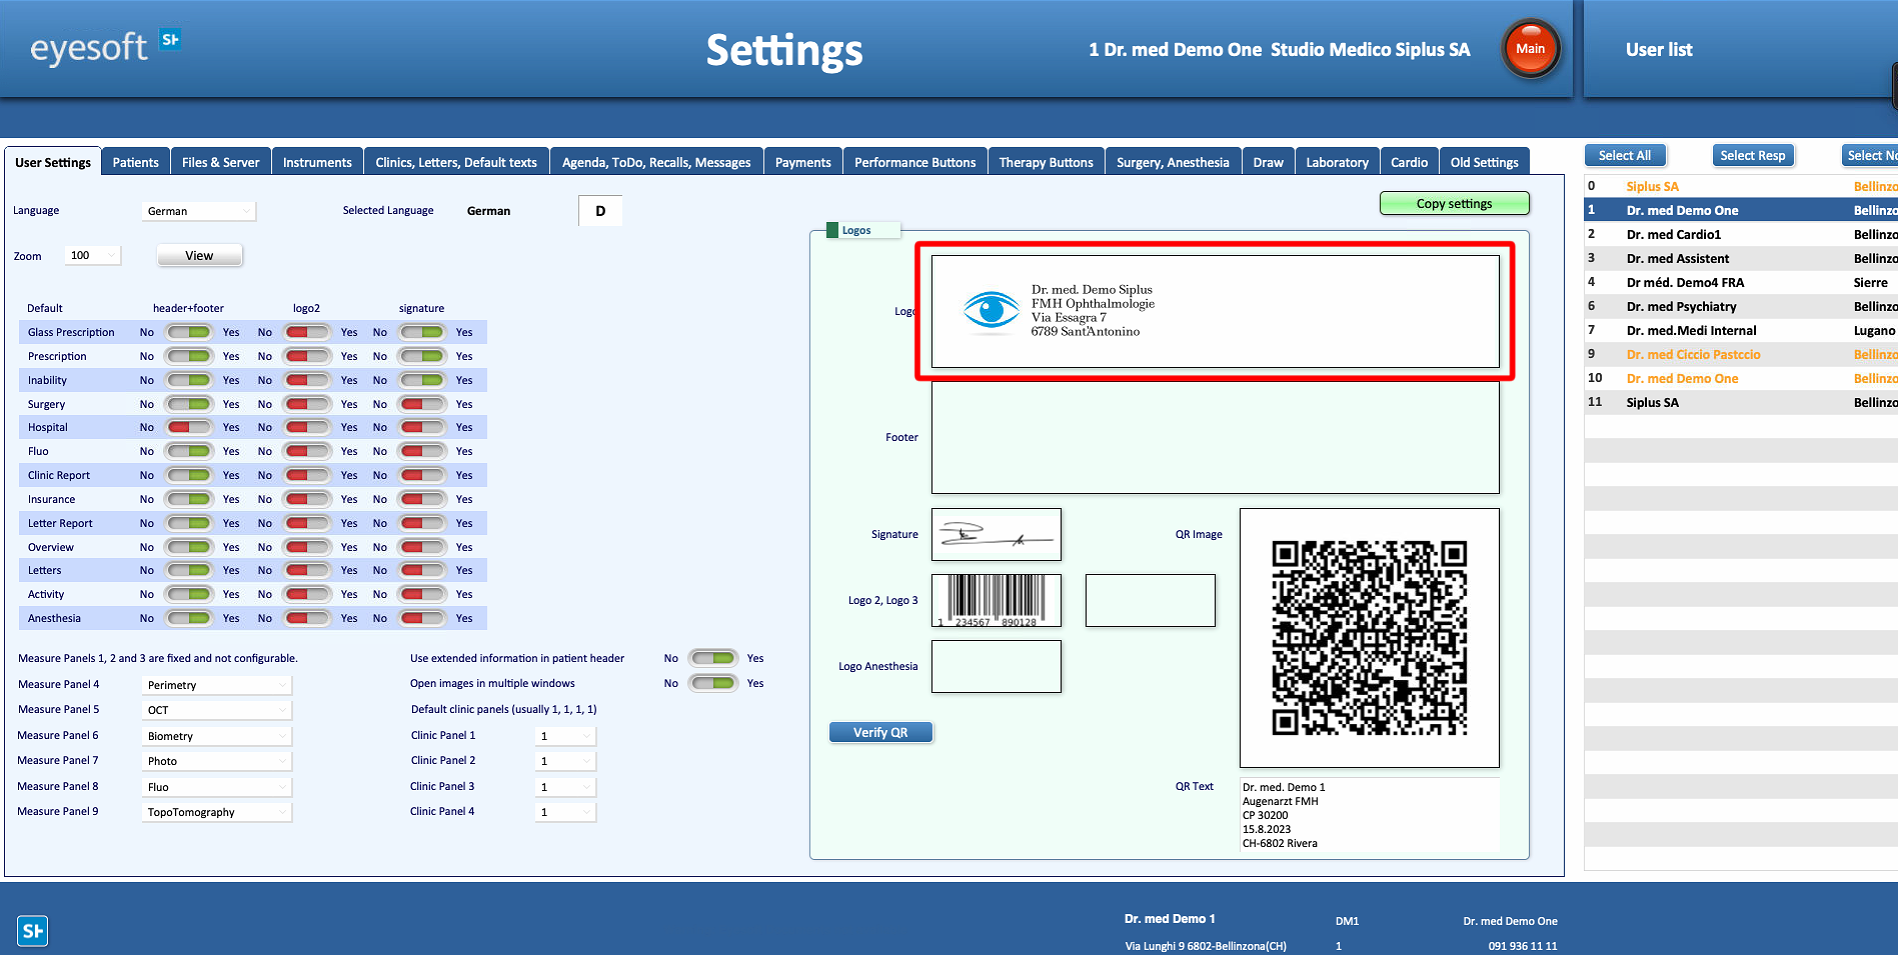
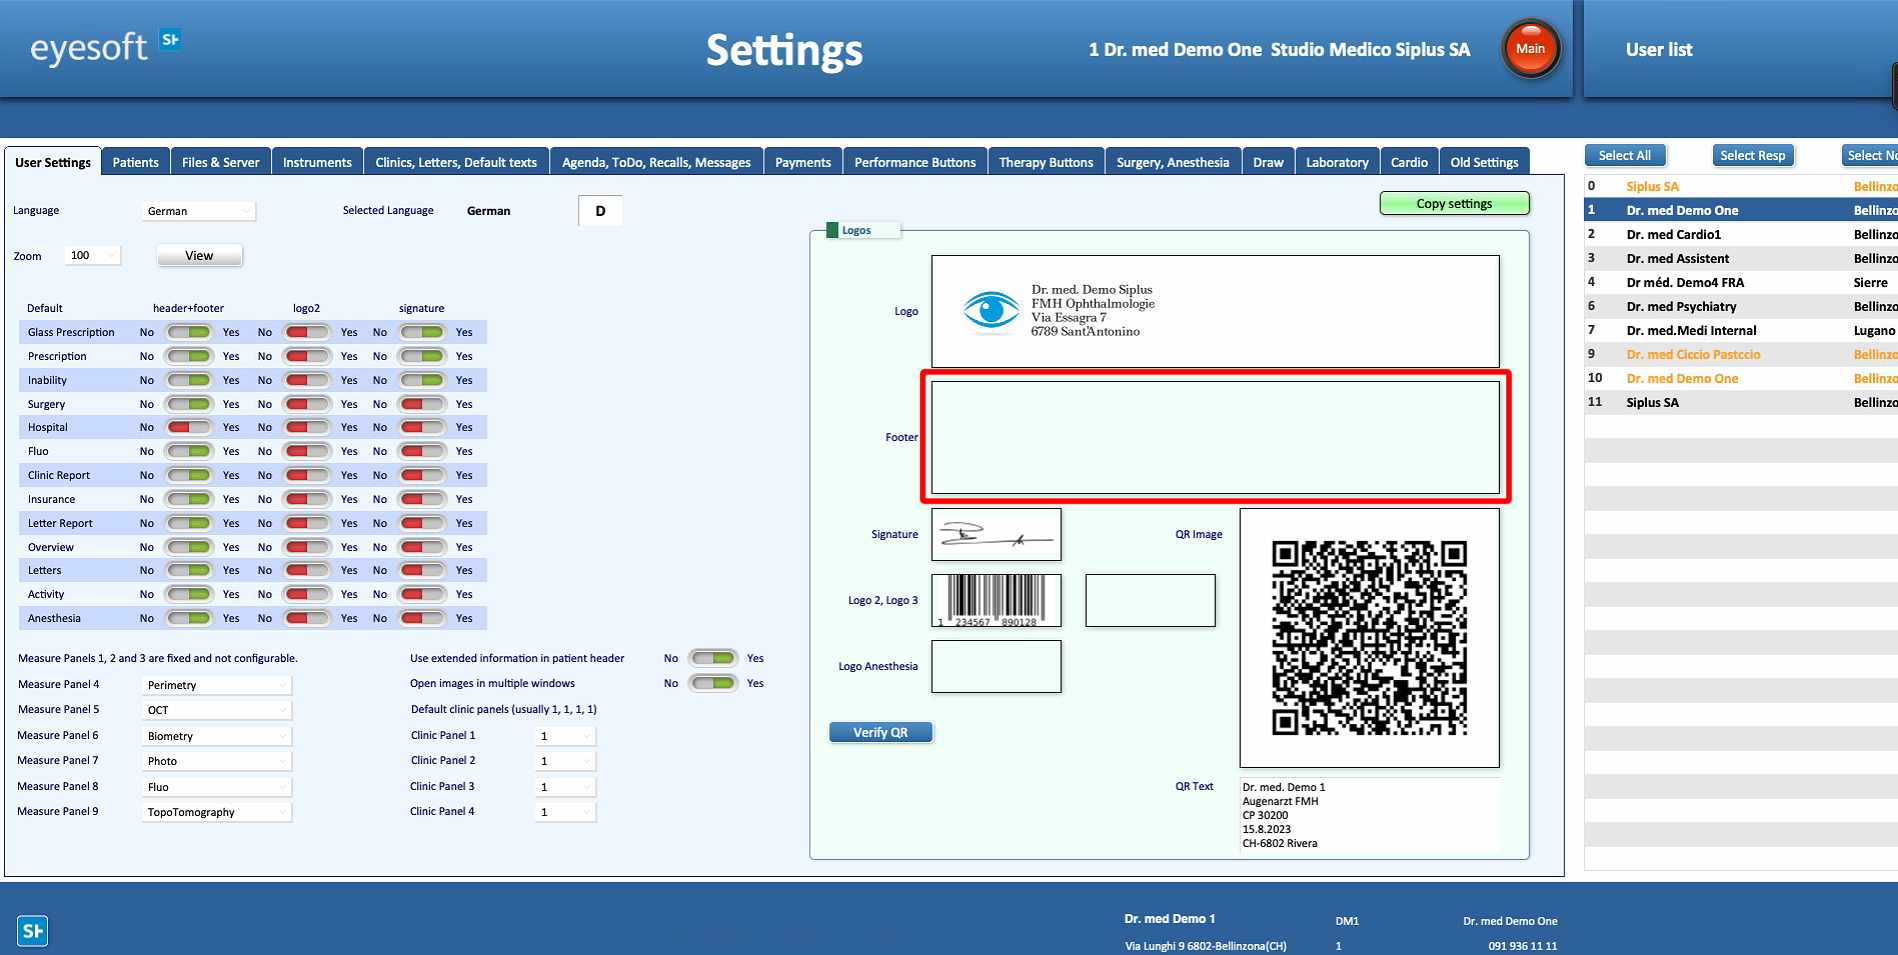
- Inserting an image in this field replaces the footer.
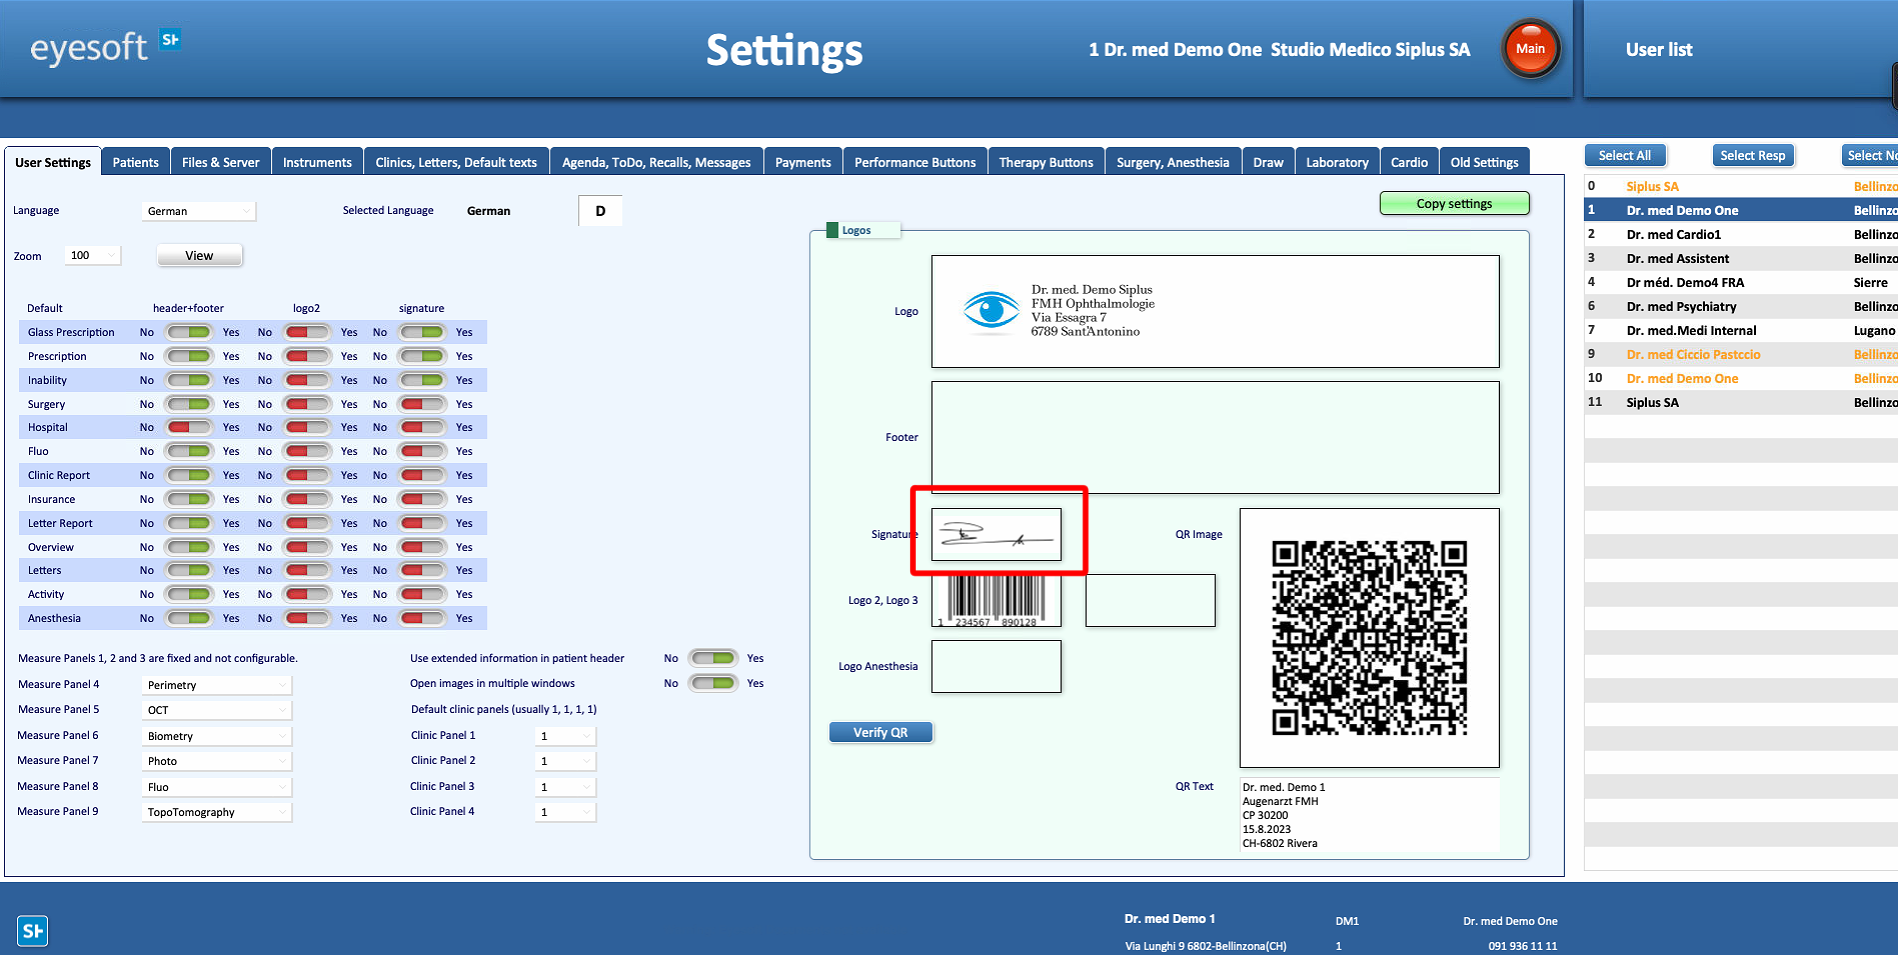
- Inserting an image in this field will replace the signature.
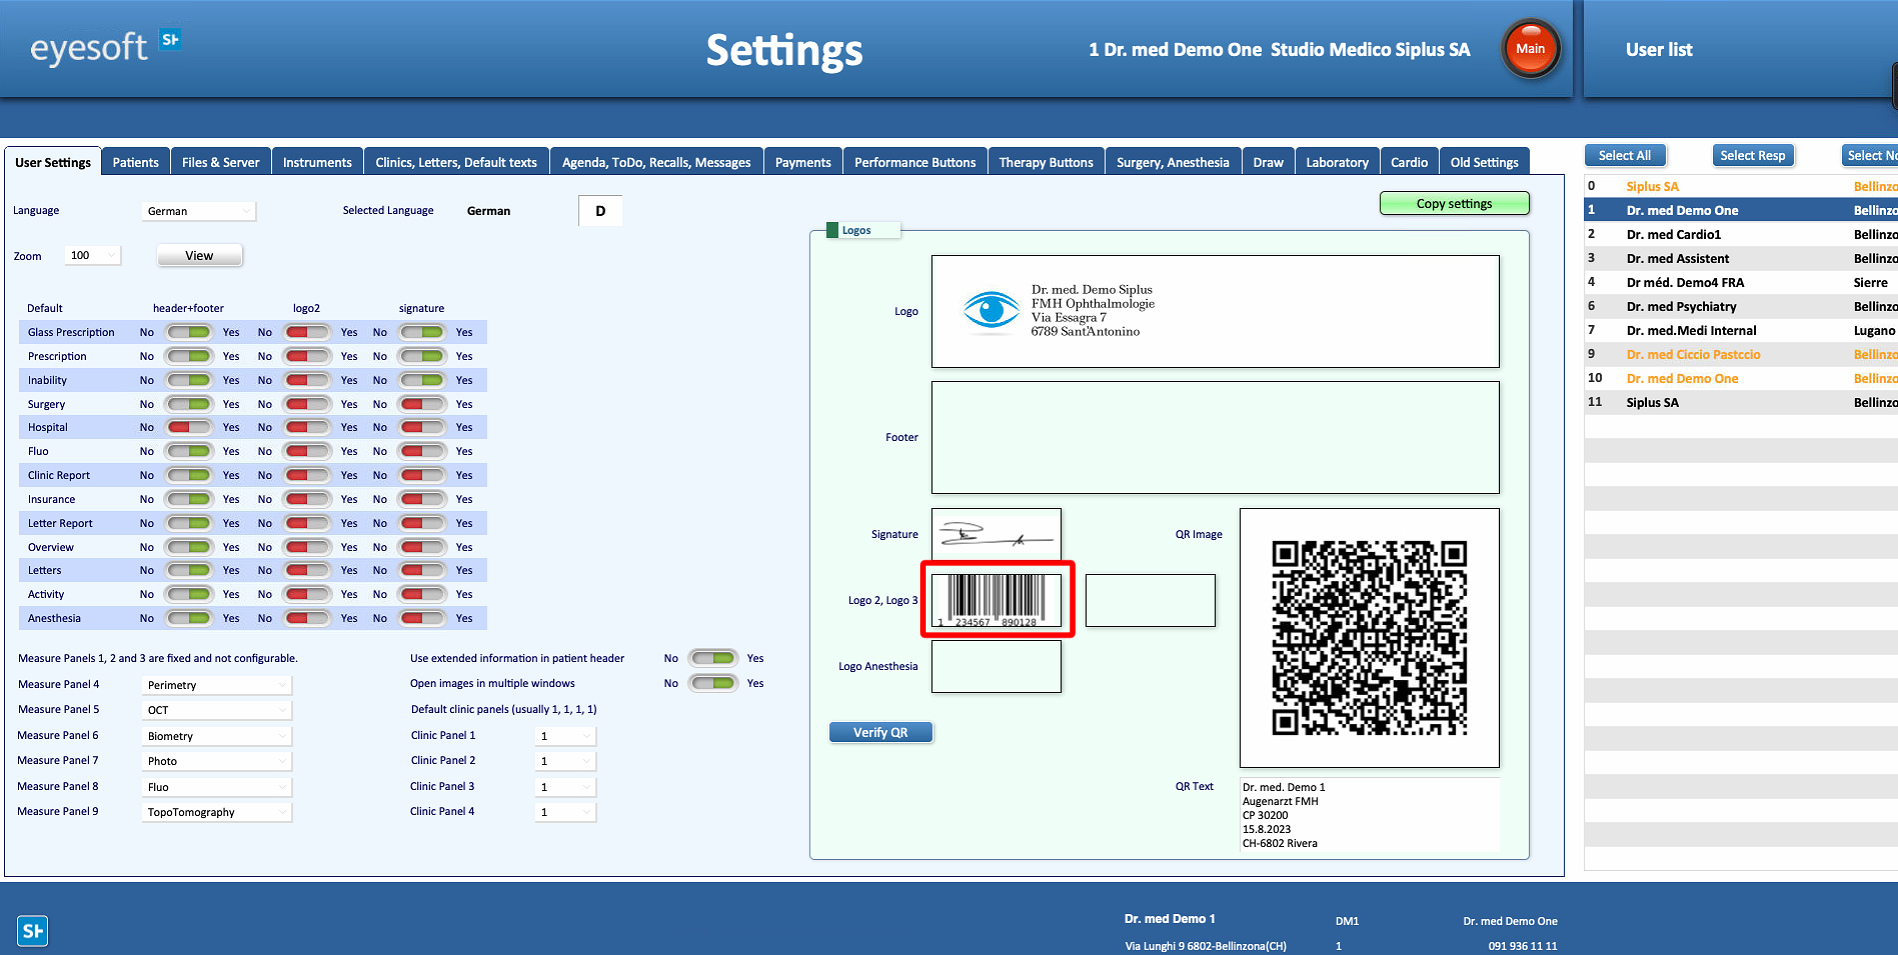
- Inserting an image in this field replaces secondary Logo.
- Inserting an image in this field replaces third Logo.
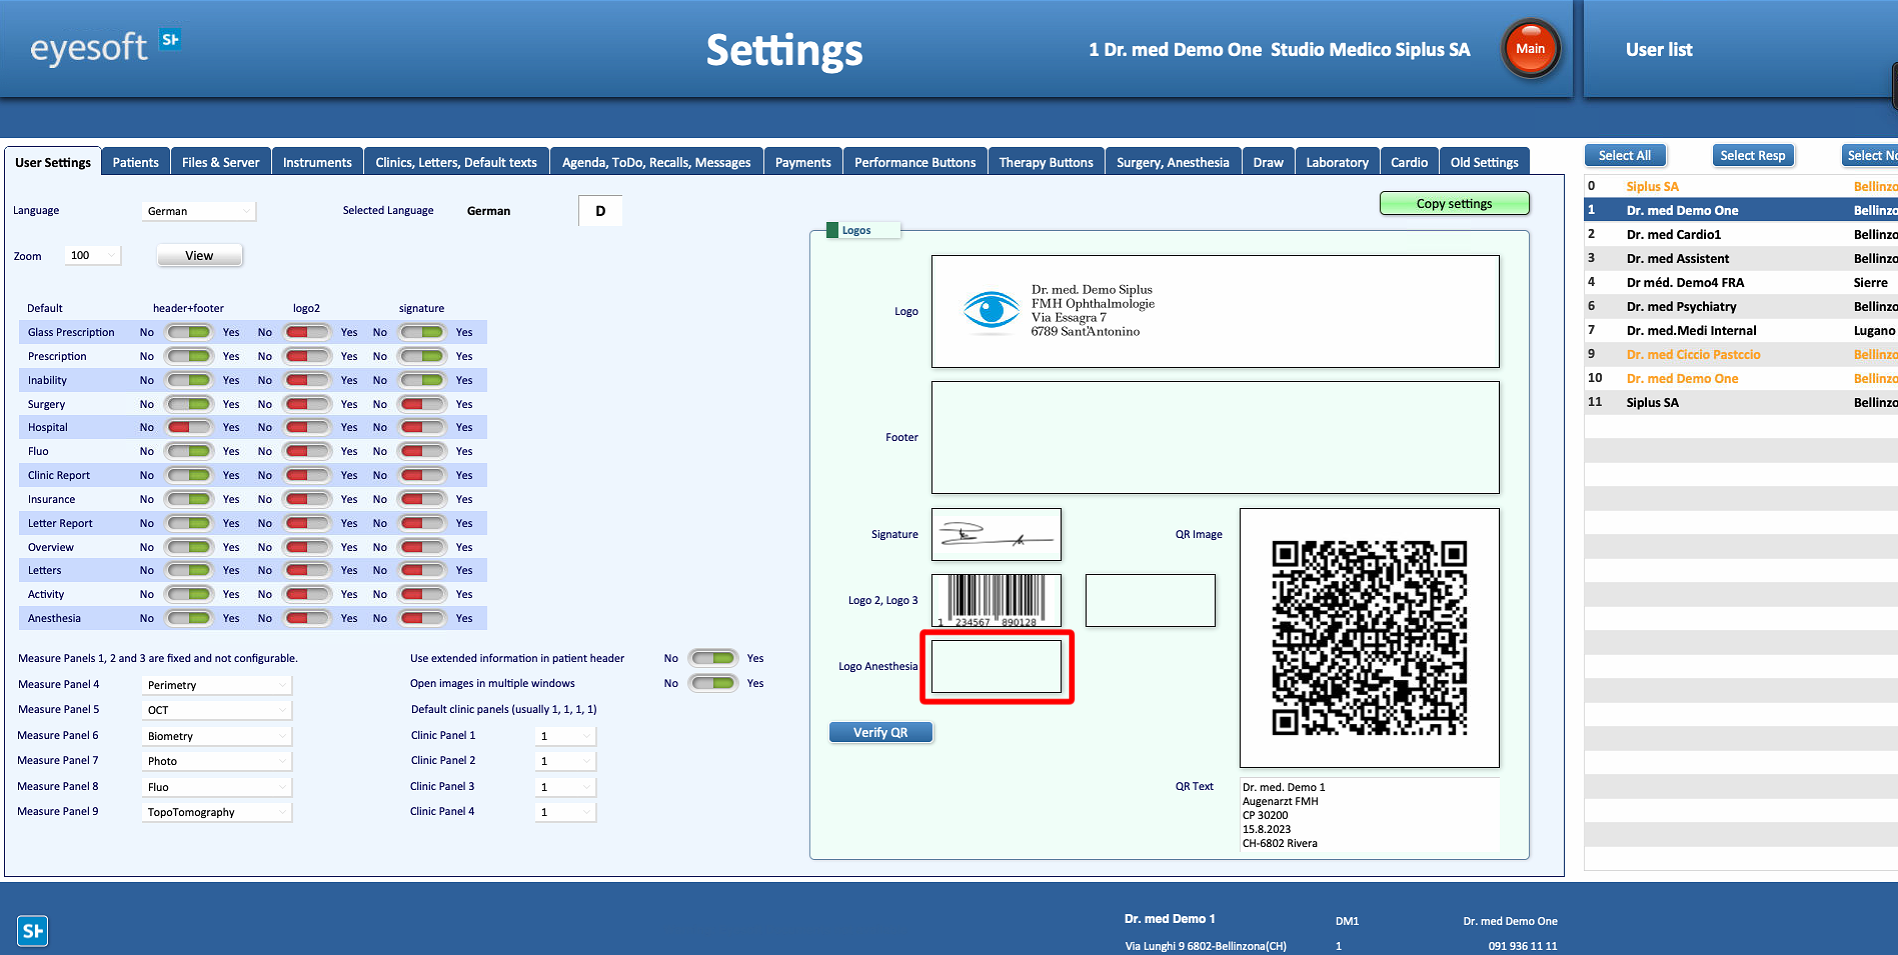
- Inserting an image in this field replaces the contents of the field Logo Anesthesia.
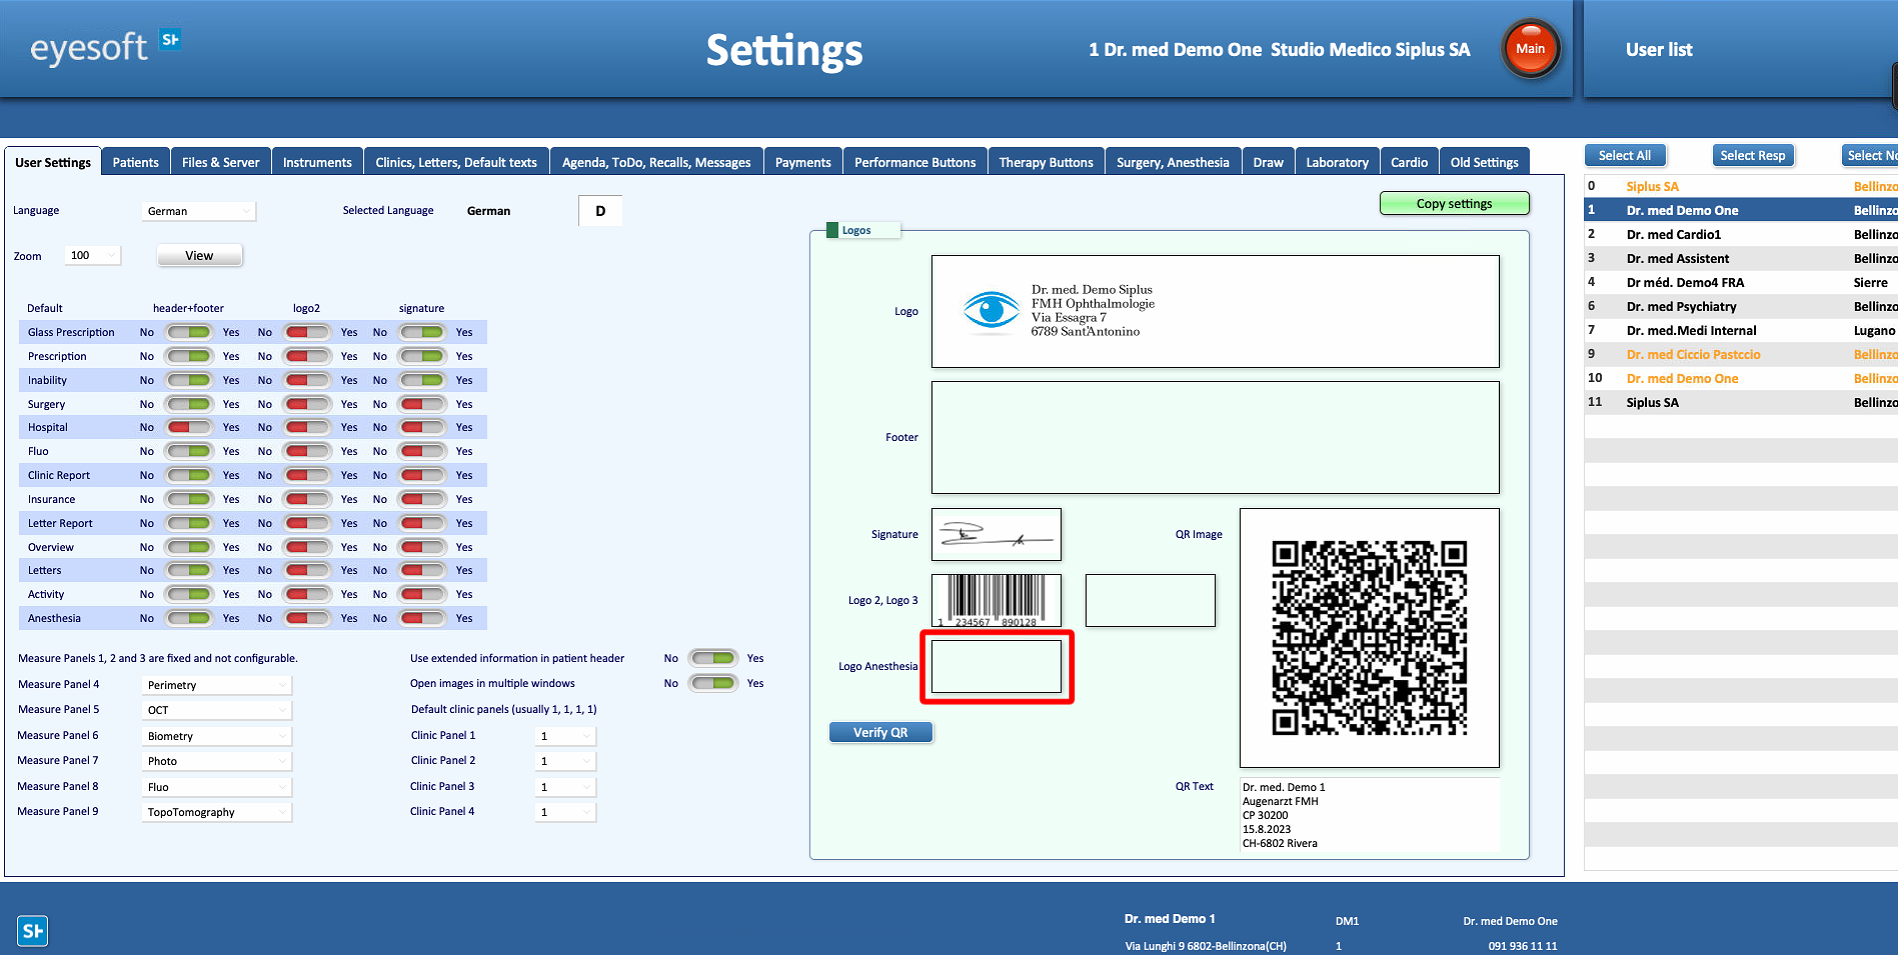
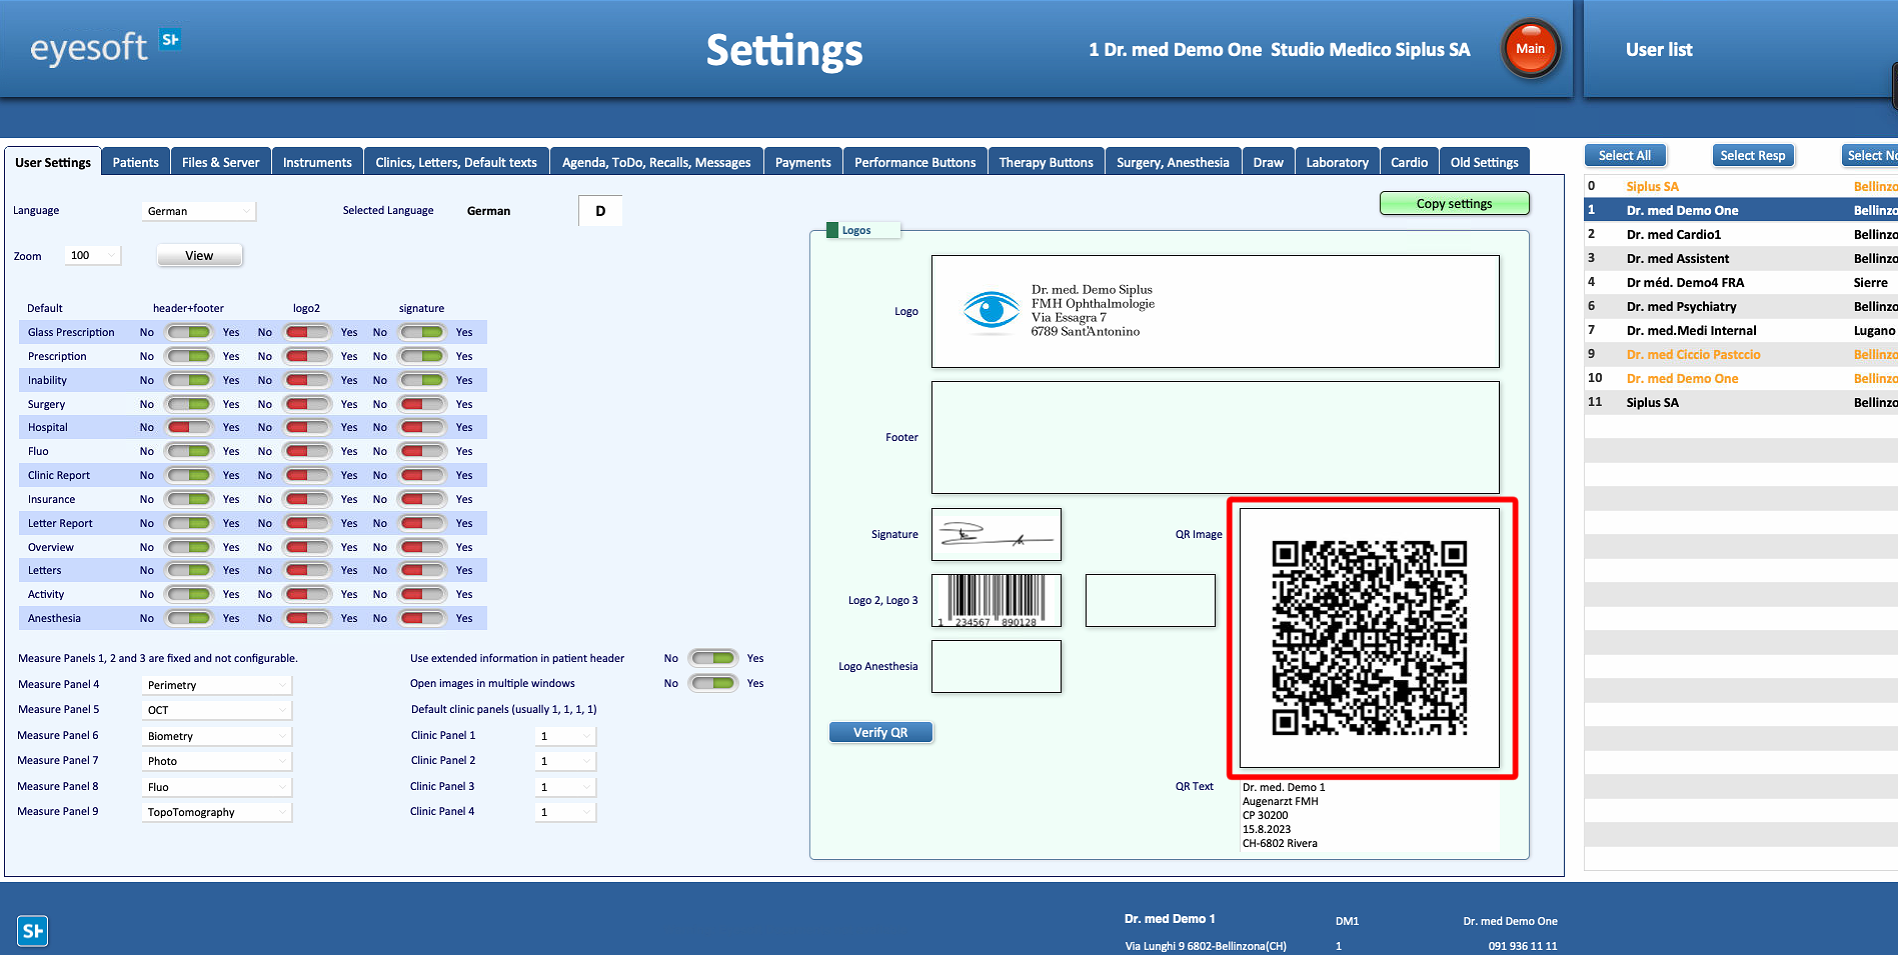
- Inserting an image in this field replaces the content of the QR image field.
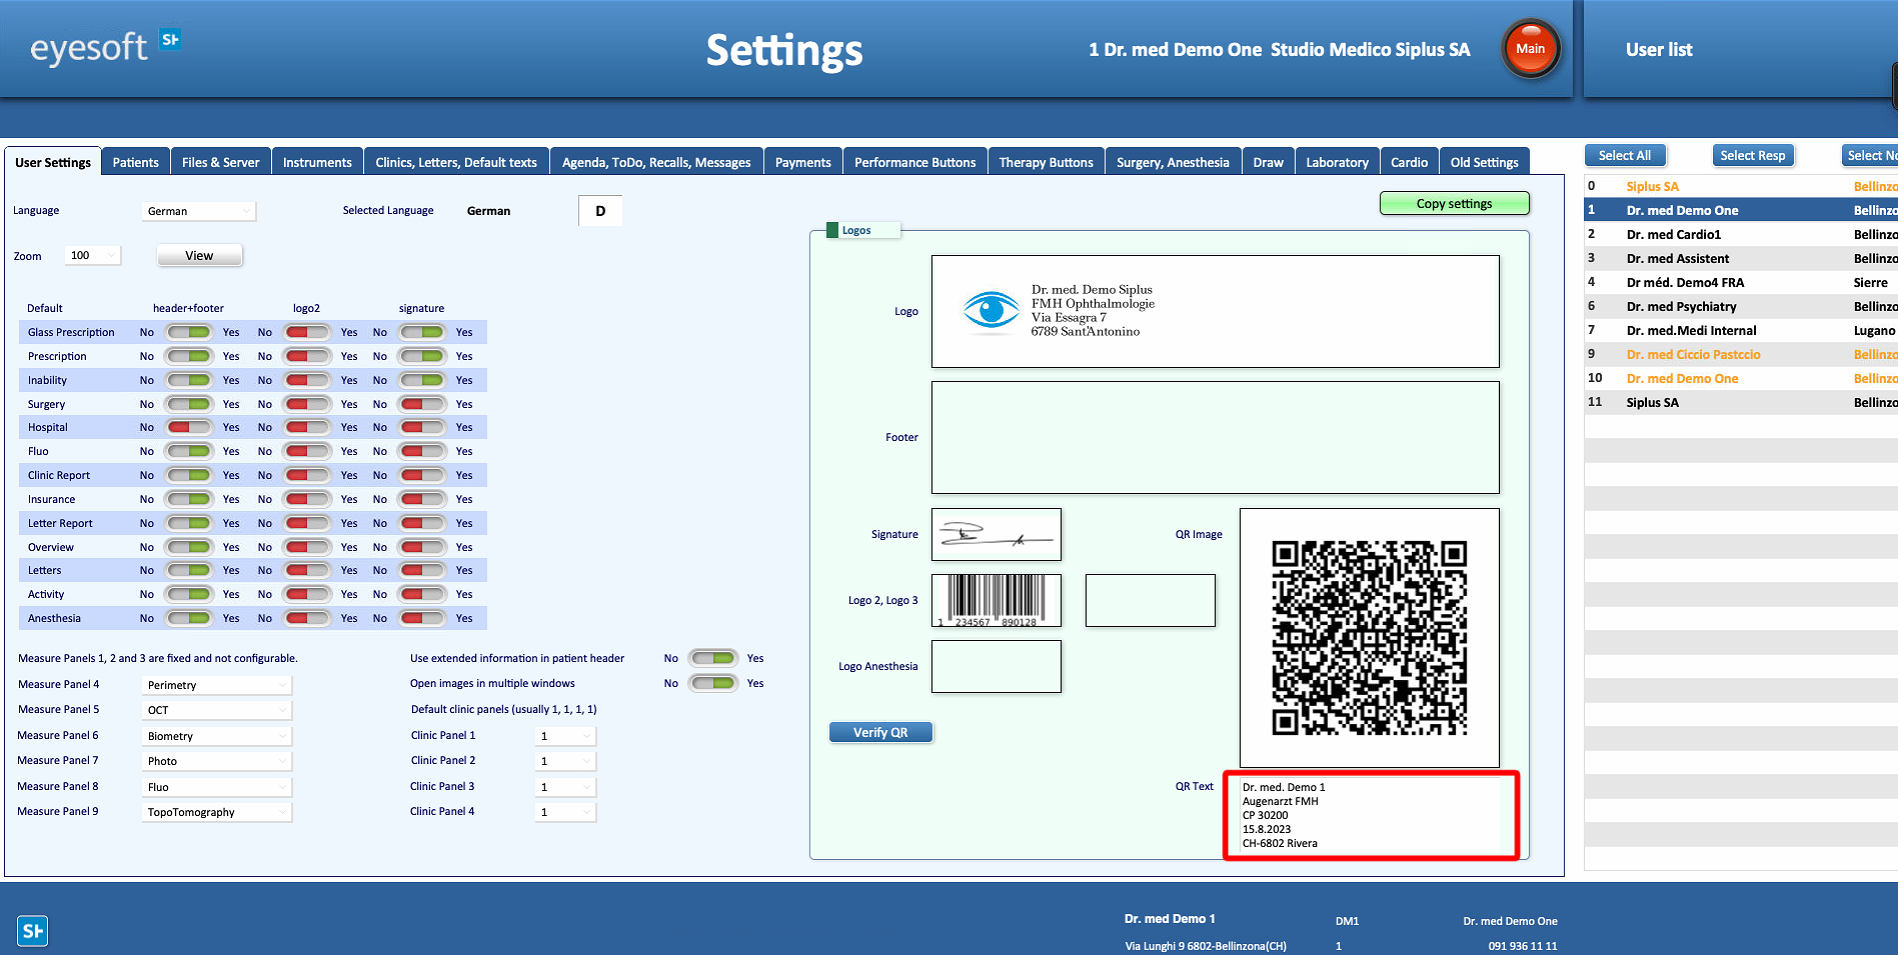
- Entering text in this field replaces the contents of the QR code text field.
- Once the preview image updates, the new settings are saved automatically.
Exporting files
- To export, select the field corresponding to the part you wish to save on your computer.
- While hovering over the field, right-click with your mouse.
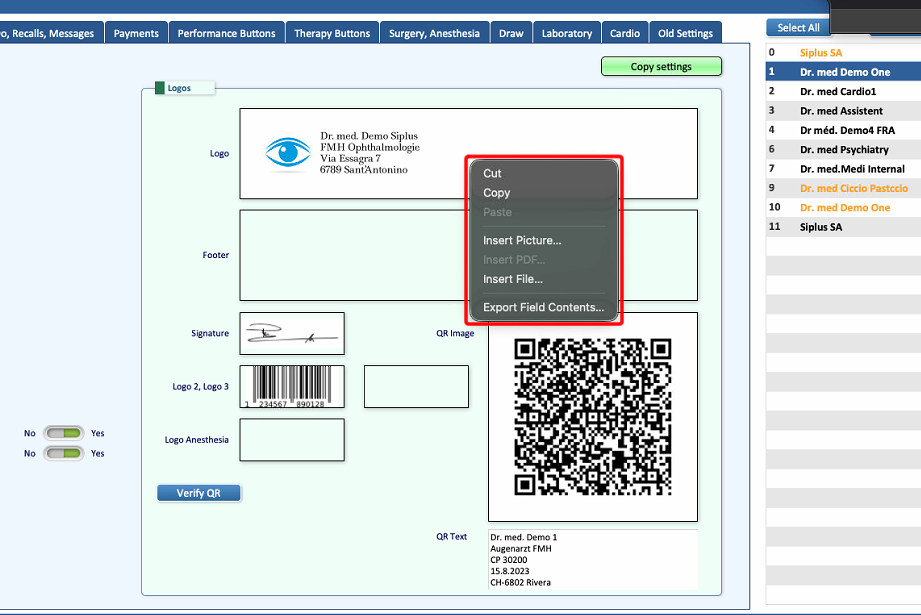
- Select Export Field Content
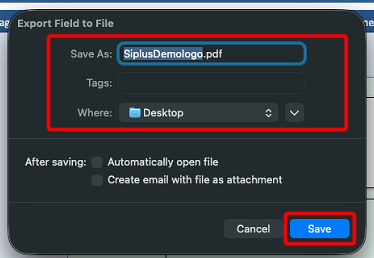
- Specify the file name and the folder location where the file should be saved, then press Save