


1. Main Purpose
The Message Center layout allows the user to:
- Manage reminders for patient appointments.
- Send messages via SMS, email, or print the letter directly.
- Send multiple recall notifications at the same time.
- Personalize the message for each patient and doctor, via the use of templates and wildcards
- Check whether messages have been sent or are still pending.
2. Sending the notifications
- Once inside the Message Center, to process all the recalls in the list, first select the button 1 Optimize type, this button will automatically set the most suitable medium to deliver the message.
⚠ By using the button Type , on the top of the list, it's possible to force a single type on all the recalls.
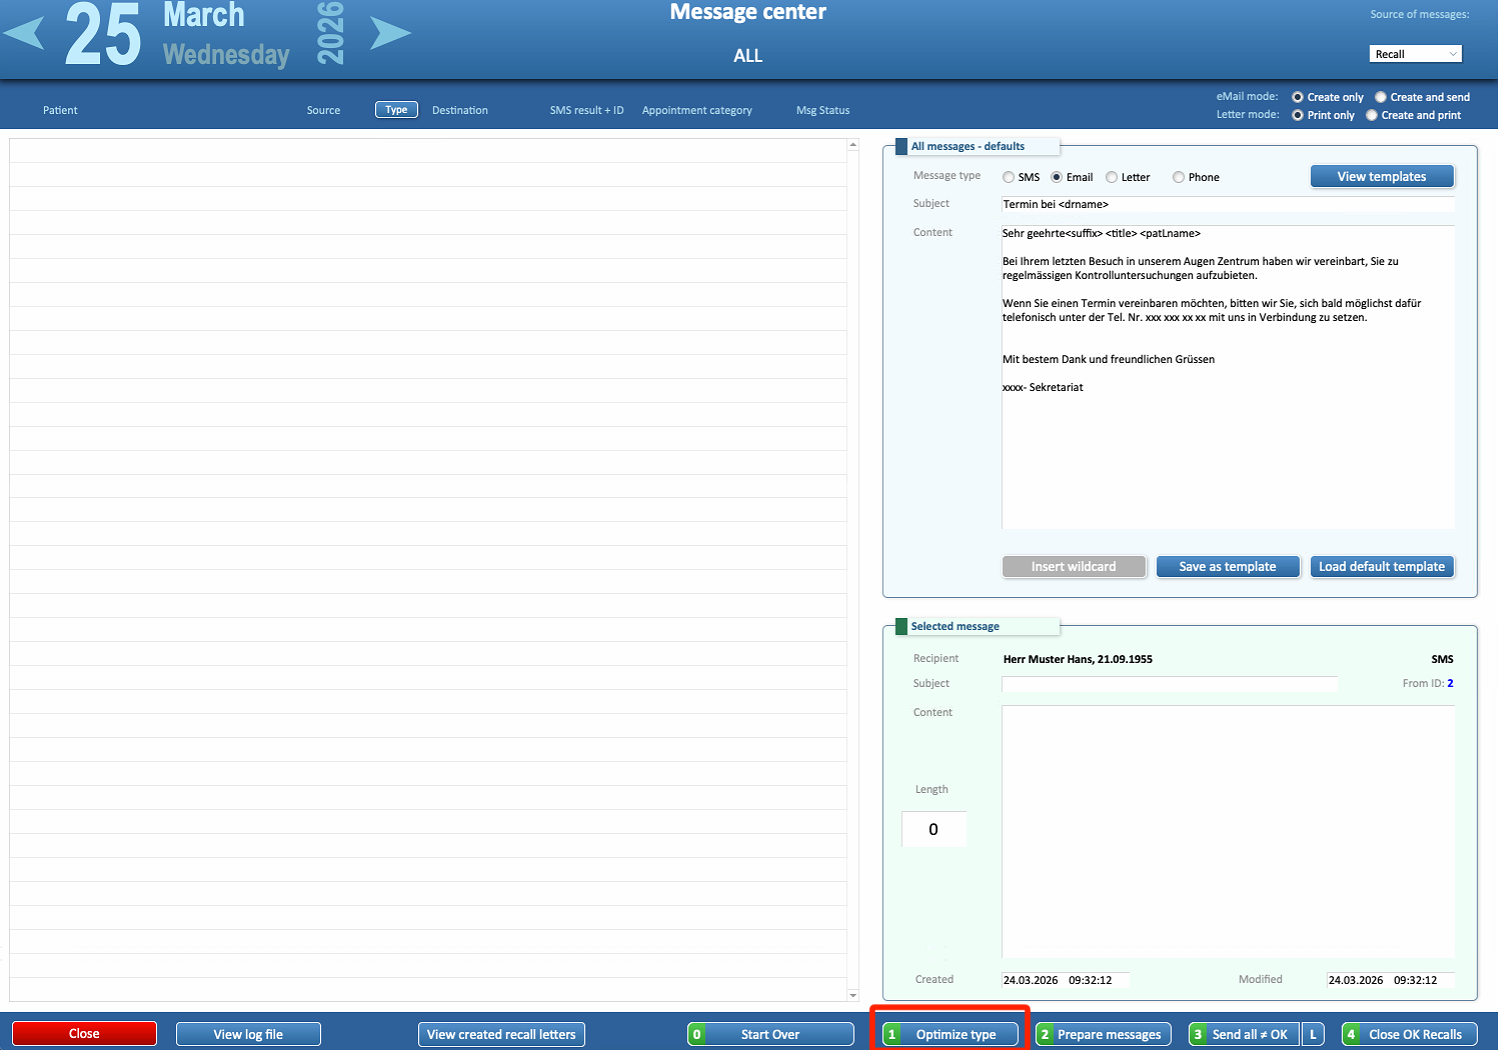
- After all the contact options are optimized, selecting 2 Prepare messages will adapt the templates to the actual text the patient will receive, for each entry on the list
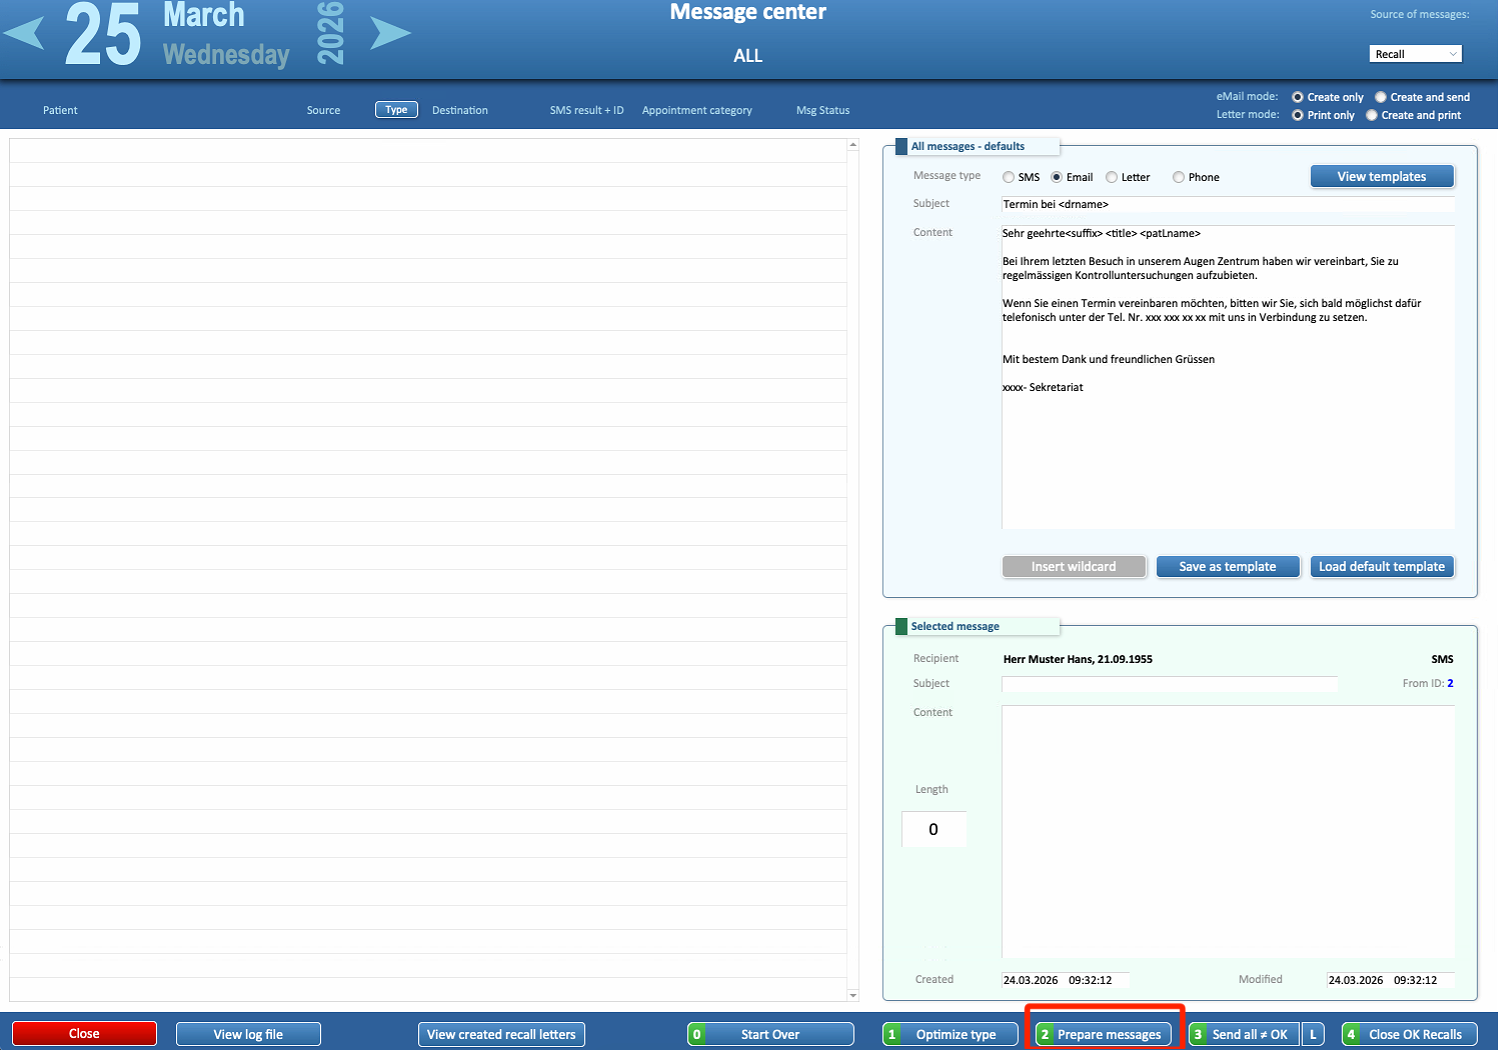
- Following the previous point, with the button 3 Send all ≠ OK will proceed to process all requests, sending the emails or the SMS messages, and printing the letters
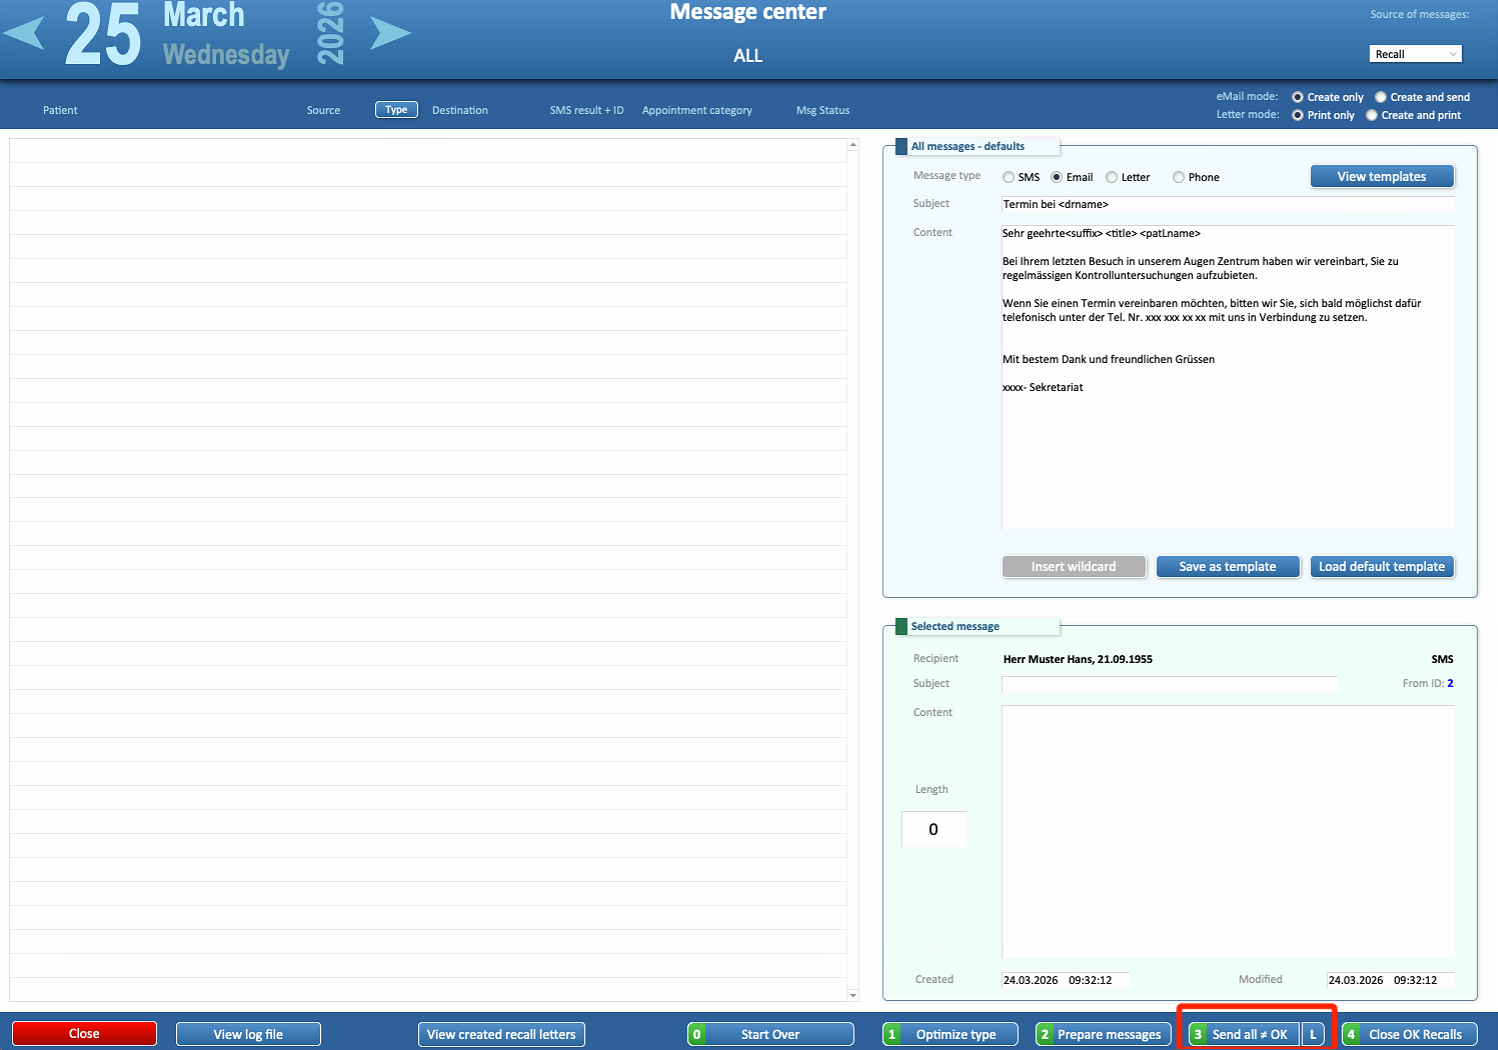
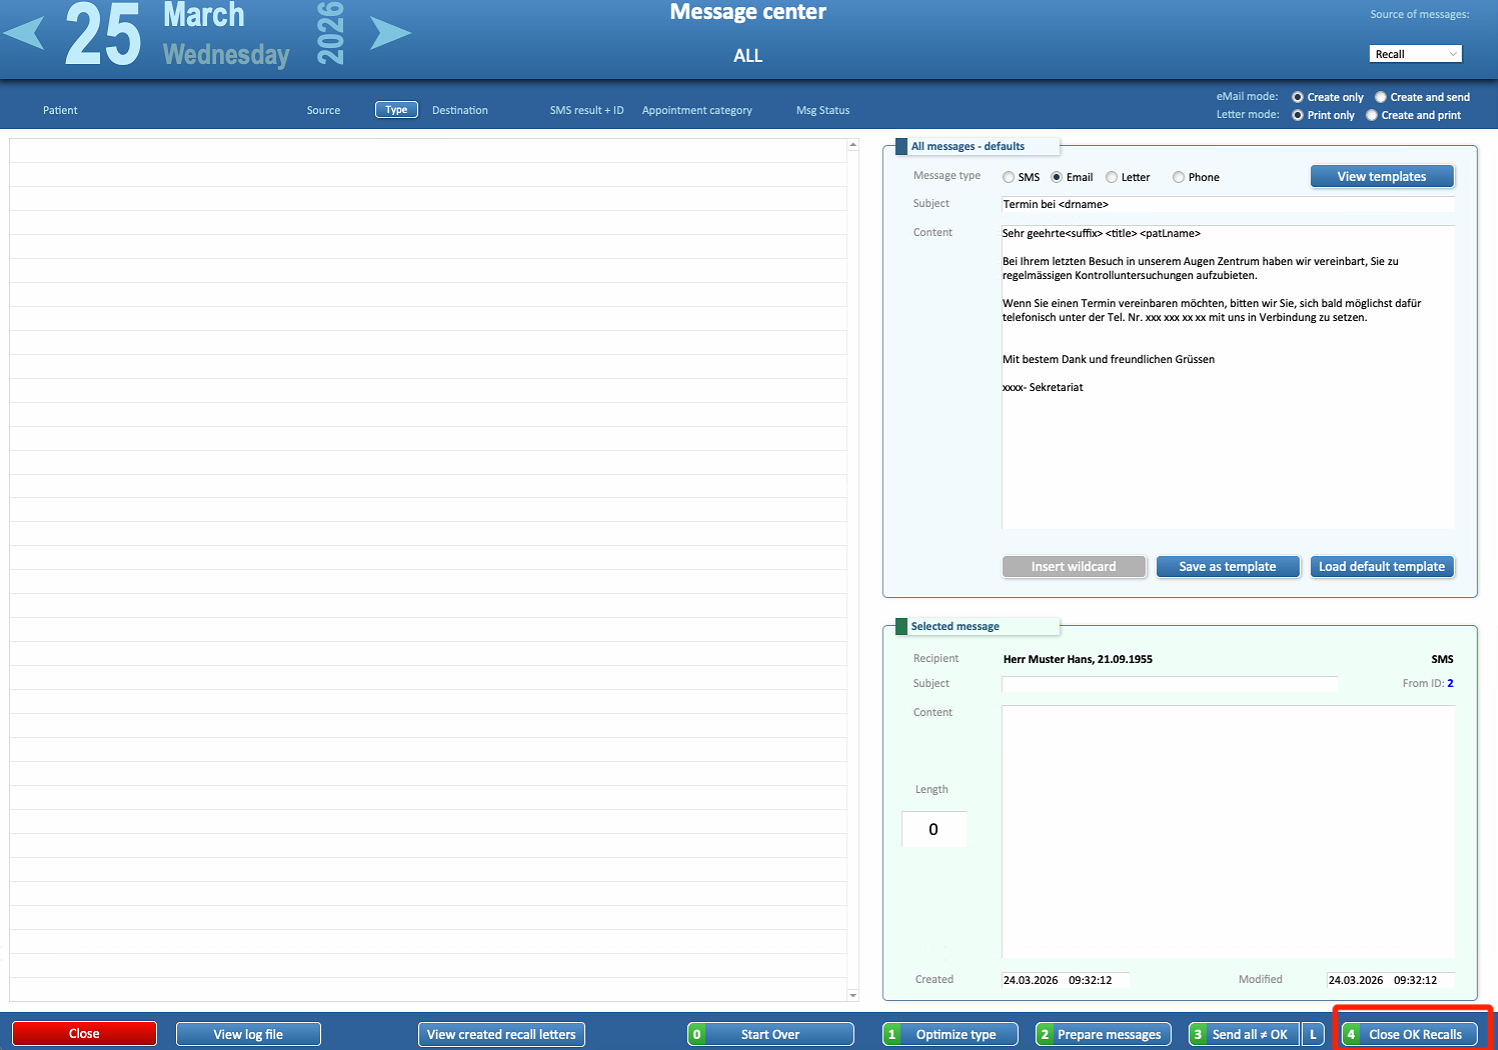
- Finally, the button 4 Close OK Recalls will remove all the already processed recalls
3. Using Templates
Templates can be created to quickly personalized messages. Messages can be tailored for each doctor up to 3 templates.
-
While writing the recall message, the user can use wildcards to automatically insert patient-specific information.
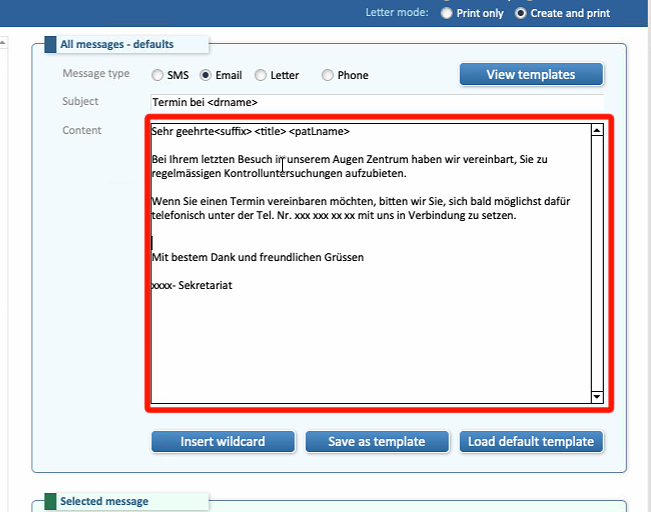
-
Click the Insert Wildcard button located below the text panel.
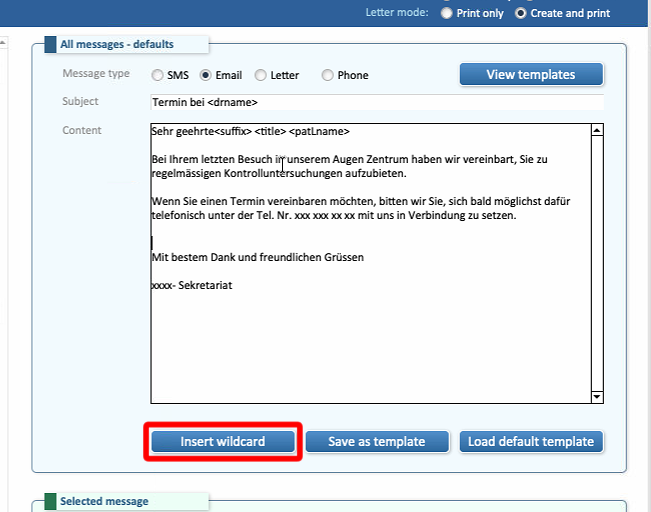
-
Select the desired wildcard from the list.
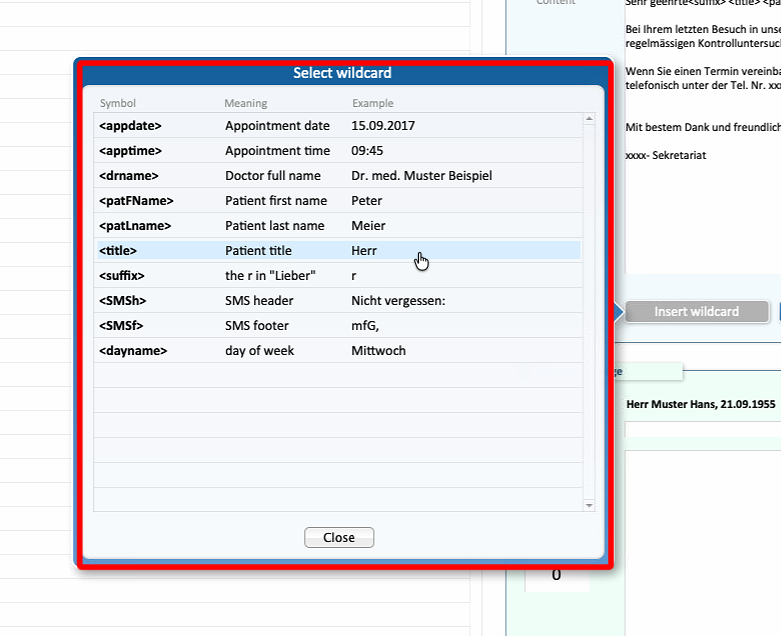
-
The software will replace each wildcard with the correct patient information when sending the message.
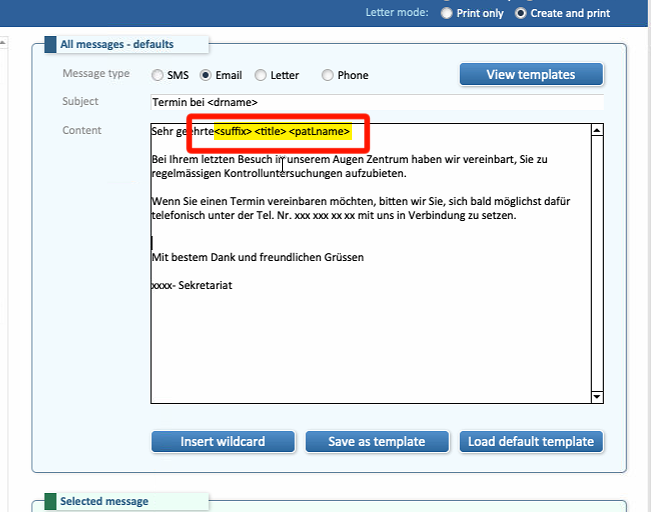
-
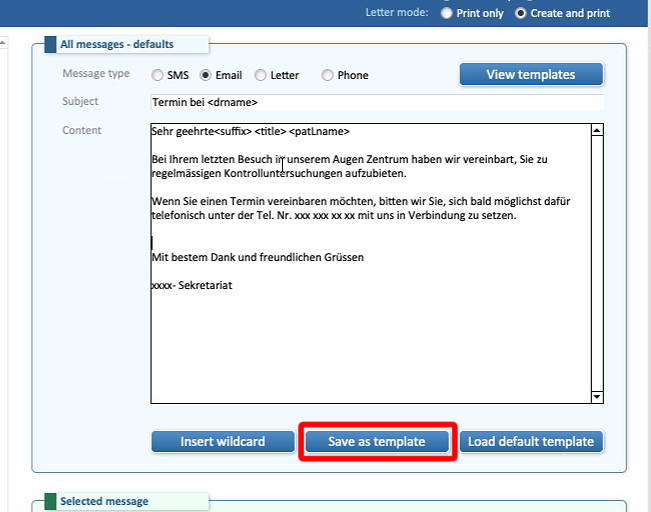
Once the template is complete, Save as Template allows the user to save the current text as a preset template.
-
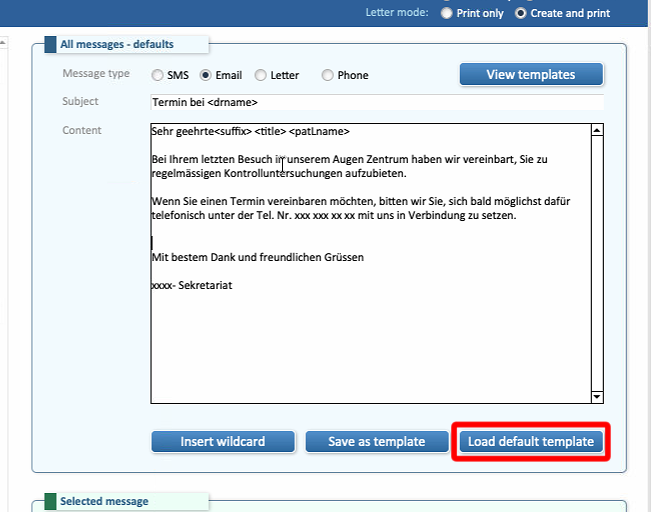
Load Default Template restores the system’s default template.
3. Managing Templates
-
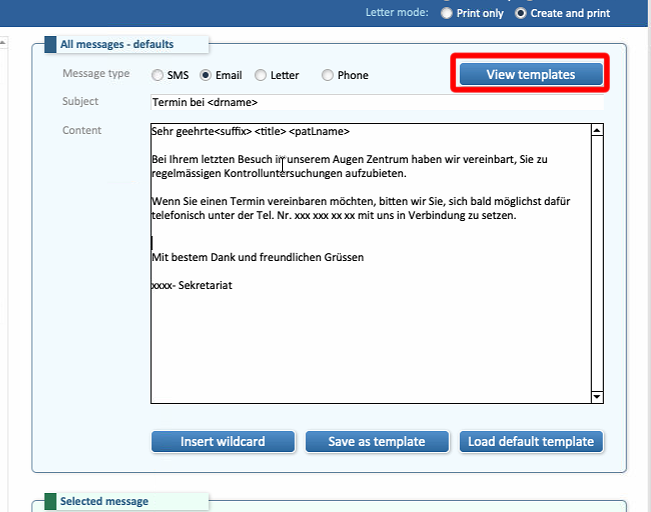
At the top of the section, View Templates allows the user to easily review all available templates for each case.
-
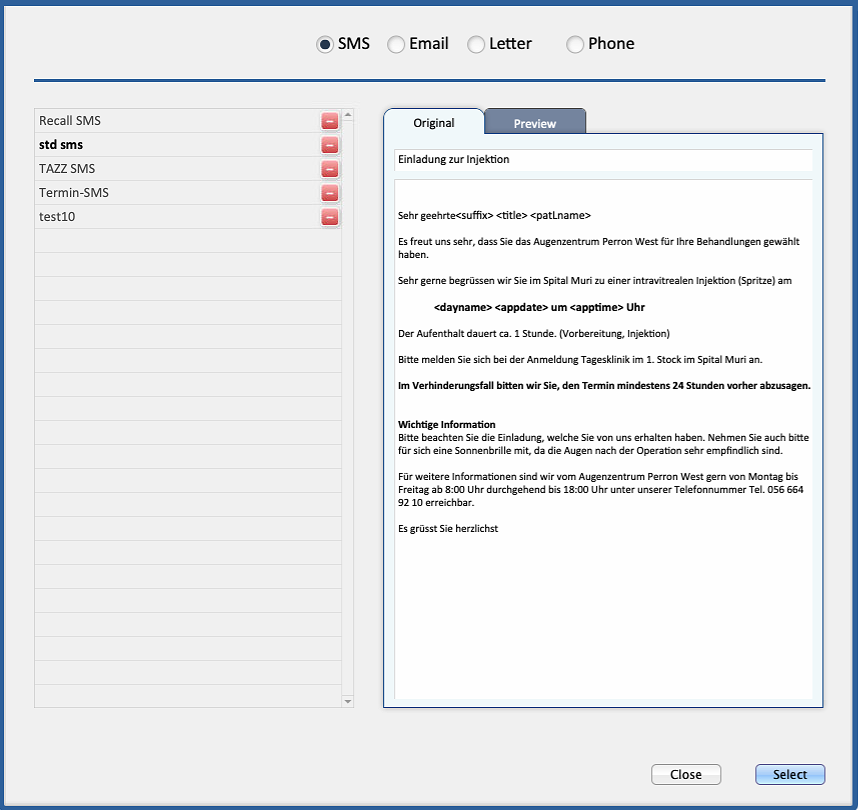
The window that opens allows the user to manage all templates, organized by contact method.
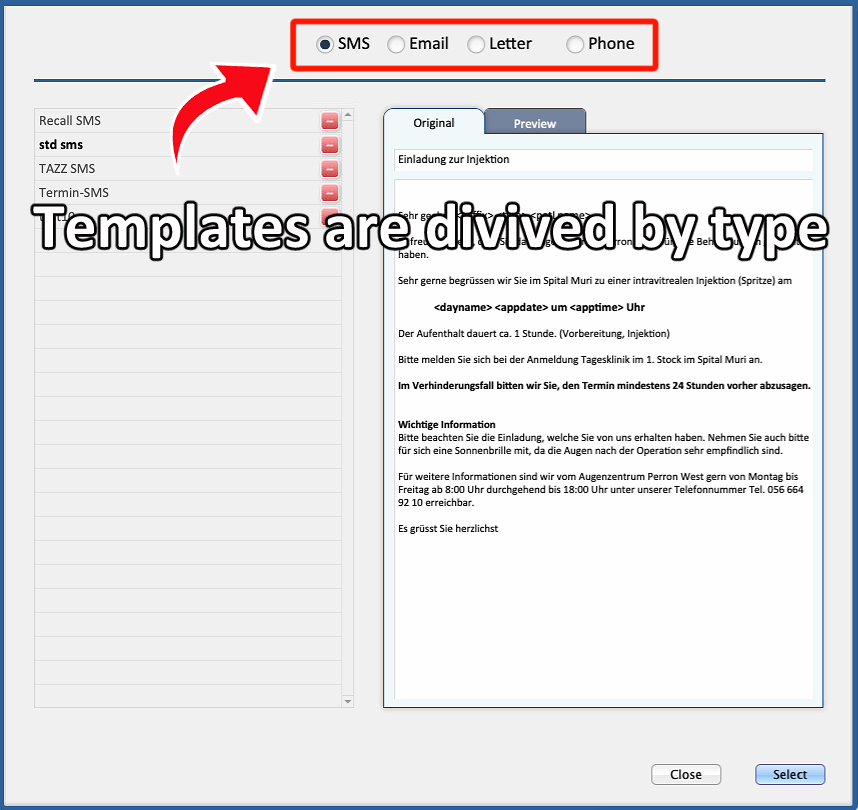
-
Multiple templates can be created for each method and customized for different use cases.
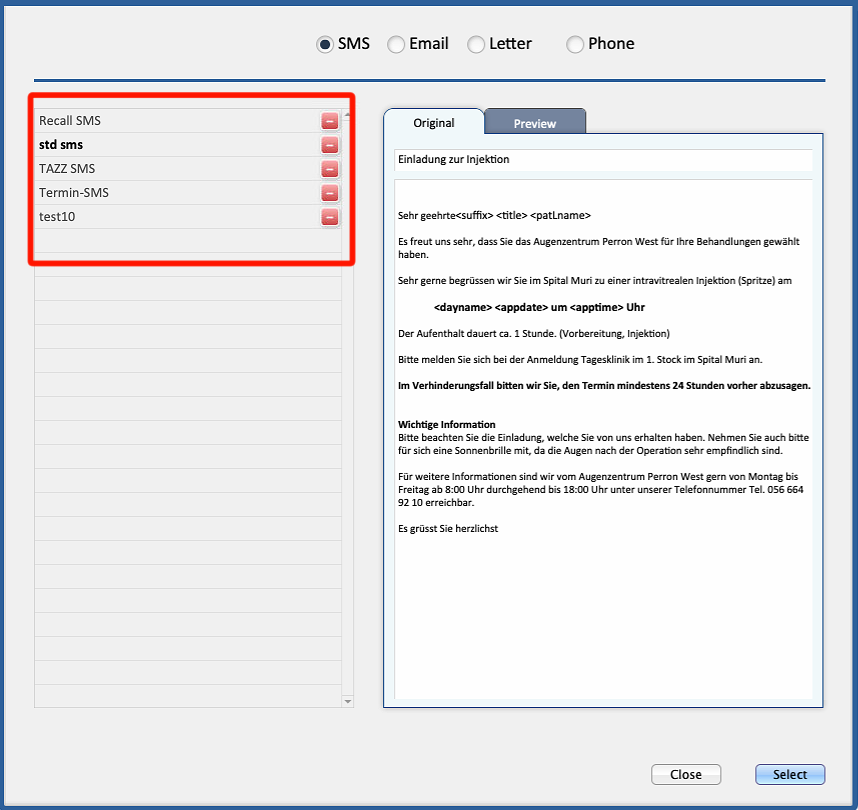
-
Templates in this layout can only be managed, but can't be created.
4. More Options
Additional functions can be found in the top-right section of the layout.
- Below Source of Messages, there is a dropdown list that allows the user to filter the available recalls by specific categories: Agenda, Patient, Recalls, or All.
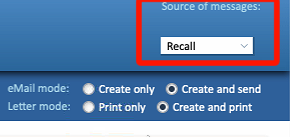
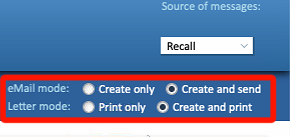
- Under this section, Email Mode and Letter Mode allow the user to choose how recalls are processed.
- For emails, the user can choose whether to create the email only or create and send it automatically.
- For letters, the user can choose to print them directly or create them first and print them manually later.
For the complete Recall guide, please consult THIS GUIDE

