

Agenda - Managing Recalls

May 28, 2026
550

1. Locating the Recall function
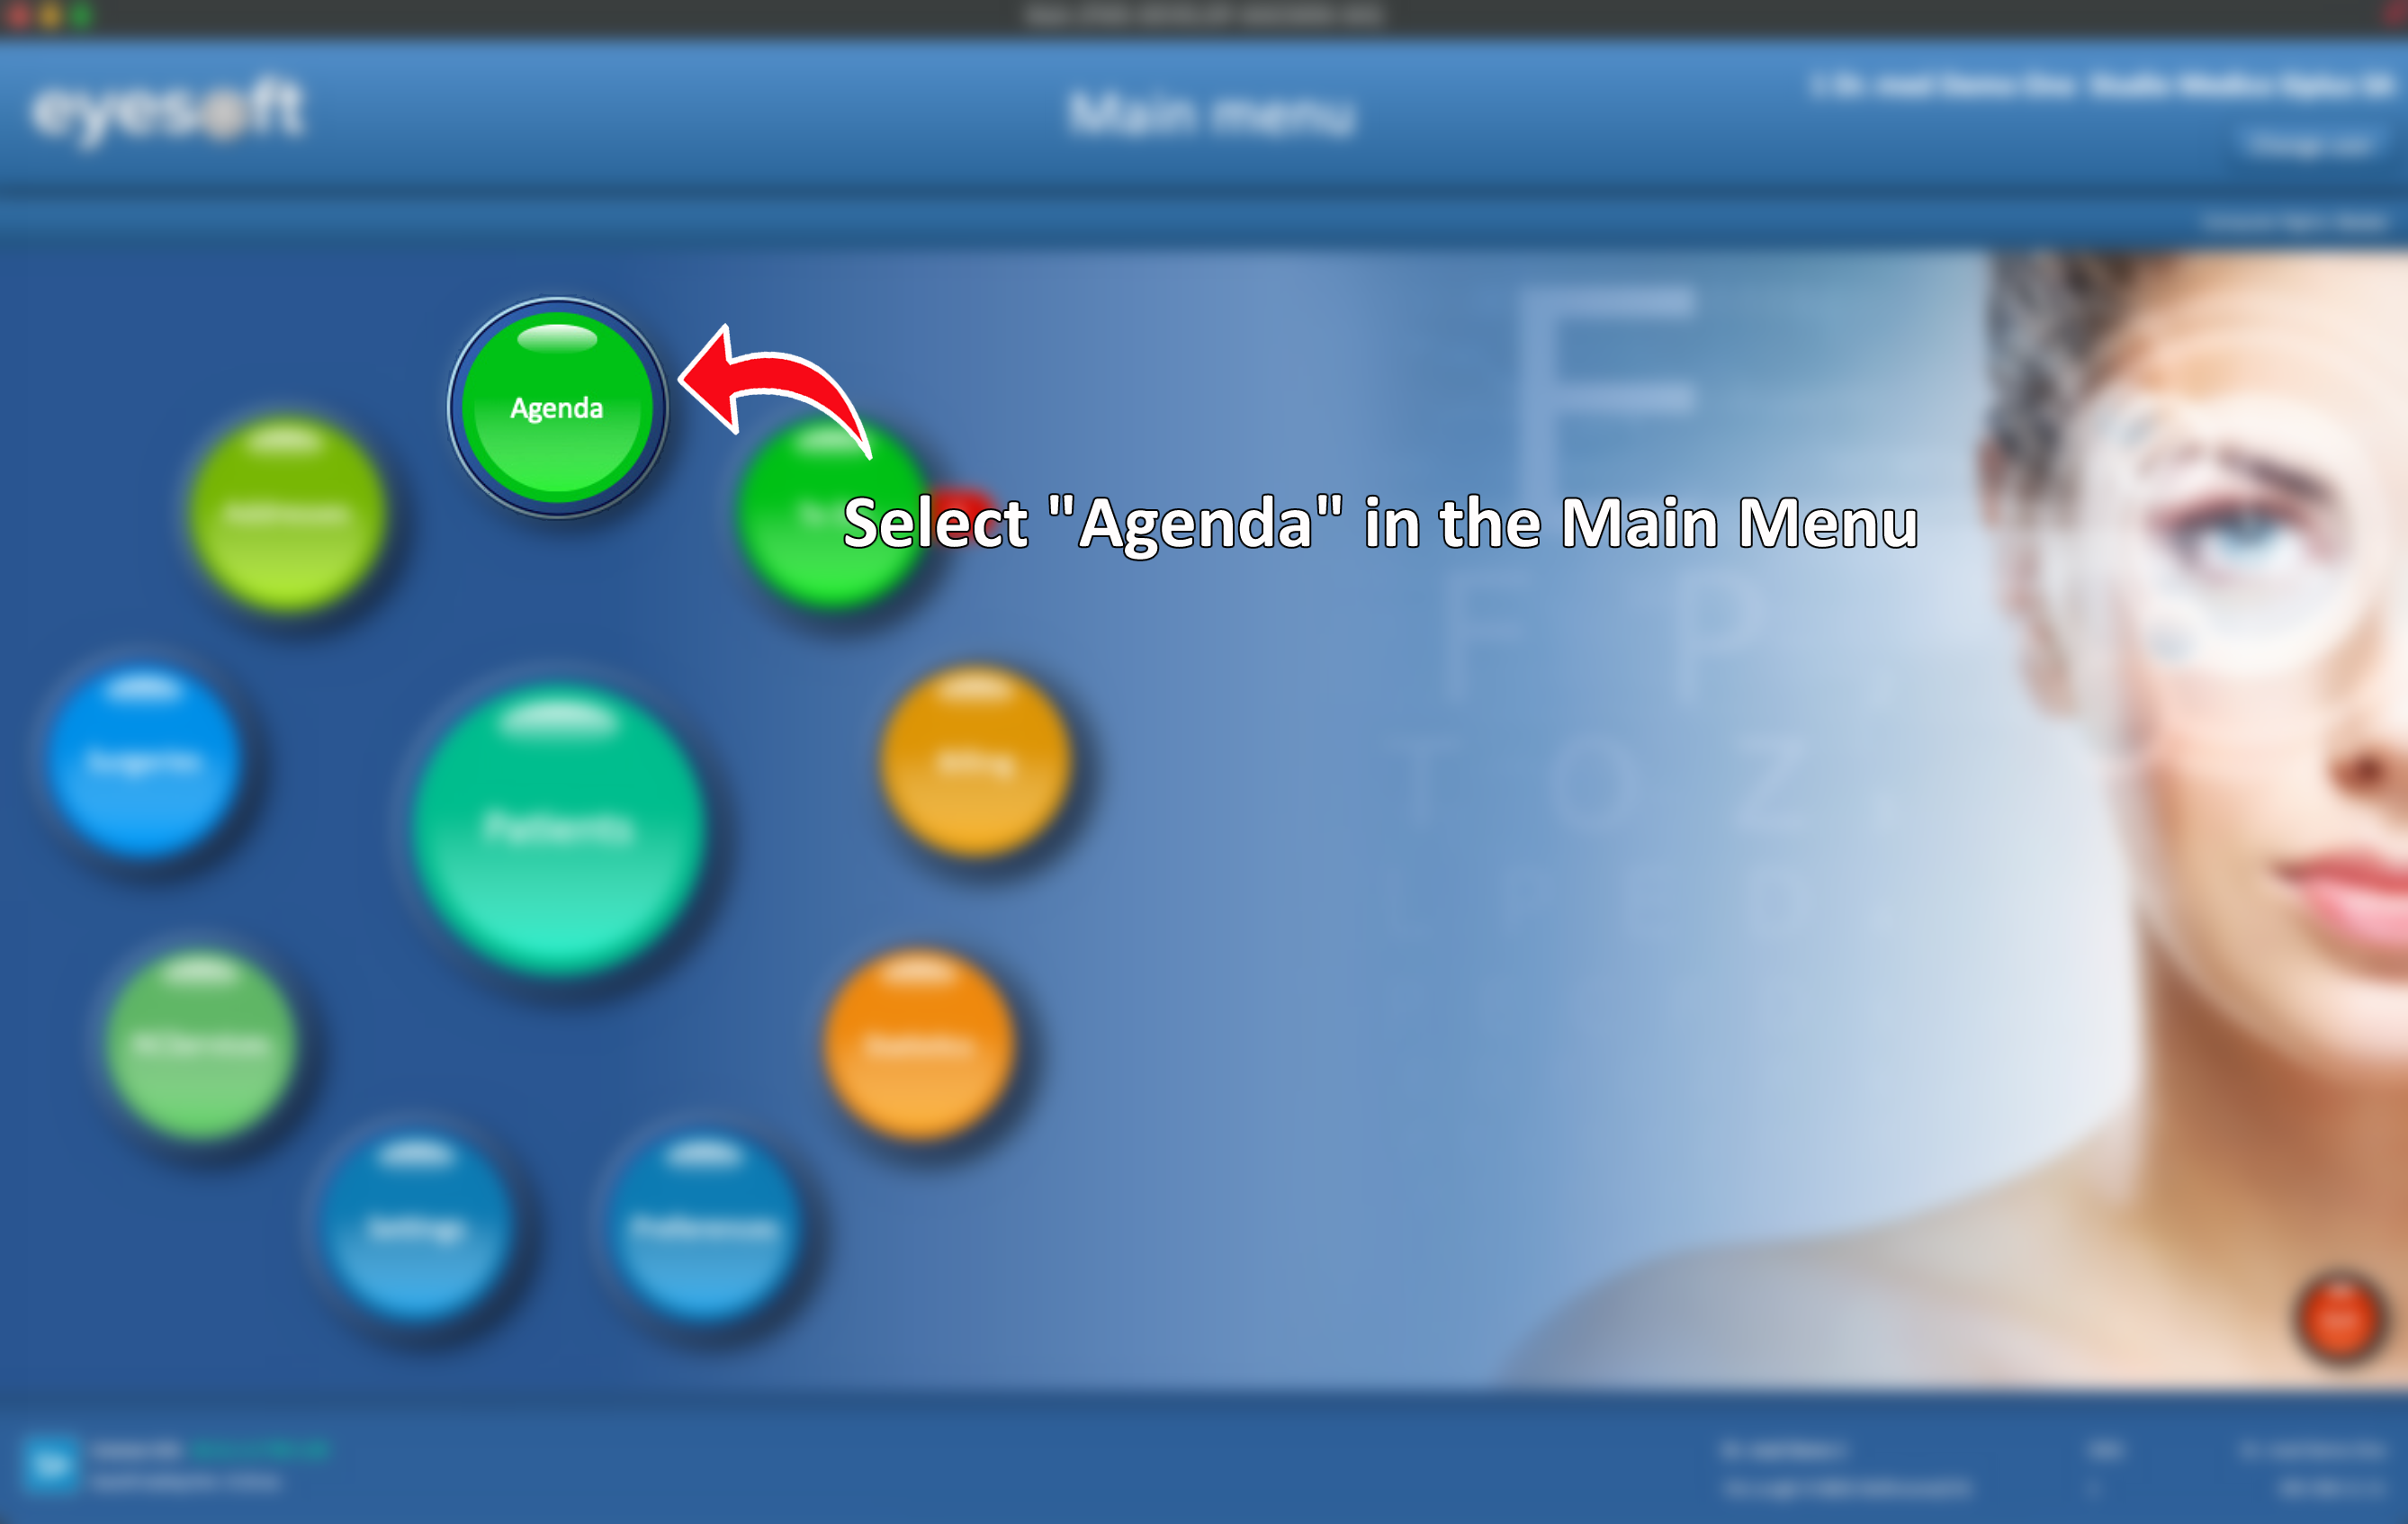
- From the Main Menu, select Agenda.
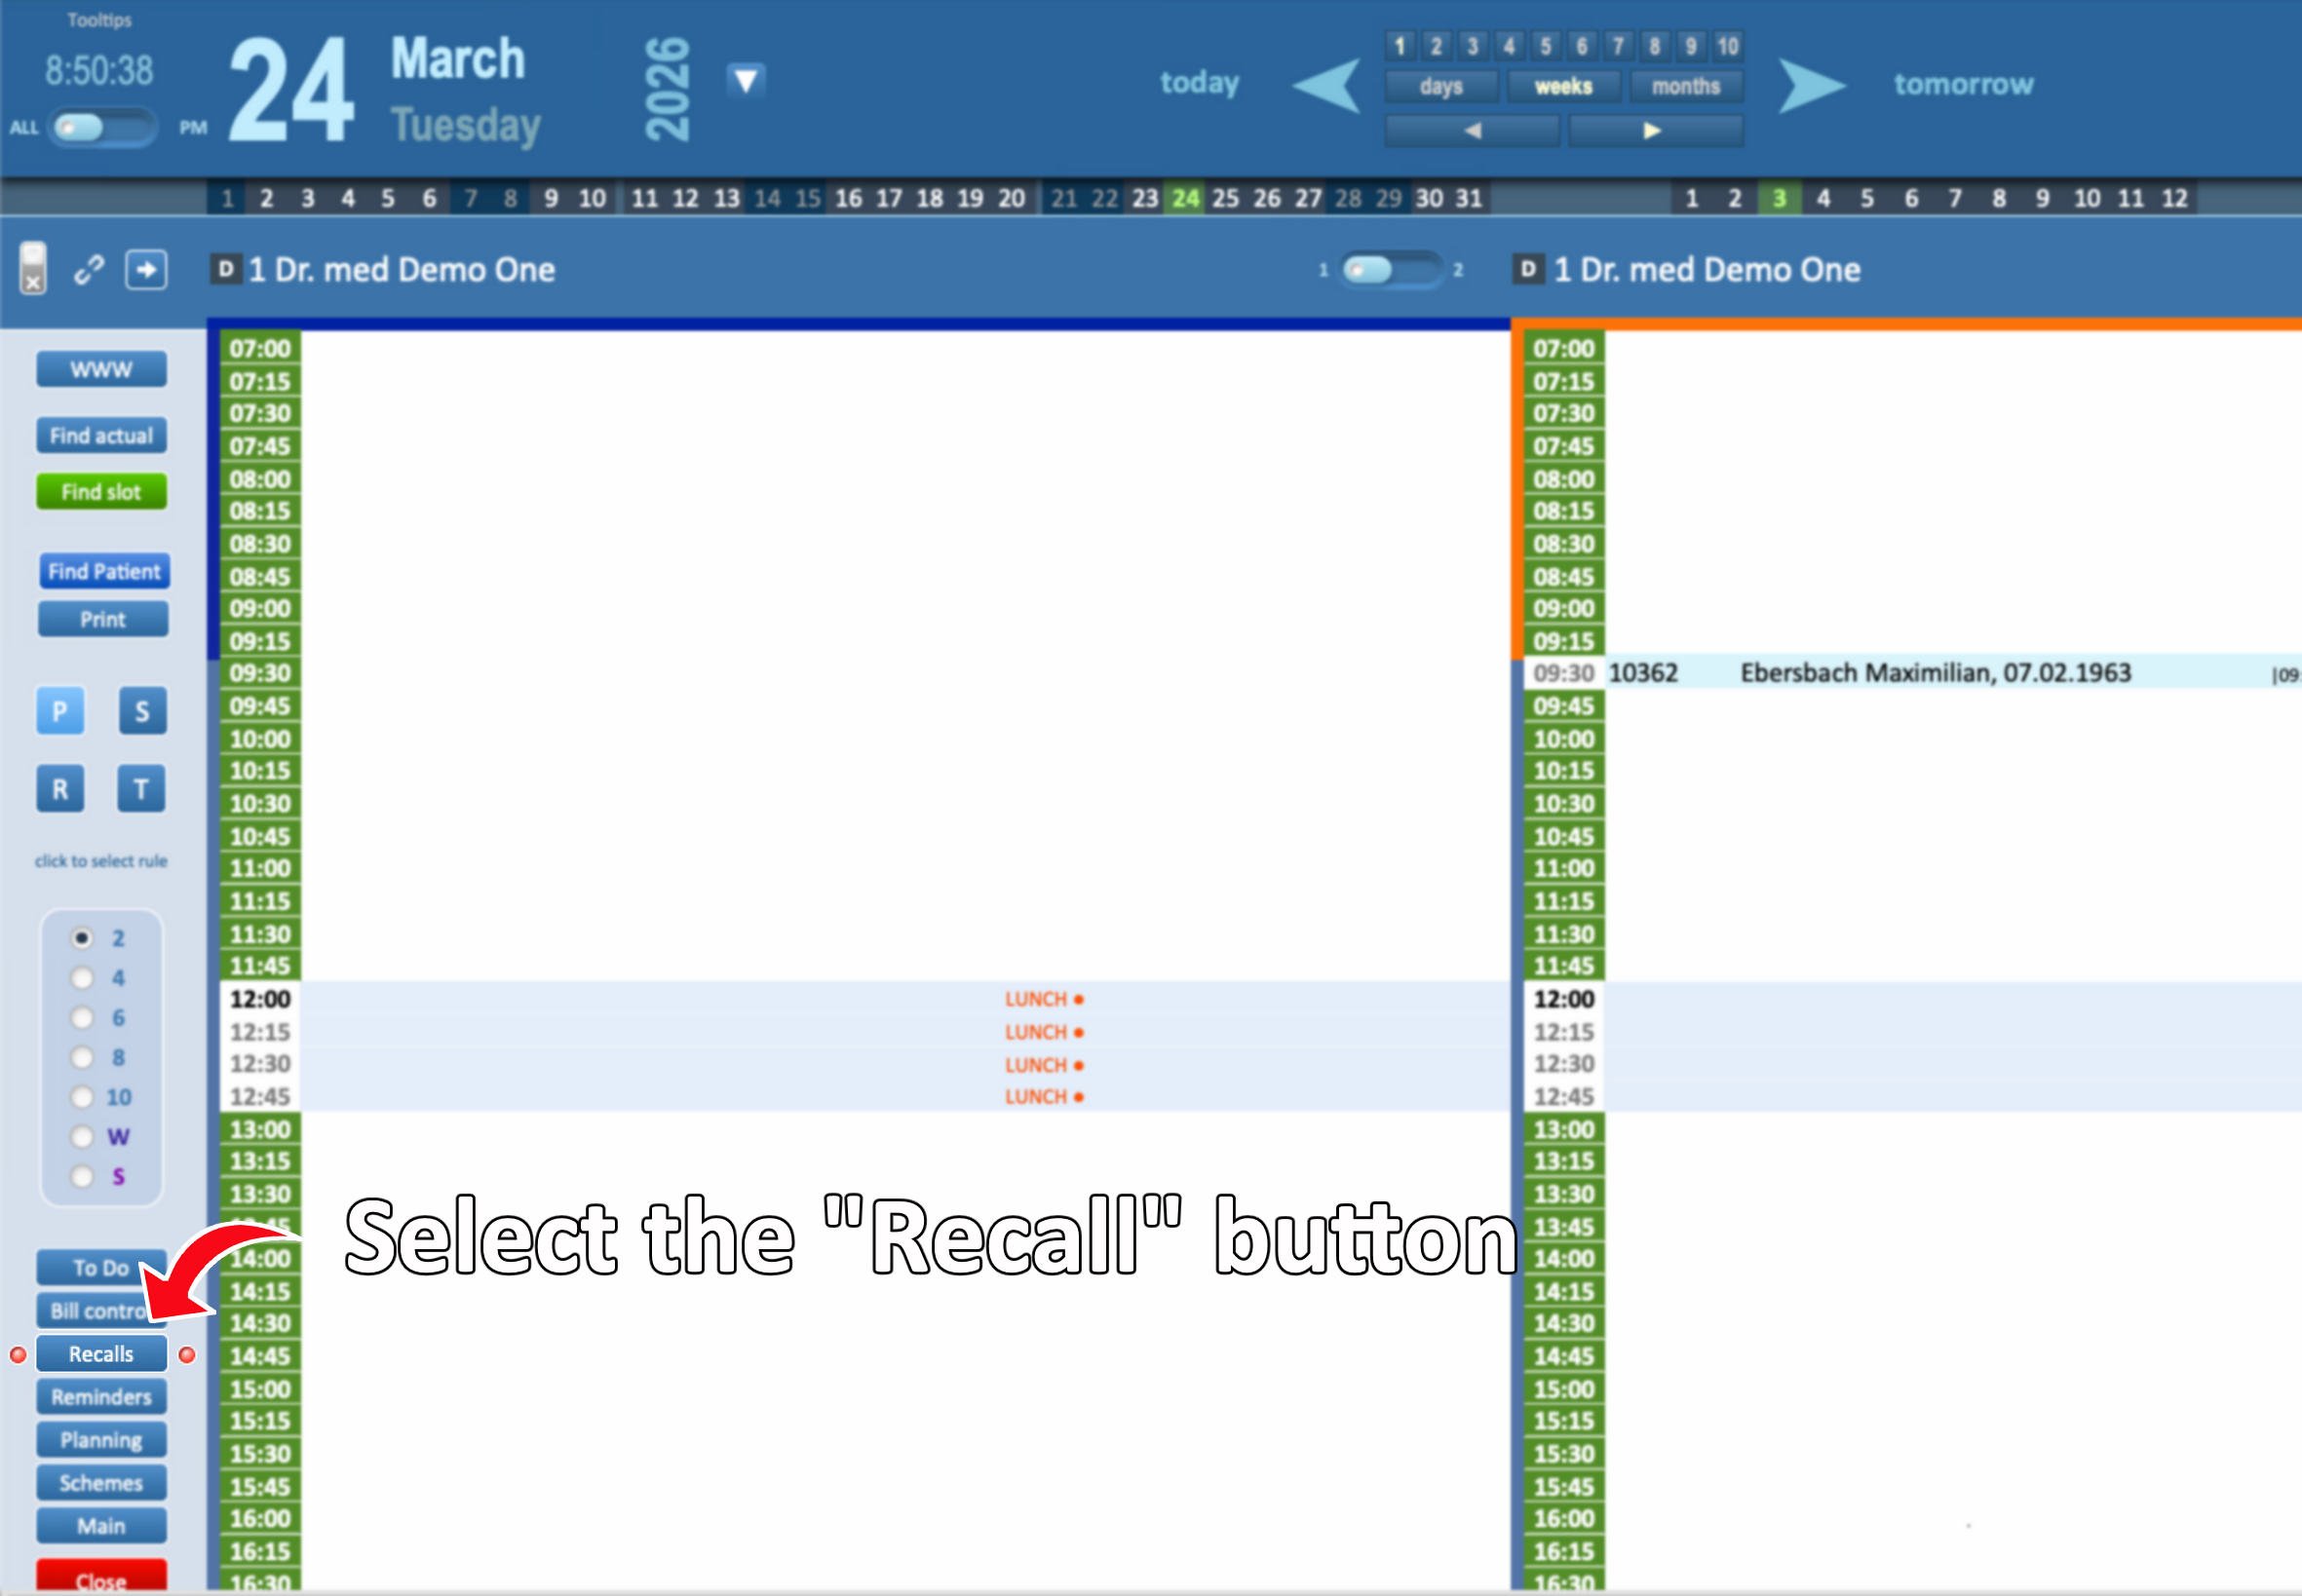
- In the Agenda, select the Recalls button.
2. Creating a New Recall
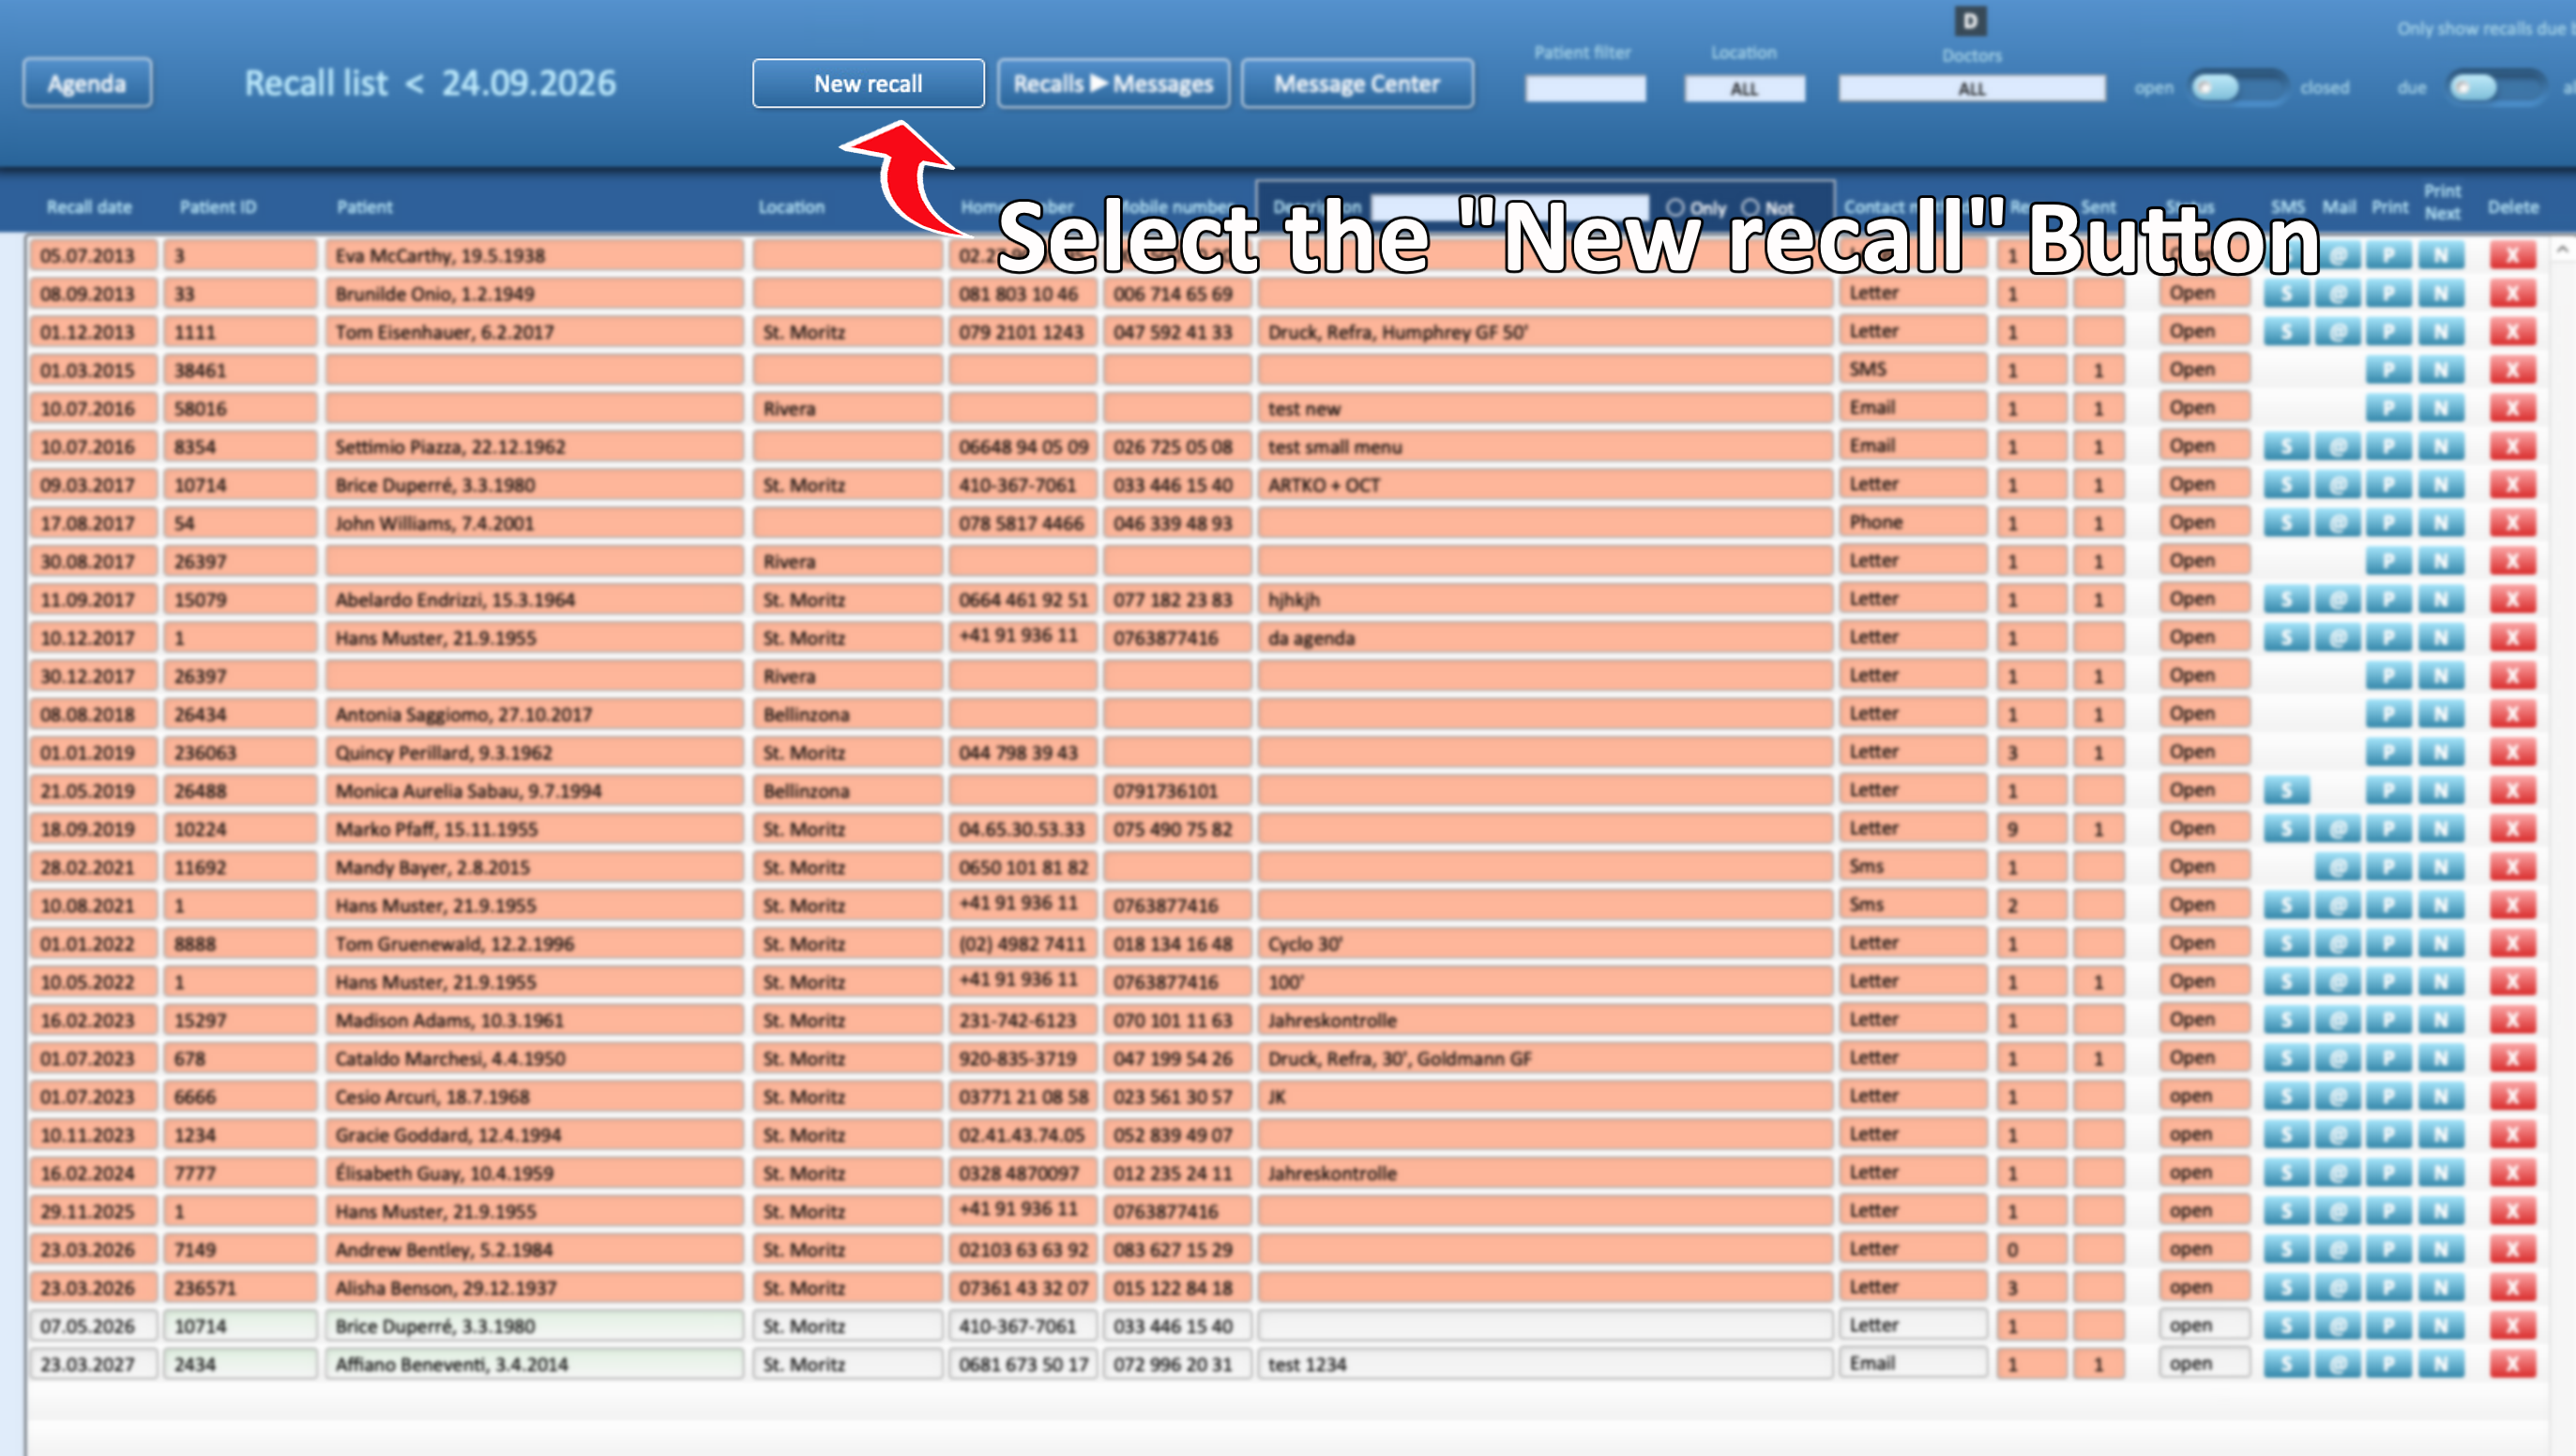
- To create a new recall, select New Recall at the top of the layout.
- Select the patient for the recall from the current profile or search all existing patient profiles.
- All the recent patients will be displayed in a list on the left column
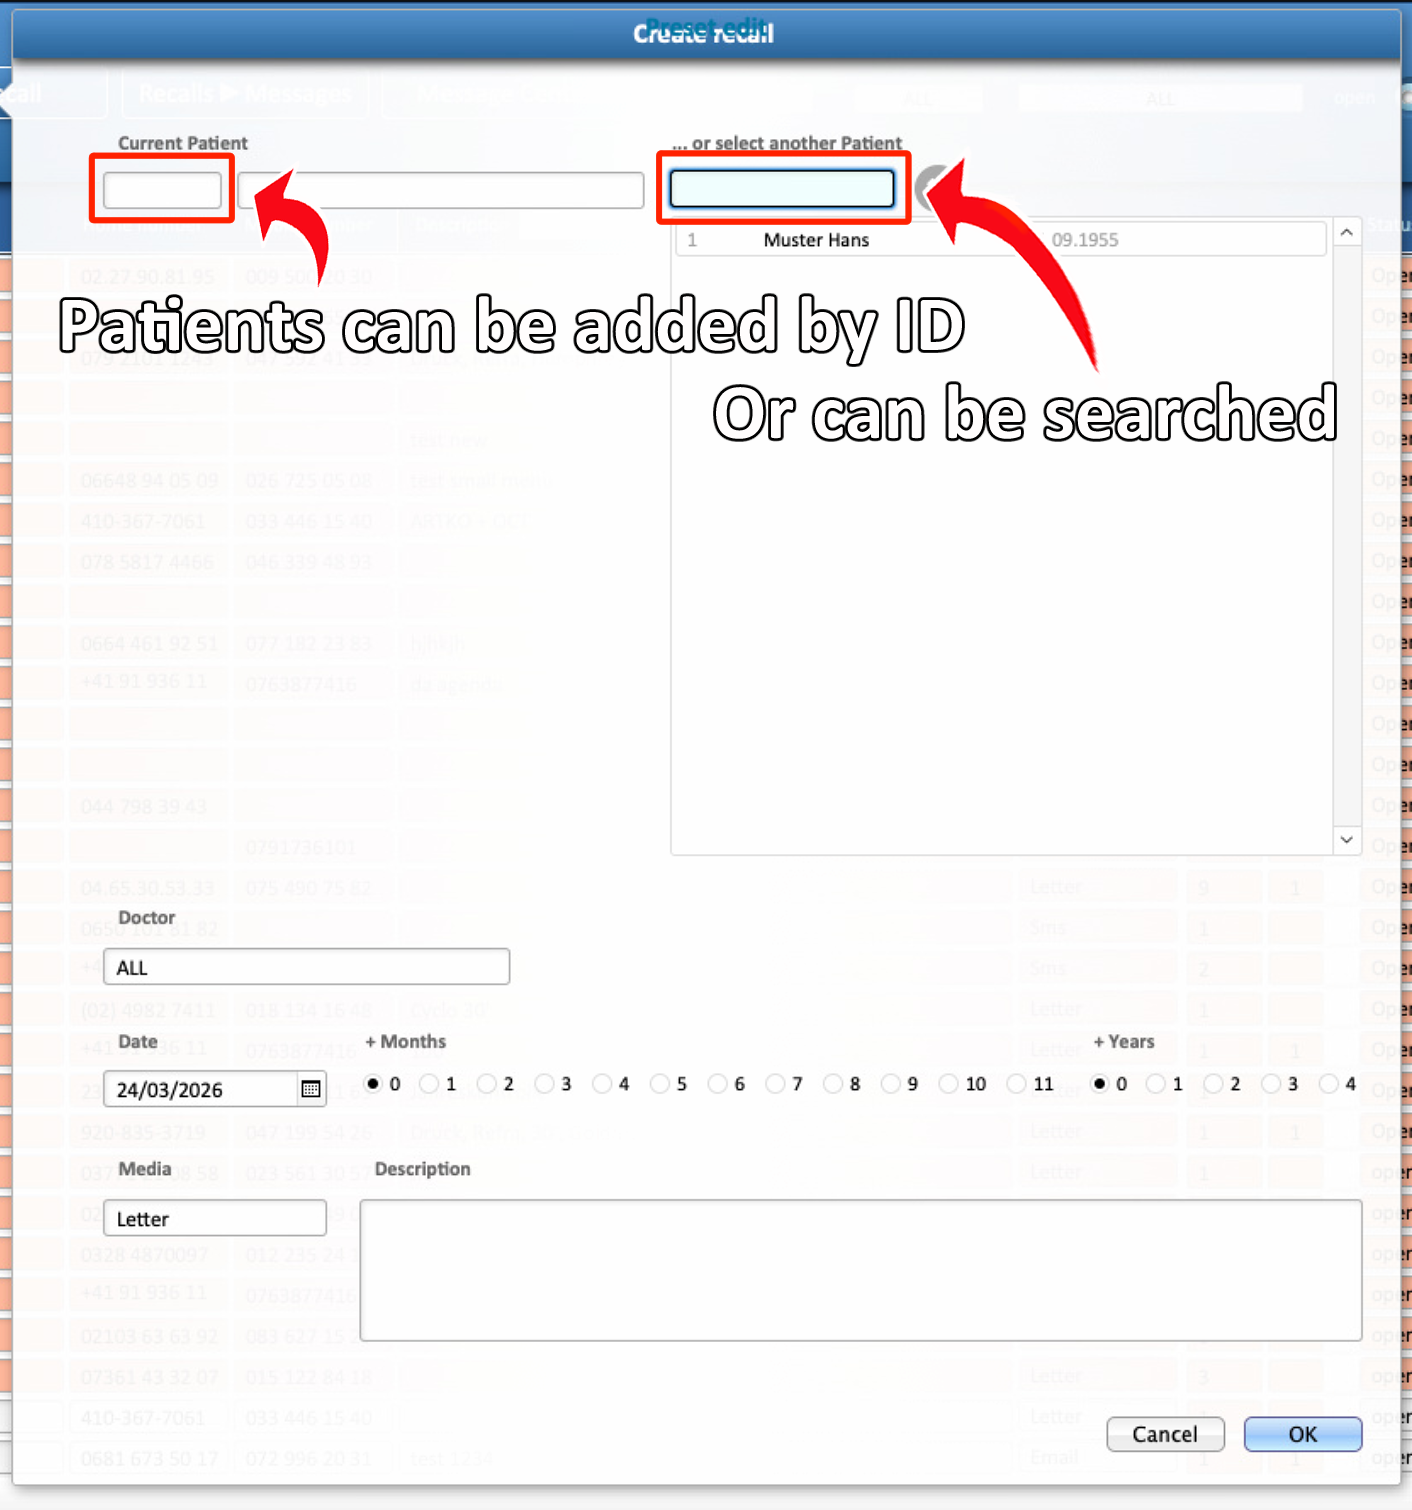
- The patient assigned to the recall can only be changed during creation. After confirmation, the recall must be deleted and recreated to assign a different patient.
- A new recall is automatically set for all doctors but can be assigned to a specific doctor if needed.
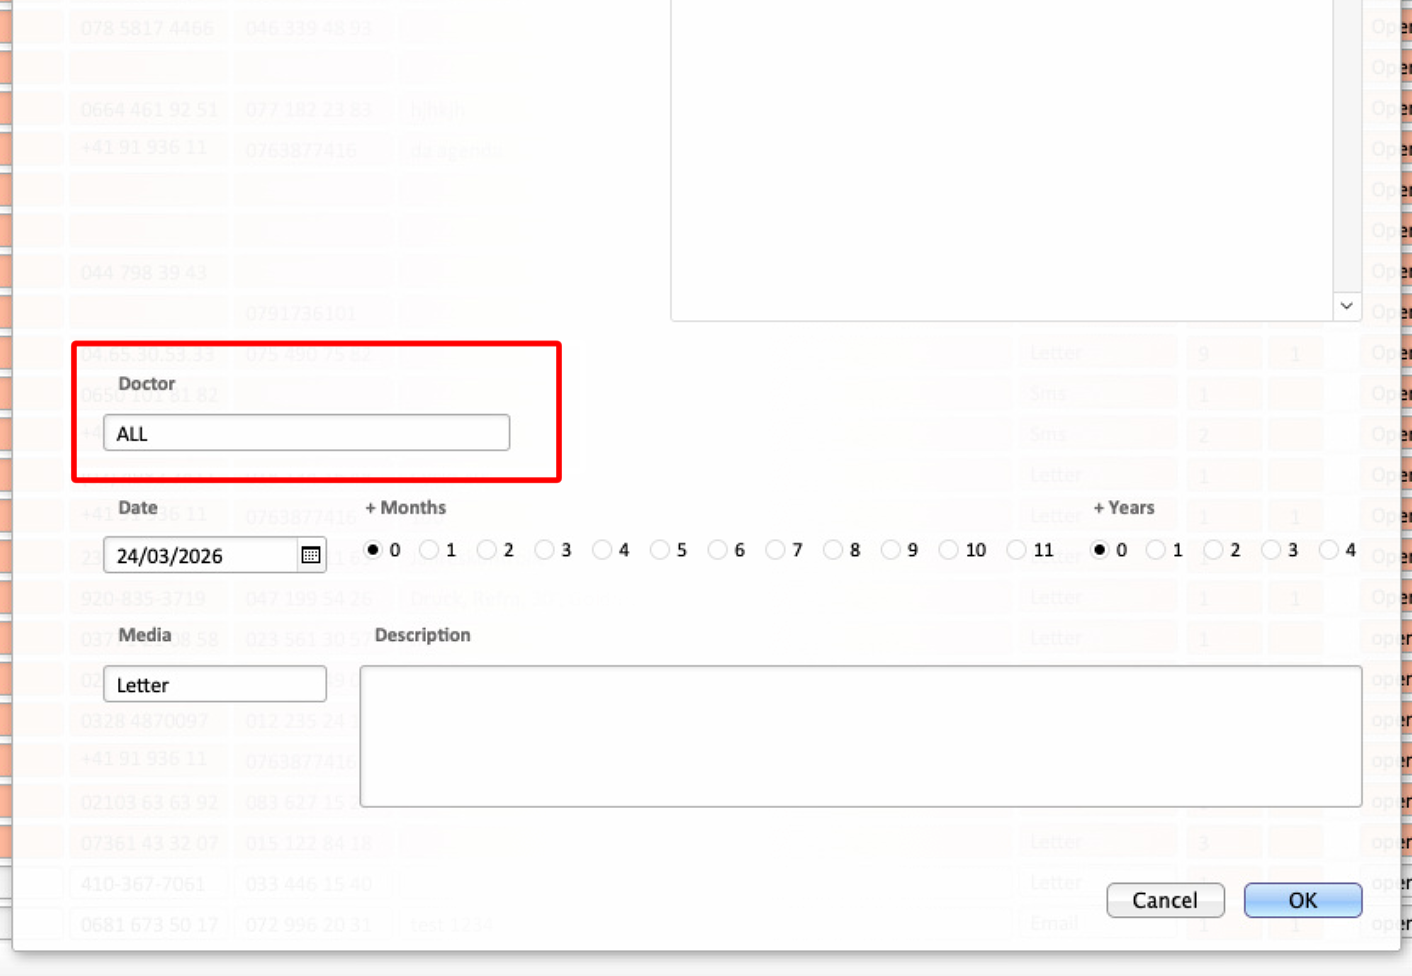
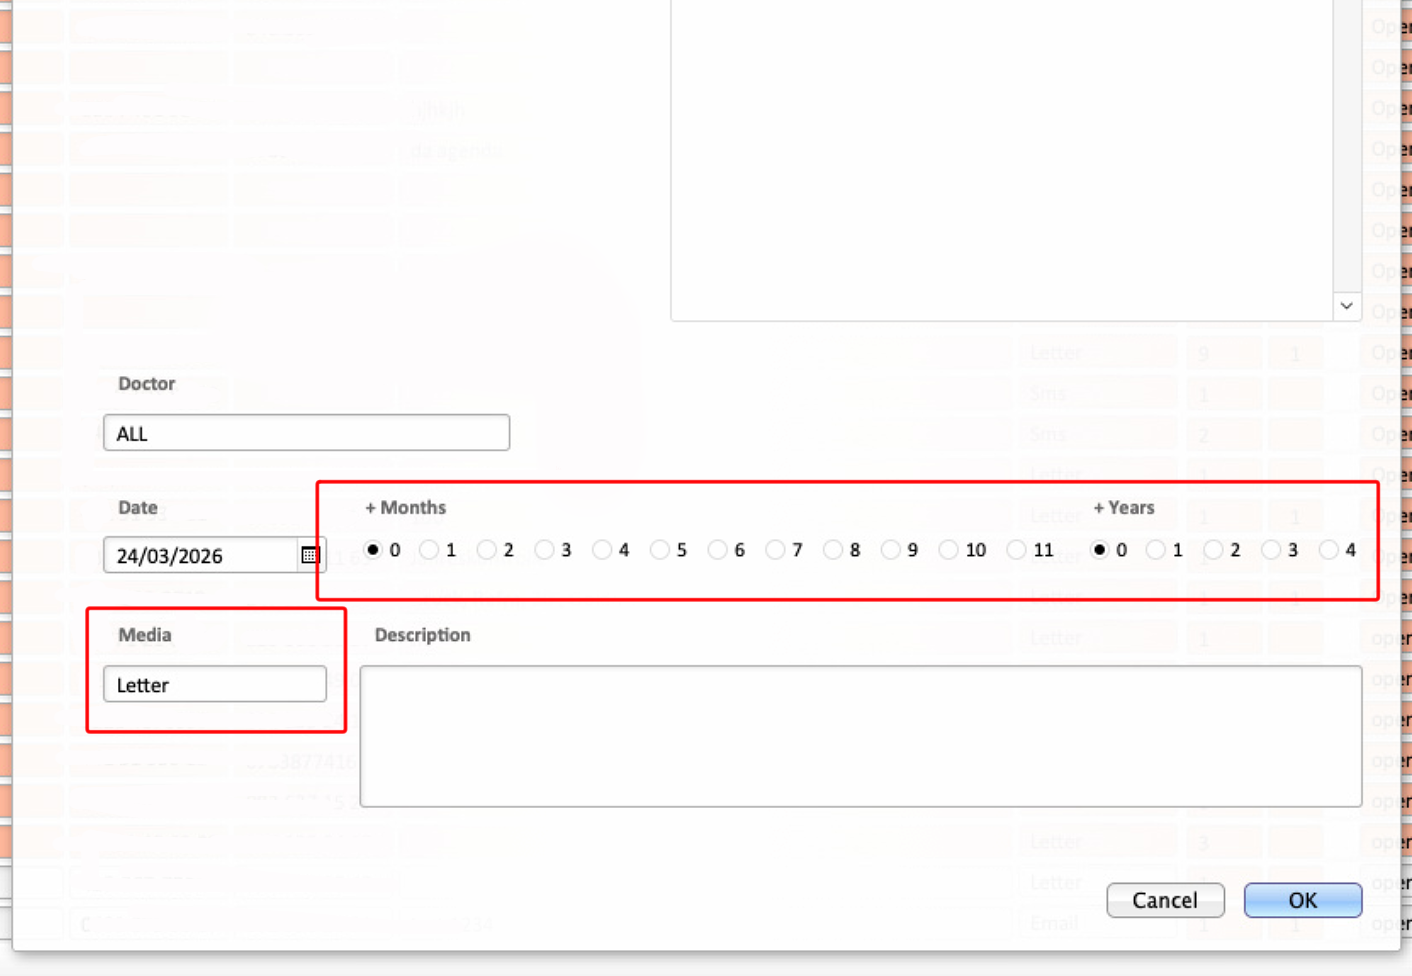
- The recall date can be set yearly or monthly, starting from a chosen date. By default, the current date is used, but it can be edited for a future date.
- Recall notifications can be set automatically by medium (letter, SMS, email, phone) and duration (months, years, or a combination).
3. Editing an existing Recall
Only certain fields are editable
Patient details (name, telephone number, ID) are not accessible
- Editable Fields
- Contact Method
- Selects how the patient will be contacted (e.g., SMS, email, print)
- Resp. (Responsible Doctor)
- Identifies the doctor responsible for the patient
- Message text can be adjusted based on this setting (configured in system settings)
- Contact Method
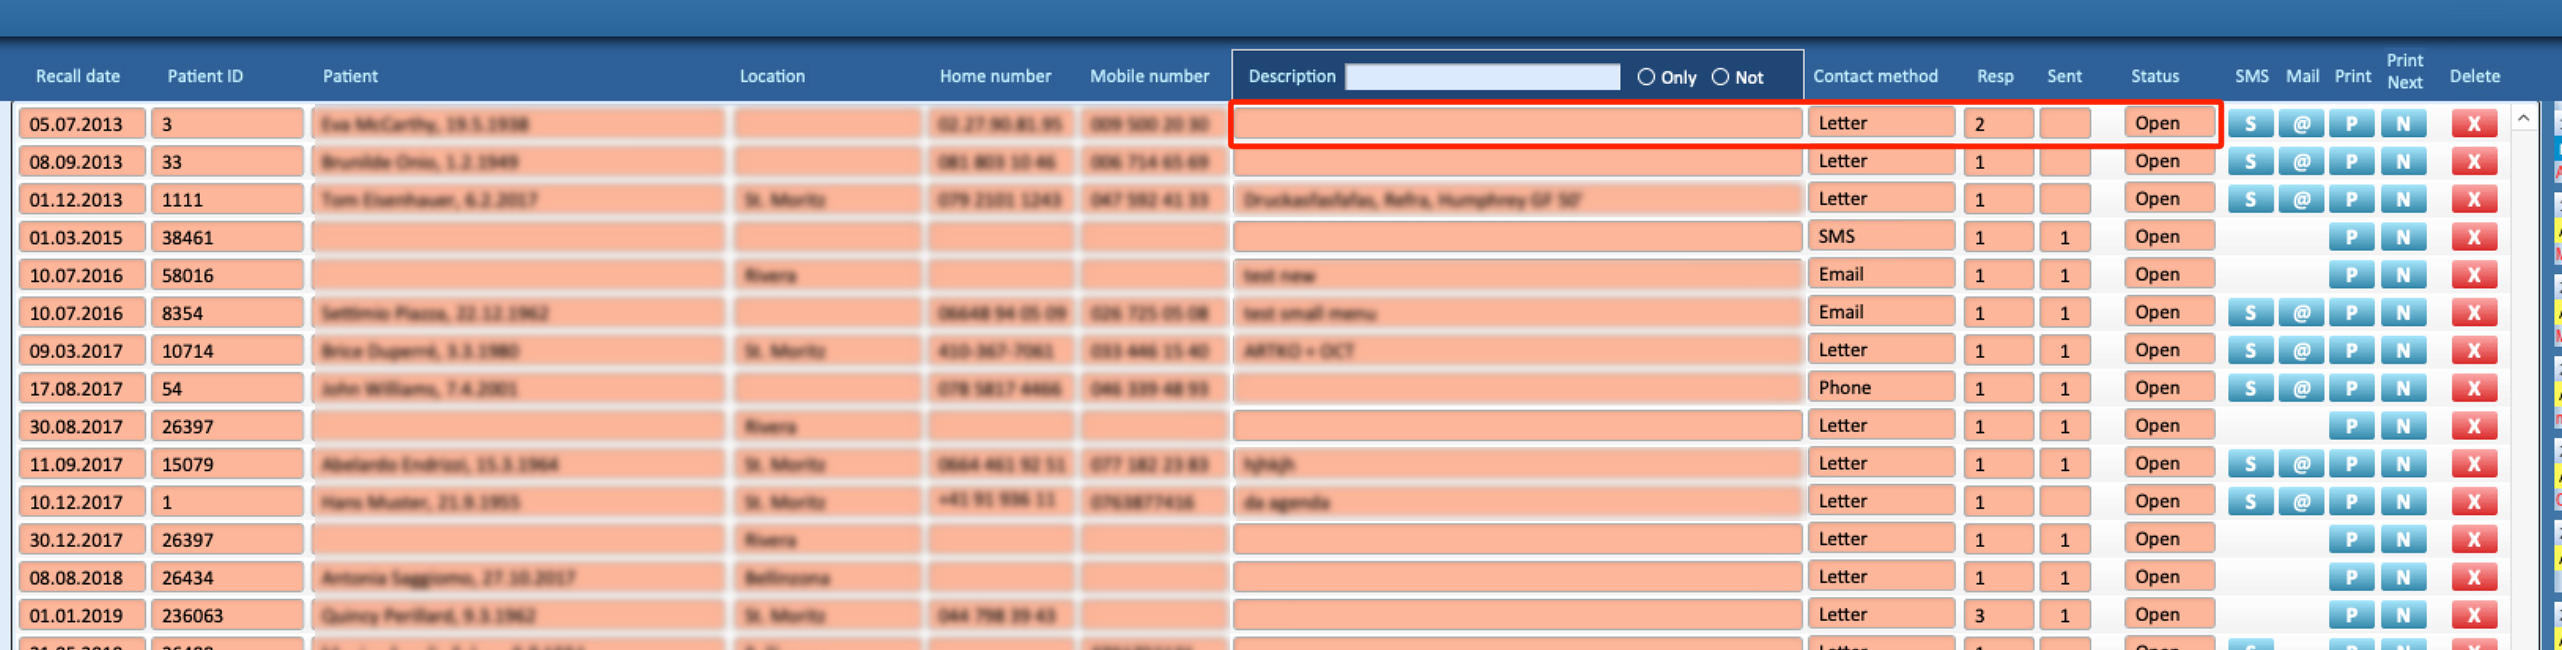
- To edit a field:
- Click on the field you want to change
- Select the correct information
- Changes are saved automatically when you exit the field
⚠ Don't change patient's info from the Recalls layout, if incorrect, but modify them directly from the Patient's Profile
Non-Editable Important Fields
- Sent
- Shows how many times the recall has been printed
- Email and SMS messages do not change this number
- Status
- Can be set to Open or Closed
- Open: recall messages can be sent
- Closed: recall messages cannot be sent
- Must be set back to Open to allow sending again
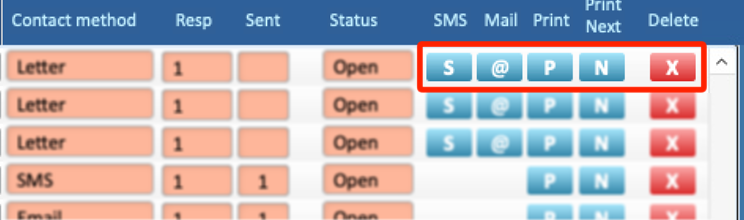
4. Buttons
- S : Sends an SMS message to the patient.
- @ : Opens the email function to send an email to the patient.
- P : Opens the print menu. Allows modification of a letter before printing or sending it via email.
- N : Automatically identifies the patient’s next scheduled appointments. Generates a letter appropriate for a recall appointment.
- X : Red button. Deletes or removes the associated recall function.
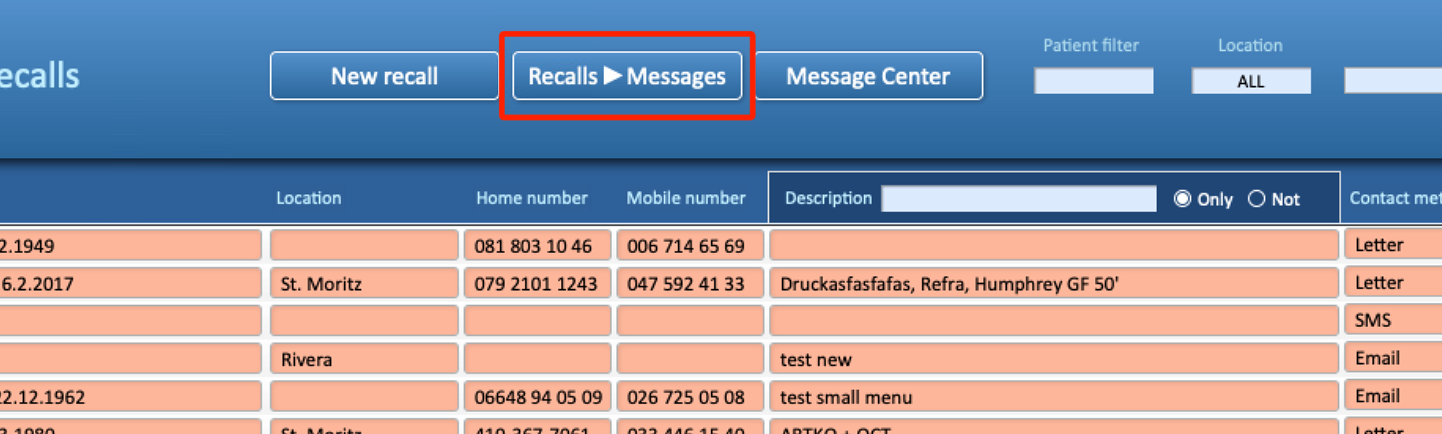
- Recalls ► Messages Automatically sets all the recalls inside the list, to the Message Center to prepare them to be sent.
Allows the user to send multiple messages for upcoming recall appointments. Uses templates that automatically insert the patient’s details into each message.
- Message Center manages all outgoing messages in an organized way.
- Messages can be edited before sending.
- Specific SMS can be sent to selected patients only.
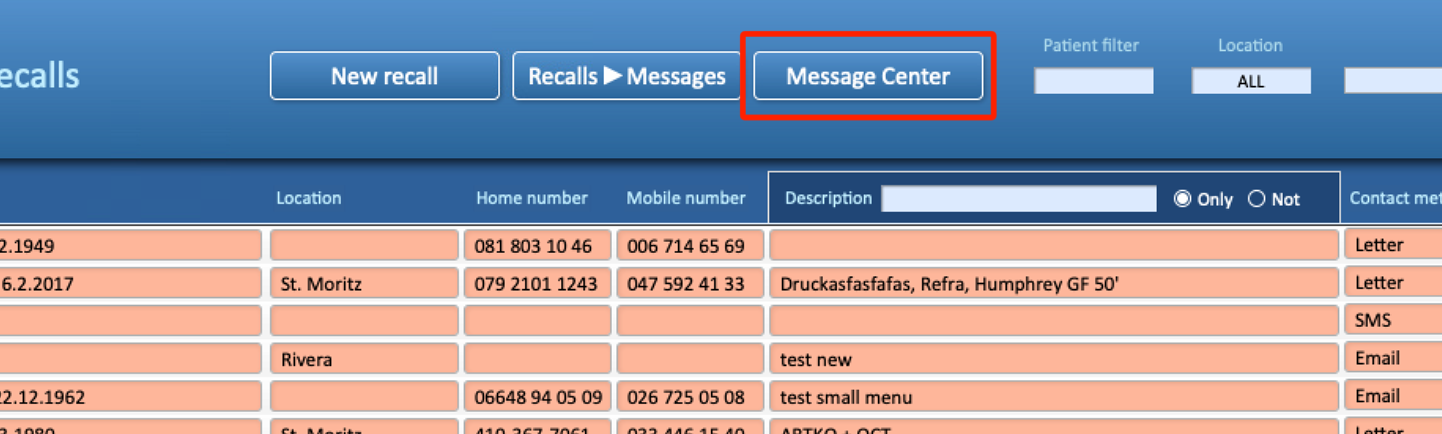
For information related to the Message Center, consult THIS GUIDE

